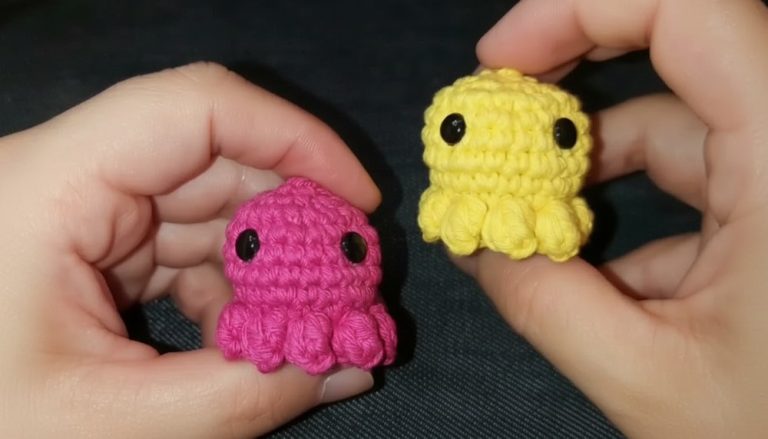
Crochet Bunny Keychain Pattern That’s Beginner-Friendly & Fun
Free and Easy Crochet Bunny Keychain Pattern Everyone Can Try

Easy to customize, the bunny keychain pattern can be tailored to your favorite color palette, making it perfect for all ages and tastes. Whether you want to use it as a sweet gift, party favor, or your next small business idea, this project offers endless possibilities. Plus, the pattern is beginner-friendly, relying on basic stitches and easy shaping techniques.
It’s an affordable way to make something truly meaningful while flexing your creative muscles. Adding a personal touch to your accessories has never been this fun or rewarding. Whether for yourself or a loved one, this crochet pattern is bound to bring joy wherever it goes!
Special Features
- Difficulty Level: Beginner to Intermediate (requires basic knowledge of single crochets and increases/decreases).
- Design: Compact, rounded bunny shape with detailed stitching for eyes, nose, and ears.
- Versatility: Perfect as a keychain, bag charm, gift, or decorative item.
- Tutor’s Suggestions: Pay close attention to your stitch counts, and ensure the magic ring is tight for a clean finish. Stuff lightly but evenly to maintain the shape.
Materials Required
- White Yarn (for the bunny body).
- Black Yarn (for stitching facial features).
- Crochet Hook: Size 3.5 mm.
- Scissors.
- Tapestry Needle (for sewing and details).
- Keychain Ring.
- Stuffing Material (cotton or fiberfill).
Step-by-Step Pattern
1. Start with the Magic Ring
- Wrap the white yarn twice around your index and middle fingers, holding the yarn tightly with the last two fingers.
- Insert the hook under the first loop, pull the second loop through, and twist it into a loop.
- Chain 1 to secure. This forms your magic ring.
- Work 6 single crochets (SC) into the magic ring.
- Pull the tail tight to close the circle.

2. Build the Bunny Body
- Round 1: Work 6 increases (2 SC in each stitch). Total: 12 stitches.
- Round 2: Work 1 SC + 1 increase (repeat 6 times). Total: 18 stitches.
- Round 3: Work 2 SC + 1 increase (repeat 6 times). Total: 24 stitches.
- Rounds 4-5: Work 24 SC (1 SC in each stitch). This keeps the body rounded.
- Round 6: Begin decreasing. Work 2 SC + 1 decrease (repeat 6 times). Total: 18 stitches.
- Round 7: Work 1 SC + 1 decrease (repeat 6 times). Total: 12 stitches.
- Before the final round: Add stuffing to the body for a firm but soft structure.
- Round 8 (Final Round): Work 6 decreases. Total: 6 stitches.


Closing the Body: Weave through the remaining stitches using a tapestry needle. Pull tight to close and tie off securely.
3. Create the Bunny Ears
- Start with a magic ring and work 6 SC into it. Pull tight to close.
- Round 2: Work 6 increases. Total: 12 stitches.
- Rounds 3-6: Work 12 SC (1 SC in each stitch) to elongate the ear.
- Add a small amount of stuffing to the ears.
- Repeat these steps to make another ear.

Attach the Ears: Sew the ears to the top of the bunny’s head evenly using the tapestry needle.
4. Stitch the Bunny’s Facial Features
- Nose: Using the black yarn, sew a small triangular nose 5 stitches down from the top center of the bunny. Create even stitches for symmetry.
- Eyes: At your desired distance from the nose, sew two round eyes using the black yarn. Make small loops for each eye to create a charming bunny expression.

Pro Tip: Use your fingers to position the features before sewing to ensure symmetry and cuteness!
5. Attach the Keychain
Take the keychain ring and attach it securely to the bunny’s ear using yarn or a metal loop. This makes it sturdy and ready to be used as a keychain or bag charm.

Conclusion
Congratulations! Your adorable crochet bunny keychain is now complete. This fun and quick project is great for personal use, gifting, or even selling as part of a handmade collection. The bunny’s lightweight pattern and cute features make it a perfect companion for backpacks, purses, or keys.
Tip for Success
When working with small projects like this, keep your stitches tight for a polished finish.