Crochet Bunny Amigurumi Pattern Perfect Gift for Loved Ones
How Can You Crochet a Bunny Amigurumi? Try This Free Pattern Now
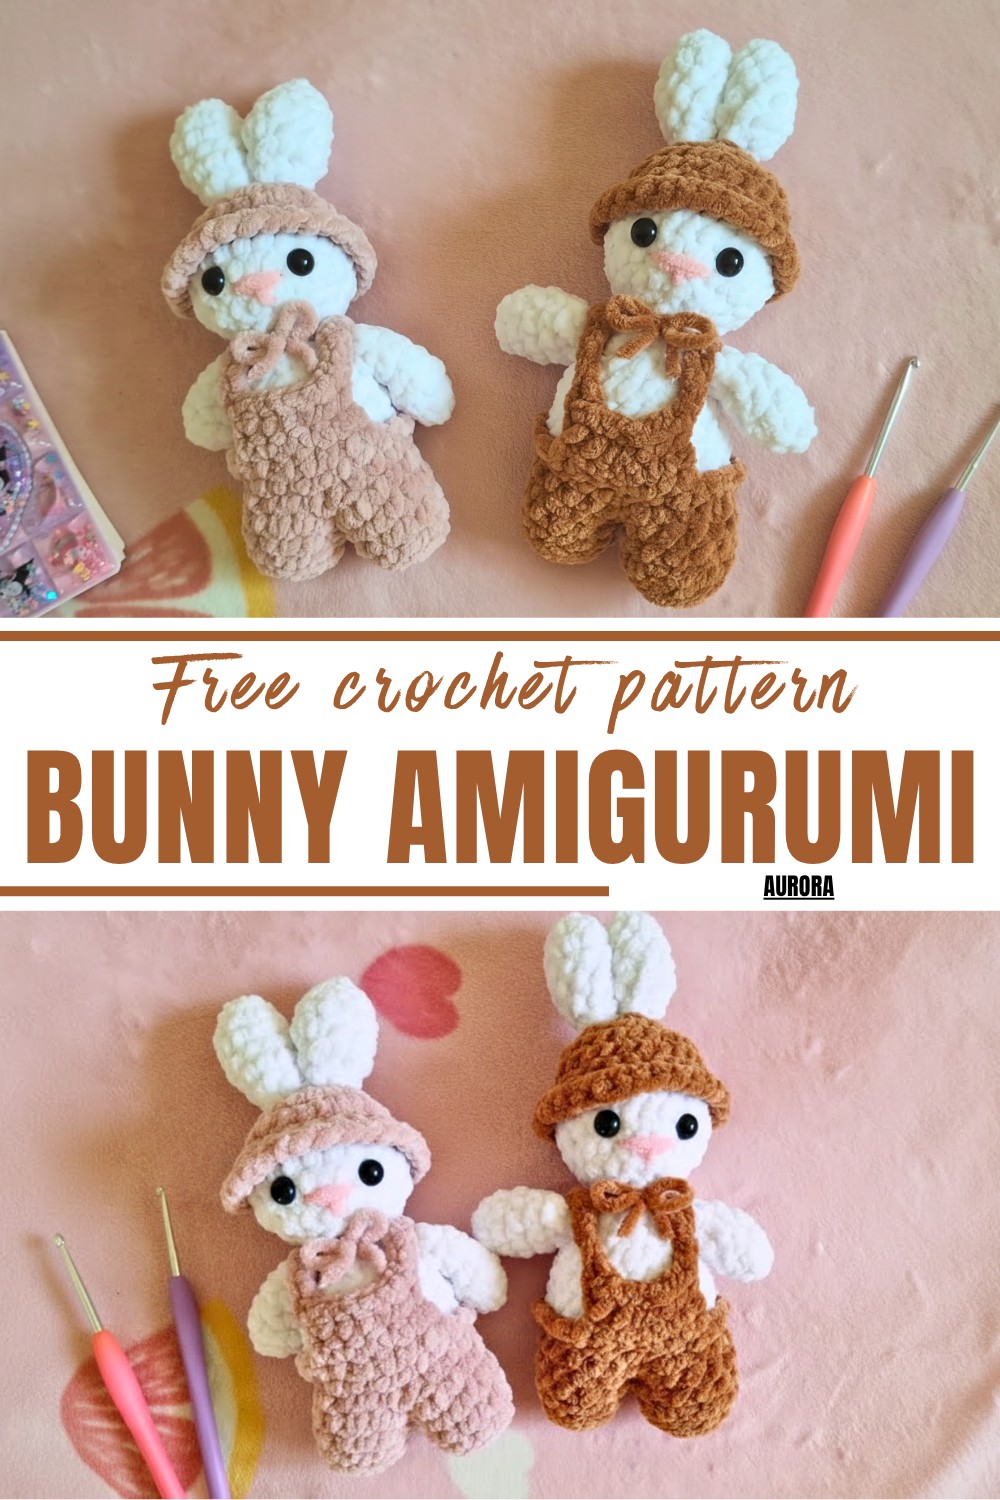
Beyond being a fun project, this handmade pattern opens the door to creative expression. Choose your favorite colors for the outfit, add tiny accessories like bows or embroidered details, and make it truly one-of-a-kind. It’s a delightful gift for kids, a cheerful Easter decoration, or even a comforting keepsake to brighten someone’s day.
With its soft texture and sturdy pattern, this crocheted bunny is a timeless piece that’s built to last. Its versatility makes it suitable for all ages and any occasion, embodying the heartwarming charm of handmade creations.
Materials Needed
- Yarn: In three colors – one for the body, one for the outfit, and one for decorative details (e.g., a bow).
- Crochet Hook: Match to your yarn’s suggested size.
- Scissors
- Tapestry Needle: For sewing and weaving ends.
- Stuffing: Polyfill or any soft fiber for the body, ears, and arms.
- Safety Eyes: Optional, or you can embroider the eyes.
- Optional Glue: To secure the eyes if not using safety eyes.
Special Features
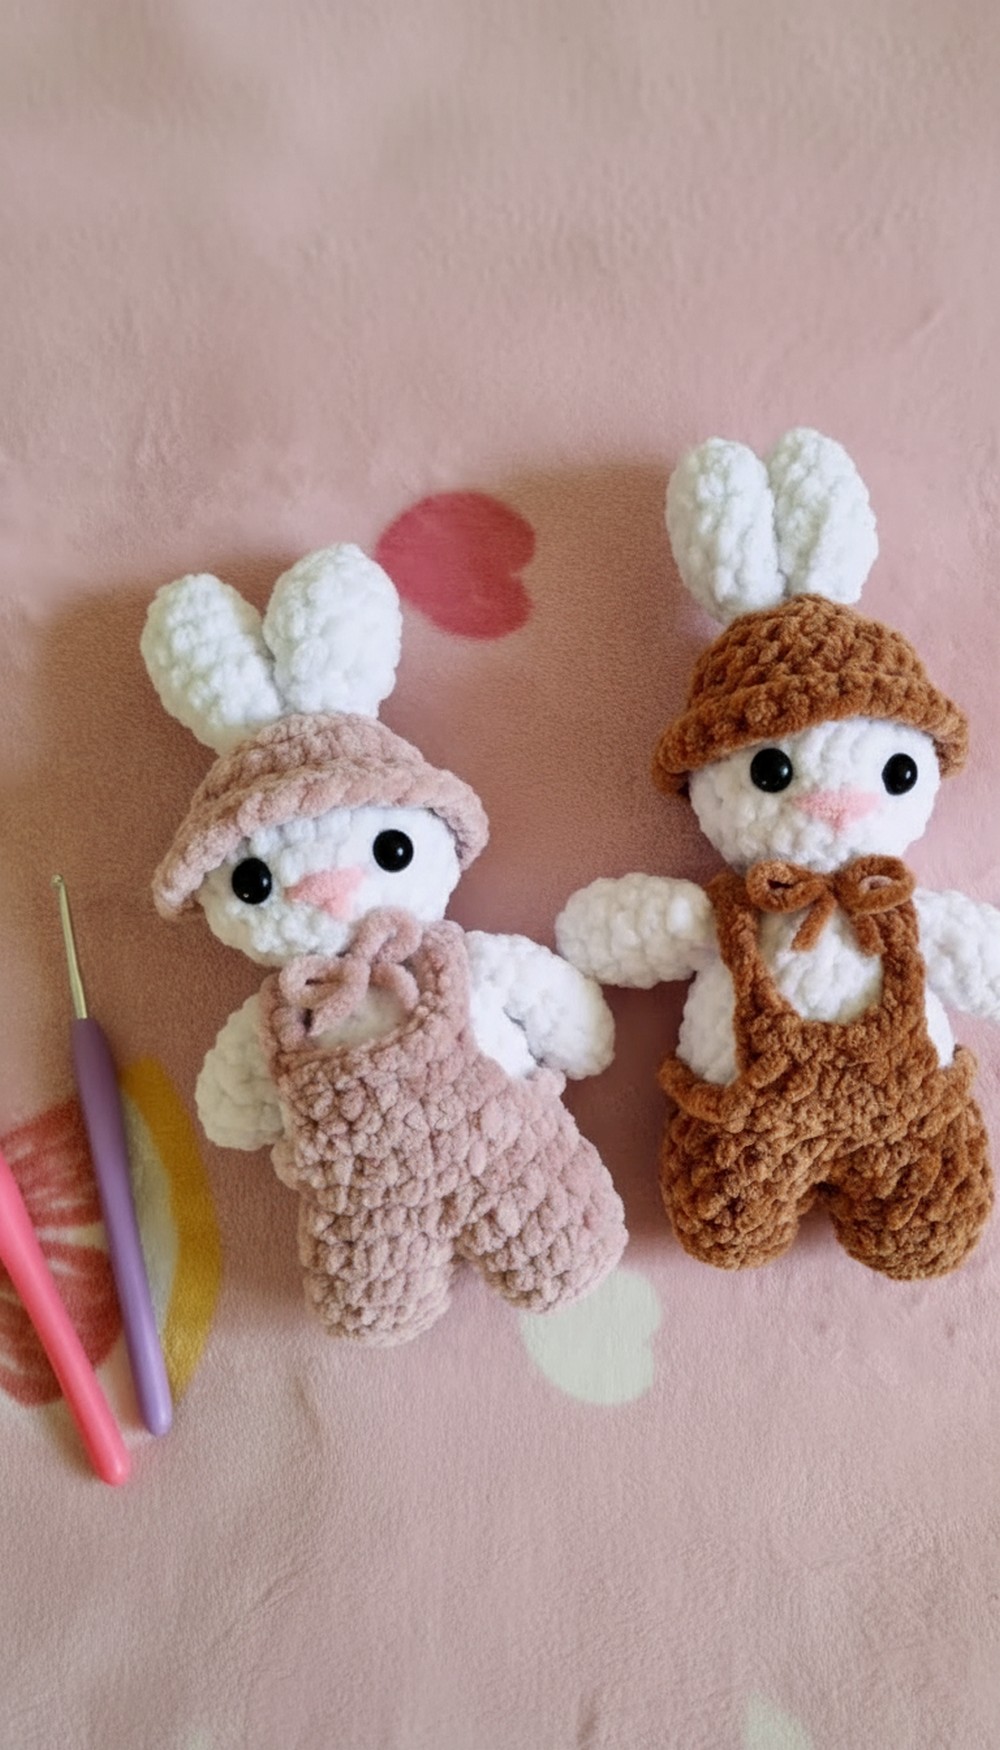
- Adorable Handmade Details: With a charming bow and cute facial expressions.
- Customizable: You can change the outfit, add accessories, or personalize colors however you like.
- Beginner-Friendly Techniques: Primarily uses single crochets, increases, decreases, and color changes.
Level of Difficulty
- Beginner to Intermediate: Suitable for crocheters who are comfortable with basic stitches and sewing amigurumi parts.
Step-by-Step Crochet Bunny Amigurumi Pattern
1. Bunny’s Legs
Step 1: Make Two Legs
- Start with a magic ring or use the two-chain method (details below).
- Into the magic ring, work 6 single crochets (SCs).
- How to SC: Insert hook into the ring, yarn under, pull up a loop, yarn over, and pull through both loops.
- Pull the tail to close the magic ring (or, for the chain method: Make a slip knot, chain 2, then work 6 SCs into the first chain).
- For Round 2, work 1 increase (2 SCs in one stitch) in each stitch around (12 SCs in total).
- For Round 3, work 1 SC in each front loop only (12 SCs).
- For Rounds 4-5, work 1 SC in each stitch (entire stitch) for two rounds.
- Cut the yarn, fasten off the first leg. For the second leg, continue without fastening off.
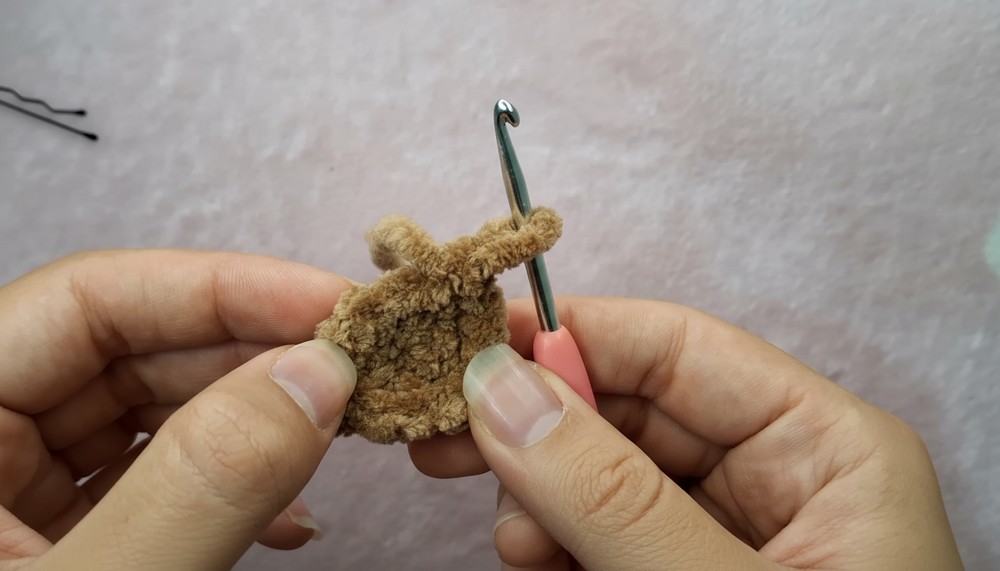
2: Joining the Legs
- Hold both legs together. Insert your hook into the last stitch of the second leg, yarn over, and pull through the loop to connect.
- Work single crochets around both legs (24 SCs total – 12 per leg). This forms the foundation for the body.
2. Bunny’s Body
Step 1: Body Rounds
- For Rounds 1-2, work 1 SC in each stitch around (24 SCs per round).
- Change to the outfit color for Round 3, working into the back loops only.
- Next, alternate between body color and outfit color for the next 3 rounds of 1 SC in each stitch. Always carry the unused color yarn along the back loops for a clean finish.
2: Front Loop Details
- Into the remaining front loops from Round 3, work 1 SC in each loop around in the outfit color to create a decorative edge.
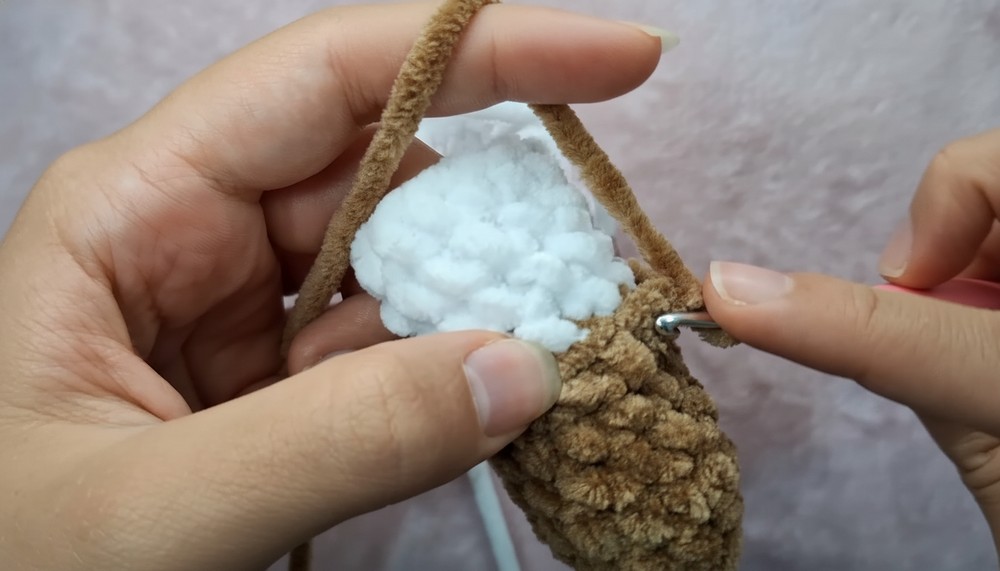
3: Shaping the Body
- For the next rounds:
- Decrease Rounds: Alternate between 2 SC and a decrease, or 1 SC and a decrease as needed to taper the body shape.
- End the body with a long tail for sewing.
- Stuff the body before closing the top.
3. Bunny’s Head
Step 1: Start the Head
- Using the hat color, make a magic ring and work 8 SCs into it.
- For Round 2, work 1 increase (2 SCs in one stitch) in each stitch (16 SCs).
- For Round 3, alternate 1 SC and 1 increase (24 SCs).
2: Color Changes and Shaping
- Continue working 3 rounds of 24 SC in the current color.
- Change to the body color and work another round of 24 SC.
- Tip: Use a clean color change method to avoid messy transitions.
- Add eyes (safety eyes or embroidered) at this stage and stuff the head firmly.
- Taper the head with decrease rounds, ending with a long tail for sewing.
3: Hat Details
- Using the hat color, grab the front loops of the stitches and work 24 SCs for the brim.
4. Arms and Ears
Step 1: Arms
- Make a magic ring and work 4 SCs into it.
- For Round 2, work 4 increases (8 SCs).
- Work 4 rounds of 1 SC in each stitch.
- For Round 7, work 4 decreases, leaving a long tail for sewing.
2: Ears
- Make a magic ring, work 4 SCs, and increase to 8 SCs by Round 2.
- Work several rounds (6-8) of SCs to create length. Leave a long tail for sewing. Stuff lightly if needed.
5. Assembly
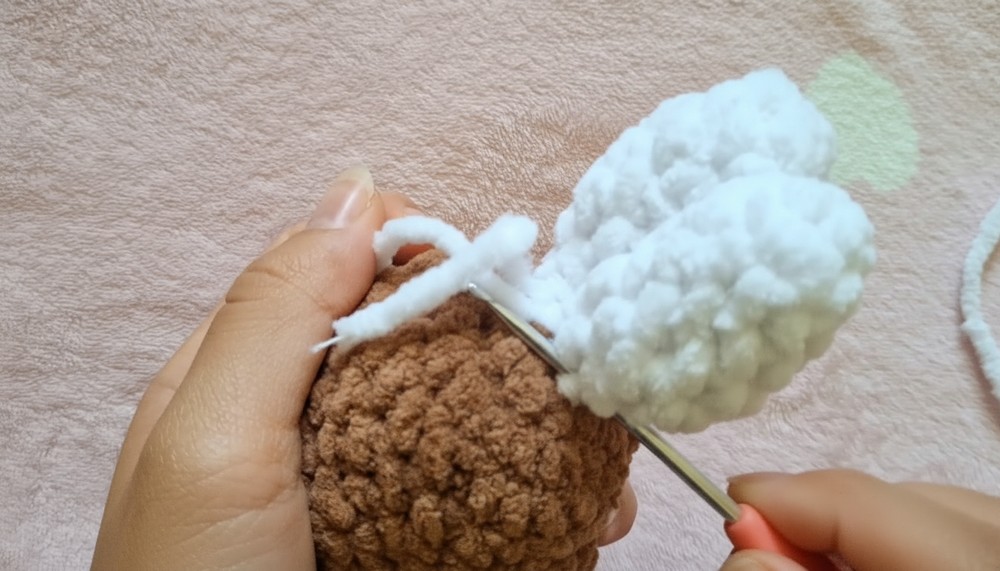
- Join the Ears: Align to the hat’s edges and sew with careful stitches between the head’s rounds.
- Attach the Head: Sew the head to the body through even, tight stitches. Ensure stuffing is shaped nicely.
- Add Arms: Securely sew both arms to the body’s sides beneath the head.
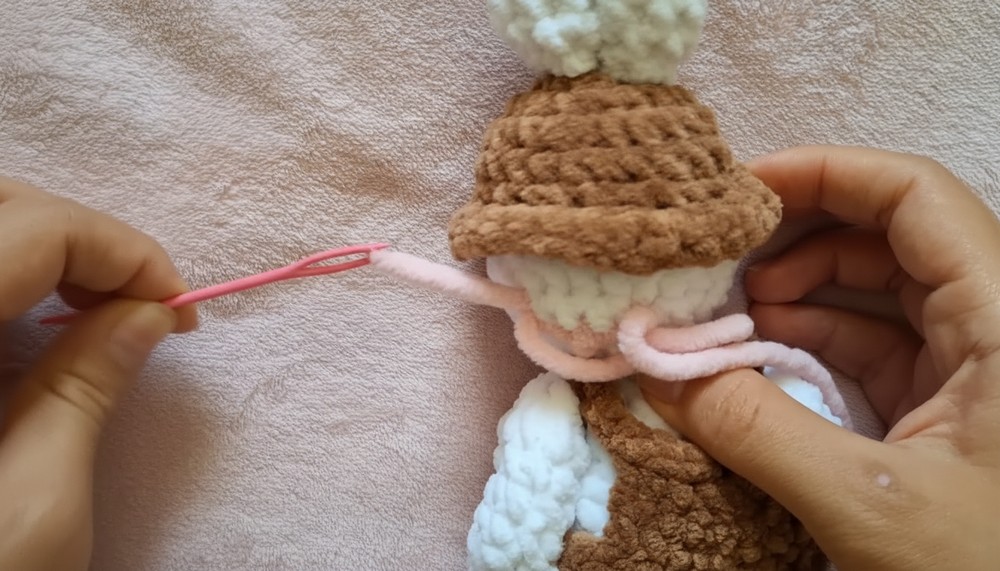
- Facial Features: Embroider the nose and mouth with yarn or thread, ensuring symmetry.
- Outfit Straps: Add two decorative straps to complete the bunny’s outfit. Use slip stitches for a tidy appearance.
Uses
- Perfect for gifting during Easter or baby showers.
- A cute desk or shelf decoration for crochet enthusiasts.
- Soft and kid-friendly, making it a lovely handmade toy!
Tutor’s Suggestions
- Use lighter-colored yarns for better stitch visibility if you’re a beginner.
- Keep your stitches tight to avoid gaps when stuffing.
- Use safety eyes or tightly embroidered features for safety if gifting to young children.
Pro Tip
Use a smaller hook size than suggested on your yarn label to achieve tight stitches, enhancing the structural integrity of your bunny.
Conclusion
This crochet bunny amigurumi is an incredible way to show off your creativity and crochet skills. With its intricate yet beginner-friendly design, this bunny is both fun to make and functional as a charming decoration or loving gift. Its customizable features make it endlessly versatile, letting you bring your imagination to life.