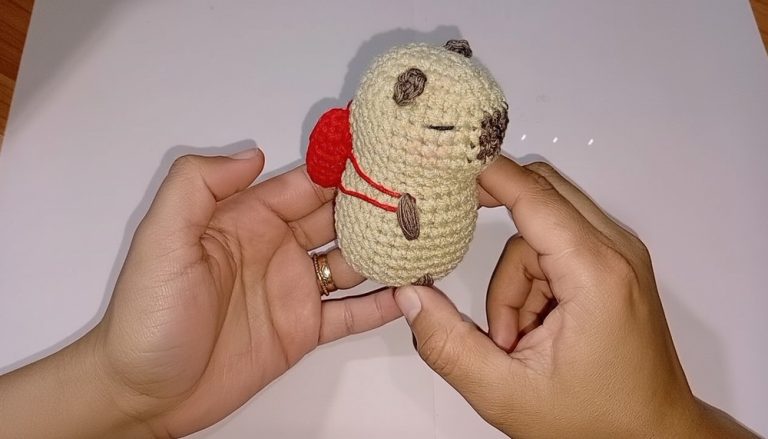
How to Crochet Wallet Pattern That’s Perfect for Beginners
Super Cute Crochet Wallet Pattern to Showcase Your Skill

Crocheting your own wallet is not just cost-effective but also a satisfying experience, especially with this easy-to-follow pattern. Whether you’re a beginner or seasoned in crochet, you’ll appreciate how this project comes together with basic stitches like single crochet and half double crochet. The pattern allows you to experiment with colors, textures, and embellishments, offering endless possibilities to express your creativity.
Personalize it with additional details such as buttons, embroidery, or even small appliqués to make it truly unique. Its durability ensures long-lasting use, while its handmade charm will be treasured by anyone who receives it. Start stitching and watch your simple yarn turn into a functional piece that reflects your style, care, and personality.

Materials Needed
- Yarn: Two colors (one for the wallet and one for embellishments).
- Crochet Hook: Match the yarn’s suggested size (recommended smaller hook for tight stitches).
- Scissors
- Stuffing: For optional features like ears (if desired).
- Tapestry Needle: For sewing and weaving ends.
- Snap Button: For fastening.
- Optional Decorations: Embroidery thread for eyes, whiskers, or blush details.
Step-by-Step Crochet Wallet Pattern
1. Base of the Wallet
Step 1: Make a Foundation Chain
- Start with a slip knot on your hook.
- Chain 22 stitches.
Tip: Count each “V-shape” as one chain.
2: Half Double Crochet (HDC) Row
- Skip the first two chains and work 1 half double crochet (HDC) into the third chain.
- How to HDC: Yarn over, insert the hook into the chain, yarn under, pull up a loop (3 loops on hook). Yarn over again and pull through all 3 loops.
- Continue 1 HDC into each chain, leaving the last chain for a turn (20 HDCs by the end).
3: Turning Around
- In the last chain, work 3 HDCs into the same stitch.
- This creates a rounded edge for the second side of the foundation chain.
- Work 20 HDCs on the other side of the chains to complete the round.

4: Joining the Round
- Connect with a slip stitch (SLST) into the first HDC to close the round.
2. Building Height with Rounds
Step 1: Round 2 (Back Loop Only)
- Chain 1 and mark the beginning of the round with a stitch marker.
- Work 1 single crochet (SC) into the back loop only (BLO) of each stitch around.
- How to SC in BLO: Insert the hook into the back loop (top loop farthest from you). Yarn under, pull up a loop, yarn over, and pull through both loops.
- Repeat SC in BLO for all 44 stitches.
- Slip stitch to join.
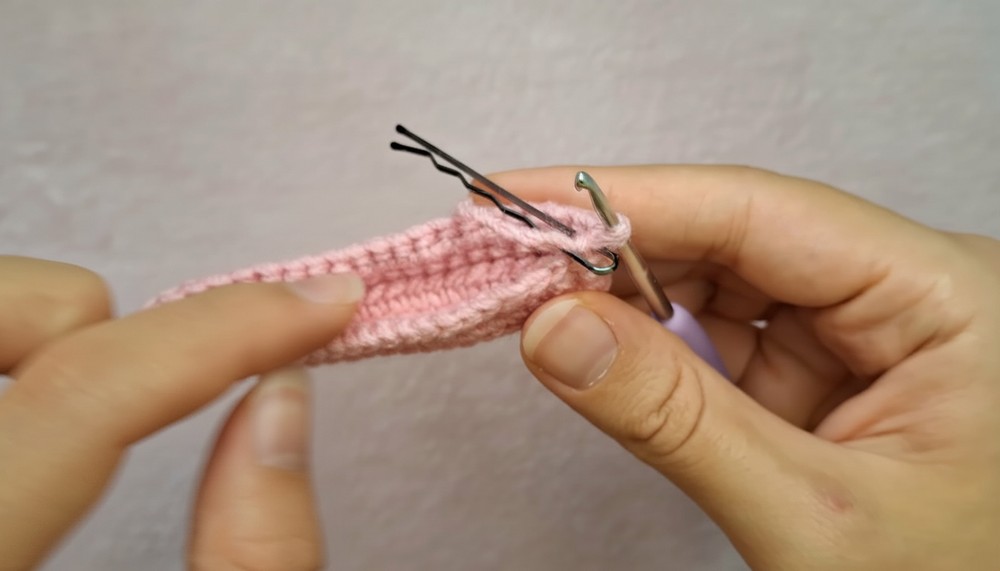
2: Round 3 Onwards (Entire Stitch)
- From Round 3 to Round 13, repeat:
- Chain 1.
- Work 1 SC in each stitch (entire stitch) for 44 stitches.
- Slip stitch to join at the end of each round.
Note: Keep stitches tight for a compact structure. Use a smaller hook for neater results.
Step 3: Finishing the Base
- After finishing Round 13, work 44 slip stitches (SLST) across the last row for a polished edge.
- How to SLST: Insert the hook into the stitch, yarn under, pull up a loop, and pull this loop through the one already on your hook.
- Cut the yarn, fasten off, and weave in the tail with a needle or hook.
3. Top Flap for the Wallet
Step 1: Foundation Chain
- Make a slip knot and chain 19 stitches.
2: Single Crochet Rows
- Skip the first chain and work 1 SC into the second chain. Continue 1 SC in each chain (18 stitches total).
- Chain 1, turn your work, and work 17 SCs in the next row. The first chain counts as a stitch, making it 18 stitches total.
- Repeat this pattern until you reach 28 rows or the desired height.
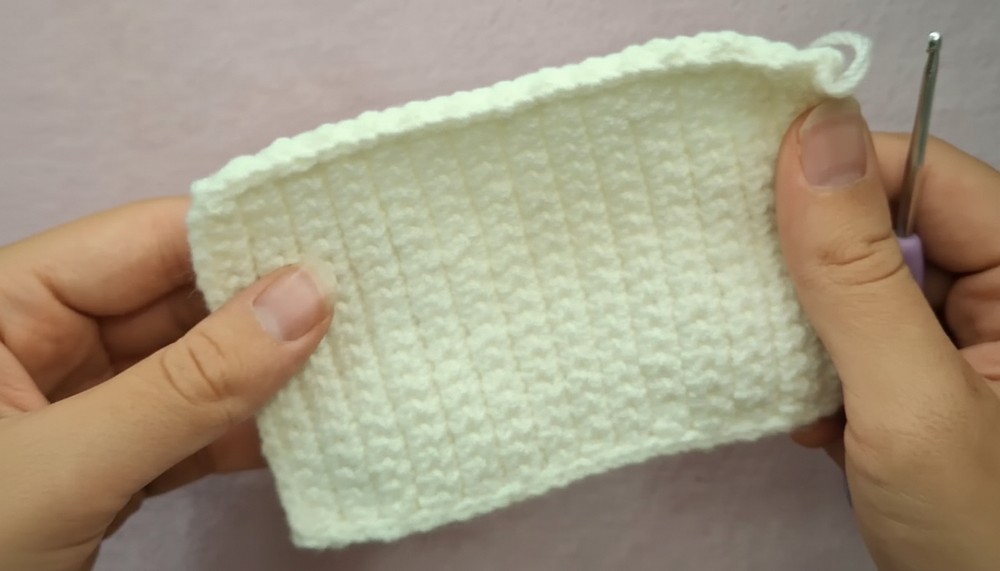
3: Add Slip Stitch Border
- After the final row, work slip stitches (SLST) along all four edges to give the flap a finished look.
- Fasten off and weave in the ends.
4. Adding Decorative Features
Step 1: Ears (Optional)
- Create a magic ring and work 6 single crochets (SCs) into it. Pull the tail to tighten the ring.
- Round 2: Work 1 SC into each stitch (7 SCs total).
- Make two ears and sew them to the top of the wallet.

2: Embellishments
- Use embroidery thread to add eyes, whiskers, and a nose or blush details.
- Sew on a snap button for the wallet closure. Ensure the placement is symmetrical.
5. Assembly
- Sew the flap to the base of the wallet, ensuring alignment with the bottom and sides.
- Attach the snap button for secure closure.
- Weave in any remaining yarn tails to finish neatly.

Special Features
- Compact Design: Ideal for storing cards, coins, or small essentials.
- Beginner-Friendly: Uses basic stitches like SC, HDC, and SLST.
- Customizable: Add unique embellishments or use colorful yarns for personalized patterns.
Level of Difficulty
Beginner to Intermediate: Suited for beginners seeking to practice basic stitches and edge finishing techniques.
Tutor’s Suggestions
- Use a smaller hook for tighter stitches and no gaps.
- Keep edges straight by skipping stitches correctly.
- Opt for lighter-colored yarns to allow stitch visibility during practice.
Uses
- Coin Purse or Card Holder: Perfect for lightweight and everyday use.
- Personalized Gift: Ideal for gifting with added embroidery details.
- Functional Décor: A creative way to carry small items.
Pro Tip
To make the wallet sturdier, use a cotton or acrylic yarn that is firm and keeps its shape over time. Align the base and flap carefully during assembly to avoid crooked edges.
Conclusion
This crochet wallet pattern is a delightful project for all skill levels. Whether you’re learning the art of crocheting or looking to crochet a thoughtful handmade gift, this pattern is both functional and charming. With endless customization options, you can crochet something unique for yourself or a loved one.