
Super Easy Crochet Baby Hat Pattern That’s Cute and Simple
Warm tiny heads in style with this free crochet baby hat pattern, easy to follow, customizable, and perfect for thoughtful handmade gifting.
Soft, cozy, and practical, a baby hat is one of the most thoughtful handmade gifts for newborns and infants. This free crochet pattern allows you to crochet an adorable hat that not only keeps little heads warm but also brings a touch of charm to their outfits. With its snug fit and gentle texture, it’s perfect for sensitive baby skin, making it an ideal choice for everyday wear or special occasions like baby showers, photoshoots, or birthday gifts.
Learn Free Crochet Baby Hat Pattern That Melt Hearts
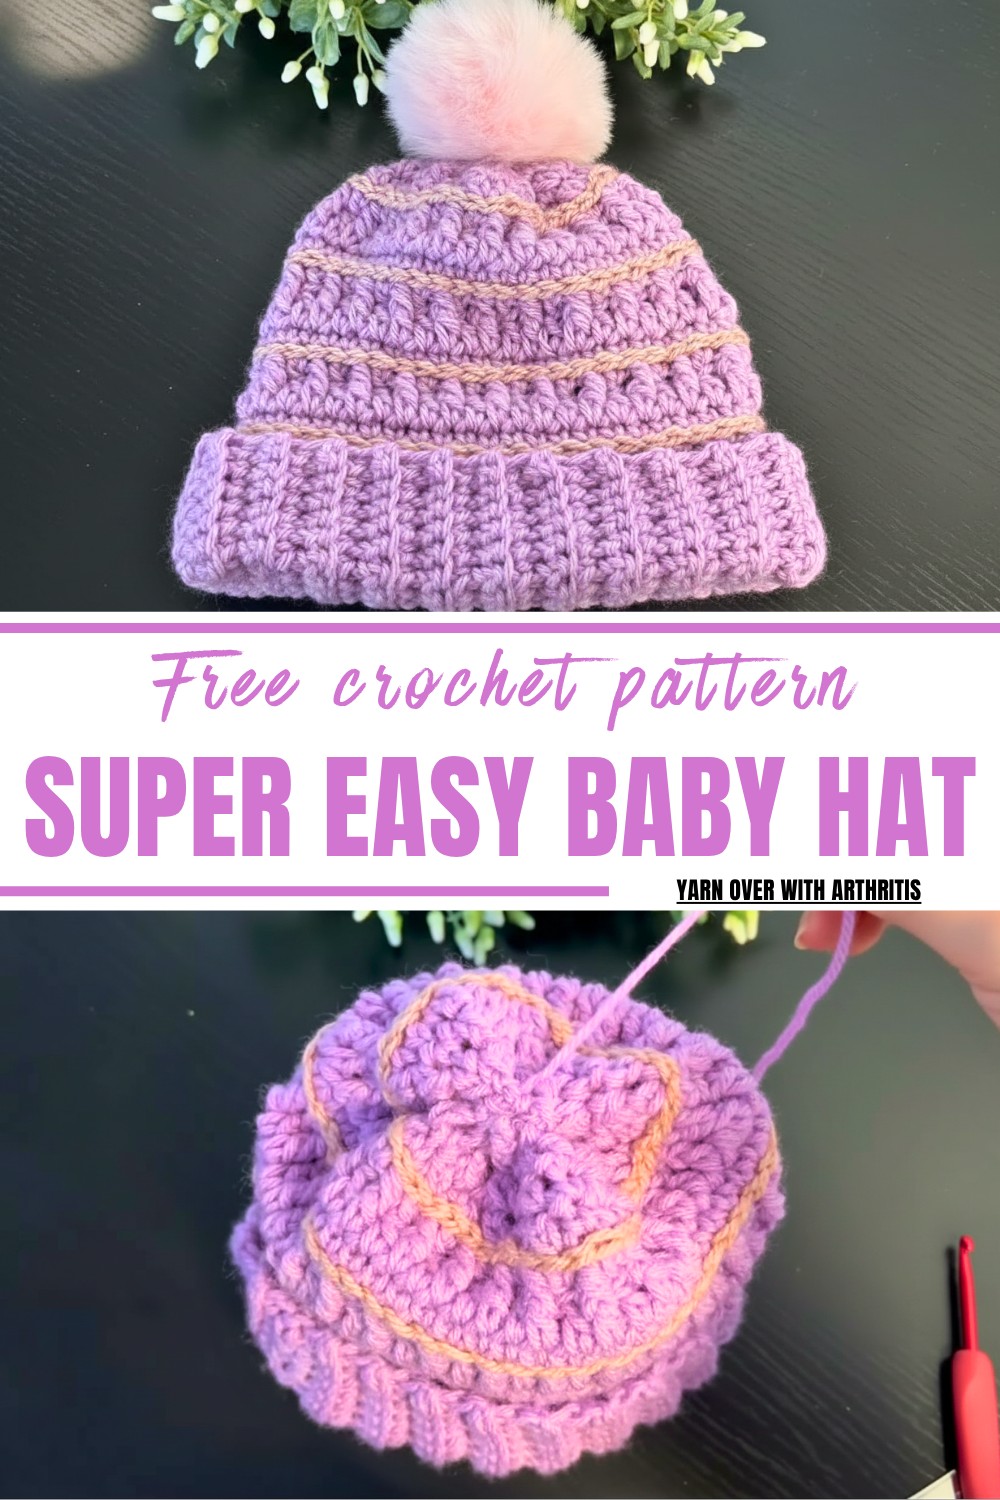
What makes this project even better is its versatility—you can easily customize it with different yarn colors, add decorative touches like pom-poms or appliqués, or adjust the size to fit tiny heads perfectly. The pattern features simple stitches, making it beginner-friendly, yet the results look professional and polished. Beyond functionality, this pattern is a keepsake that parents will treasure for years—perfect for capturing memories in style.
The benefits of crocheting this pattern extend beyond its use, it’s a therapeutic and rewarding experience for you, too. Whether you want to improve your skills or relax with a meaningful project, this baby hat pattern proves that creating something simple can lead to heartwarming results. Perfect for gifting or personal use, it’s a win-win all around.
Special Features
- Ribbed band for a snug yet stretchy fit.
- Simple stitches such as single crochet (SC), double crochet (DC), and front-post half double crochet (FPHDC).
- Beautiful color accents for a personalized touch.
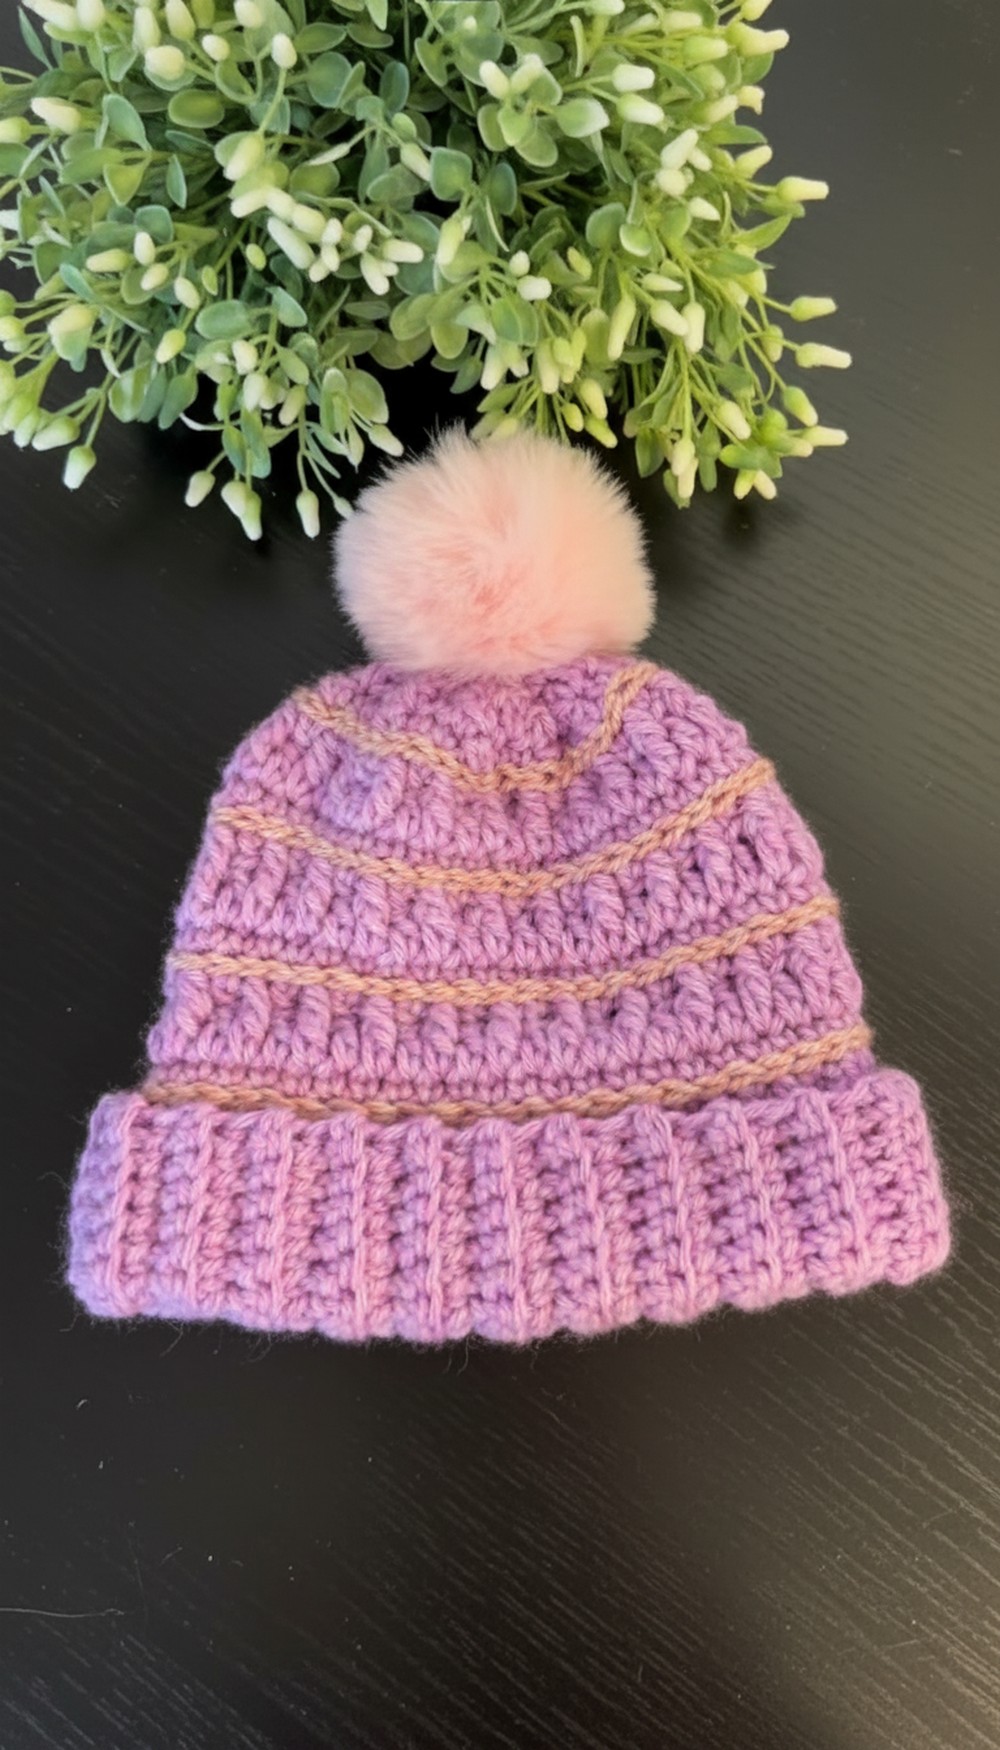
- Optional pom-pom to add charm to the design.
Skill Level
Beginner to Intermediate: Some knowledge of basic crochet stitches is recommended.
Materials Needed
- Yarn: 12-ply chunky acrylic yarn (alternatively, 8-ply double-knit yarn).
- Hook: 4.5 mm crochet hook.
- Pom-pom: Optional, matching or contrasting color.
- Tapestry Needle: For weaving in ends and closing the hat’s top.
- Scissors
Step-by-Step Pattern
Step 1: Create the Hat Band
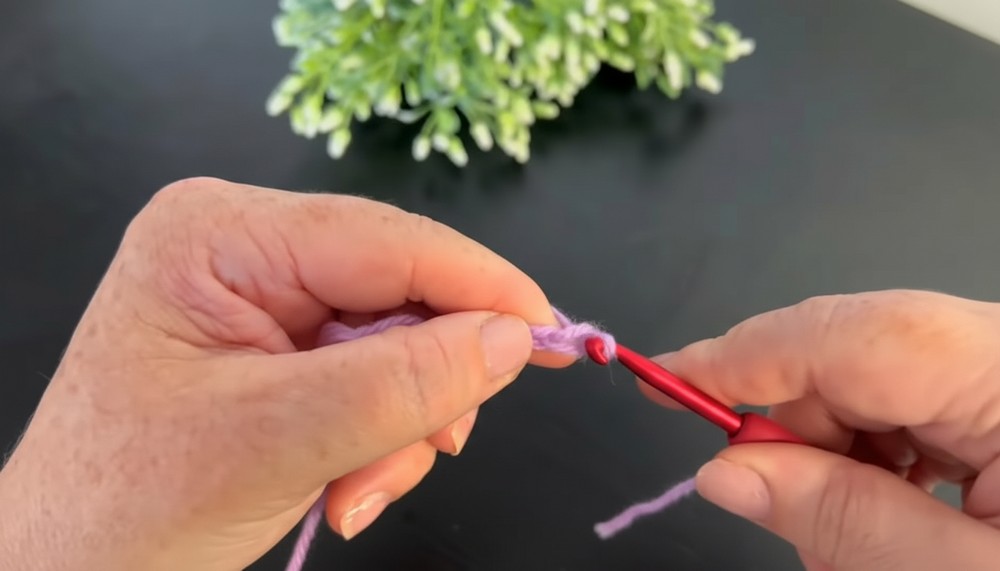
- Slip Knot & Chain: Start with a slip knot and chain 11 stitches.
Pro Tip: Ensure the tension is even to avoid warping the band. - Row 1 (SC into the Back Loop): Starting from the second chain from the hook, single crochet (SC) into each stitch.
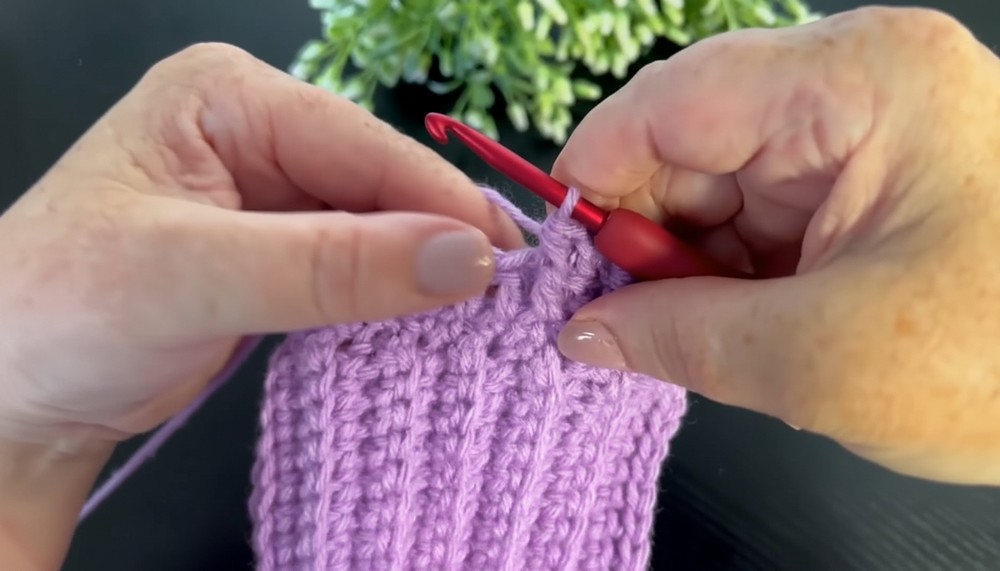
- Row 2: Chain 1, turn your work, and SC into the back loop of every stitch. This creates a ribbed texture for the band.
- Repeat: Continue working SC into the back loop rows until your band measures 15 inches long.
- Join Ends: Fold the band in half, place the ends together, and single crochet across to join the band into a circle.

2: Build the Body of the Hat
- Row 1 (Even SC Round): Chain 1 and evenly pick up and single crochet (SC) stitches around the band.
Pro Tip: Aim for consistency in spacing to maintain a clean edge. - Row 2 (DC Pattern Round): Chain 2, and work double crochet (DC) into each stitch. Slip stitch into the last stitch to close the round.
- Row 3 (FPHDC Round):
- Chain 2, work 1 DC in the first stitch.
- Work front post half double crochet (FPHDC) into the next stitch.
- Skip one stitch and repeat the pattern around.
- Slip stitch into the last stitch to finish the round.
- Repeat the pattern rounds (Rows 2–3), alternating between DC and FPHDC, until the hat measures 7 inches long.
3: Color Changes (Optional)
- Add Pink Yarn: Slip stitch the pink yarn, chain 1, and work slip stitches loosely around the hat.
Pro Tip: Keep the tension relaxed to avoid puckering. - Return to Purple Yarn: Slip stitch the purple yarn back on, chain 1, and work single crochet (SC) stitches into the purple stitches. Alternate colors as desired.

4: Decreasing for the Top
- Decrease Round 1: Chain 1, work SC into two stitches, then decrease by working SC into the next two stitches together. Repeat this pattern around.
- Decrease Round 2: Chain 1, work SC stitches, then decrease into the following stitch.
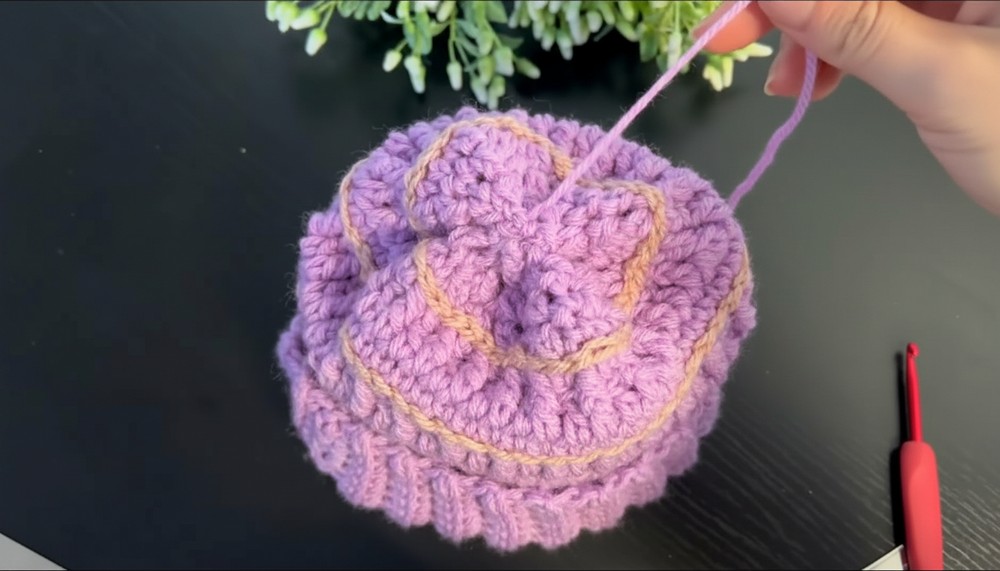
- Final Round: Chain 1 and work decreases into every stitch. Fasten off.

5: Finish the Hat
- Close the Top: Using a tapestry needle, weave around the top edge and pull tightly to close the hat. Secure and fasten off.
- Attach Pom-pom: Sew the pom-pom onto the top, ensuring it is firmly attached.
Conclusion
Your crocheted baby hat is now complete! Its snug fit and charming pattern make it suitable for everyday wear and special photo shoots. Experiment with colors, yarn weights, and textures to create personalized variations for your little ones or gifting projects.
Tutor’s Suggestions
- Customization: Add stripes, embroidery, or embellishments to enhance the design.
- Yarn Selection: Choose soft, baby-safe yarns for maximum comfort.
Tip
To ensure a uniform look, count stitches consistently in each round, especially when decreasing the top. This keeps the hat neat and symmetrical.


