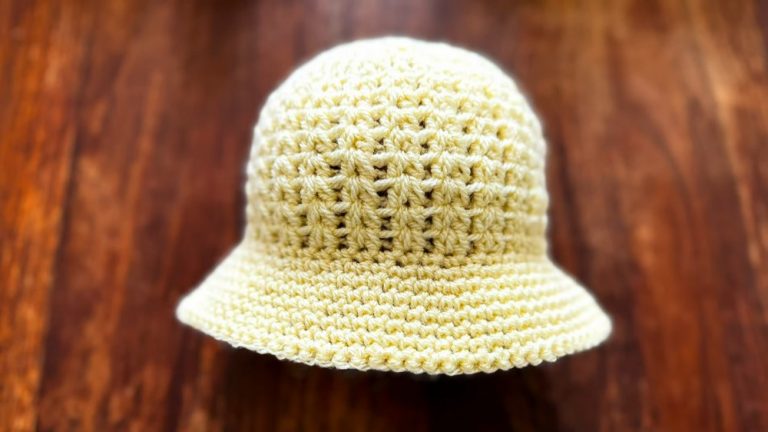
How to Crochet Mini Hanging Flower Plant Pattern for Any Space
Learn to Crochet a Mini Hanging Flower Plant That Everyone Will Love

This project isn’t just about the final decor—it’s about the therapeutic process of crocheting. With simple stitches and creative assembly, it’s suitable for intermediate-level enthusiasts who enjoy intricate, lightweight projects. The pattern helps keep your skills sharp, introduces you to new techniques, and leaves room for personalization.
You’ll also love how it uses small amounts of yarn, making it perfect for reducing leftovers from other projects. Beyond being visually pleasing, the soft texture gives it a cozy yet modern look. This mini plant has all the beauty of a real one without ever wilting, letting you enjoy its charm for years to come.
Materials Needed
- Yarn:
- For leaves: Cotton yarn (2mm thickness) – green.
- For flowers: Cotton yarn (1mm thickness) – multiple colors.
- For basket: Double-stranded cotton yarn – brown.
- Crochet Hooks:
- For leaves: 2.75mm.
- For flowers: 1.75mm.
- For basket: 3.0mm.
- Needle: Yarn sewing needle for assembly.
- Scissors: For cutting yarn.
- Polyfill: To stuff the basket bottom lightly.

Special Features
- Multi-Layered Design: Includes detailed flower petals, leaves, and a sturdy basket structure.
- Customizable Components: Adjust leaf and flower quantities to suit your style.
- Compact Decoration: Perfect for small spaces like desks or shelves.
- Eco-Friendly: Uses cotton yarn to provide a natural, textured look.
Difficulty Level
Intermediate – Familiarity with basic crochet stitches (chains, single crochet, magic rings) and techniques like working in the back loop or front-post stitches is essential. Attention to detail is key for assembling the individual parts.
Step-by-Step Crochet Pattern
1. Leaves
Color: Green.
- Start with a slip knot.
- Chain 9 stitches.
- Turn and work single crochet (SC) into the second chain from the hook, pulling yarn loops through each subsequent chain. You’ll now have 9 yarn loops on the hook.
- Yarn over and pull through:
- First loop: Pull through individual loops one at a time.
- Next pairs of loops: Yarn over and pull through two until only two loops remain. Stop here.
- Remove the hook, place the working yarn in front, and reinsert the hook into the loops. Tighten yarn.
- Continue working through remaining chains until there are 10 loops on the hook.
- Yarn over and pull through the first loop, then subsequent pairs of loops until 3 loops remain. Pull through all 3 loops to finalize the structure.

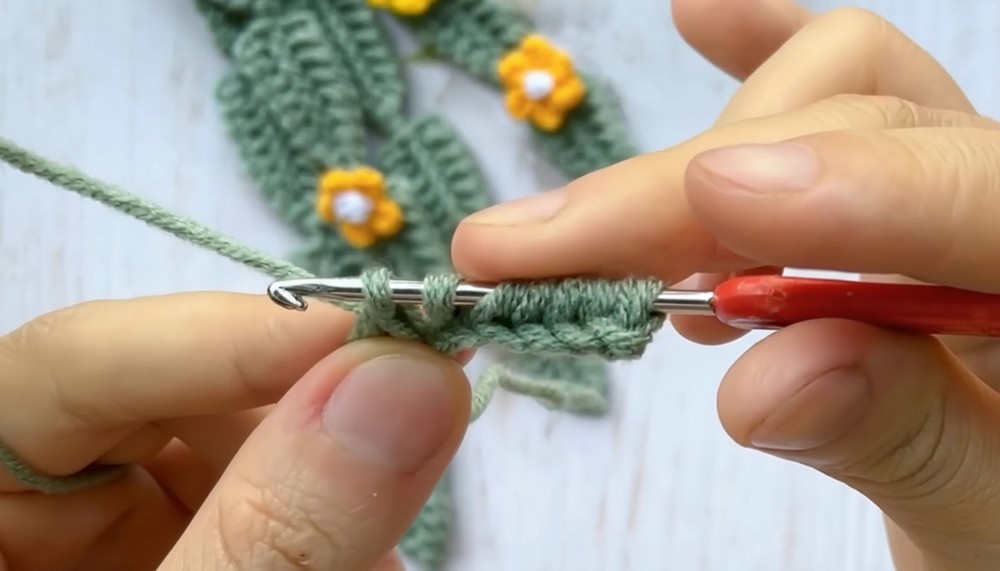
Complete the first leaf following this pattern. For additional leaves:
- Chain 9 and repeat the same process.
- Leaf count suggestion: Each vine should have 2-4 leaves. A single basket could require 6-8 vines for variation.
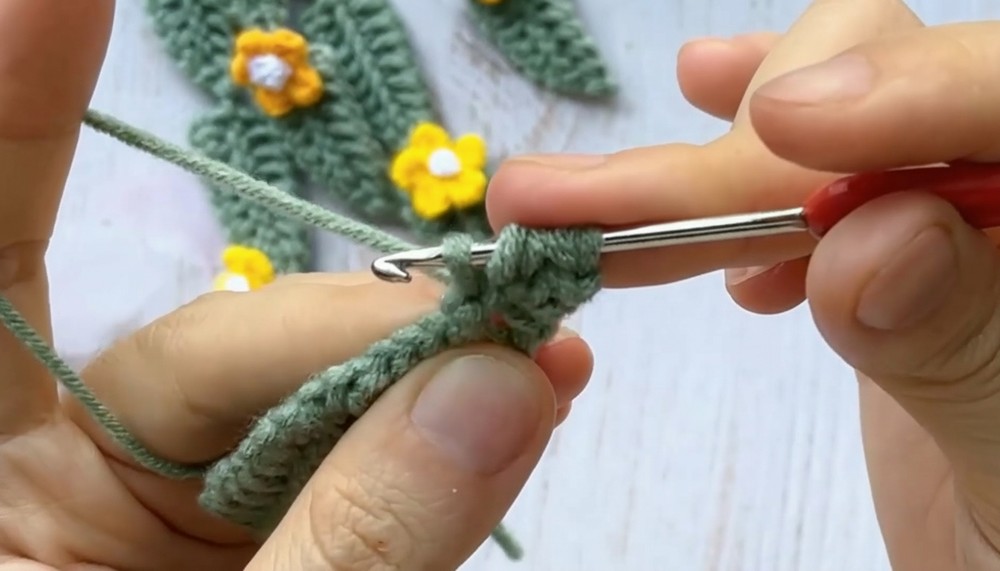
2. Flowers
Color: Multiple colors.
- Create a magic ring.
- Chain 3.
- To form the petal:
- Insert hook into the first chain, draw up a loop (2 loops).
- Yarn over, make a single crochet (SC), chain 2 (4 loops).
- Repeat until 6 loops remain on the hook.
- Yarn over and pull through all 6 loops.
- Work a slip stitch into the magic ring to secure.
- Repeat the same process for five petals to complete the flower.

Creating Flower Center
- Use a second color for the flower center.
- Create a new magic ring.
- Within the ring, work 1 chain, followed by 2 half-double crochet (HDC) stitches.
- Chain 1, pull yarn to tighten, then cut excess yarn.
- Pull the center threads to form the stamens and knot them securely.
Tip: Make 6–8 flowers depending on your basket size!
3. Basket
Color: Double-stranded brown yarn for sturdy structure.
- Create a magic ring and chain 3.
- Work 12 double crochet (DC) stitches into the ring. Pull to tighten and close with a slip stitch.
- Round 2: Chain 3 and work 2 DC into each stitch around (total: 24 DC). End with a slip stitch.
- Round 3: Work back loop only (BLO) double crochet stitches into 24 stitches to create height.
- Round 4–5: Switch to front-post double crochet (FPDC) for texture across 24 stitches per round.
- Round 6–7: Continue BLO technique to maintain consistency, closing rounds with slip stitches.
- Add the basket handle:
- Chain sufficient length for handle height (adjust to your preference).
- Attach to opposite ends of the basket using SC stitches.

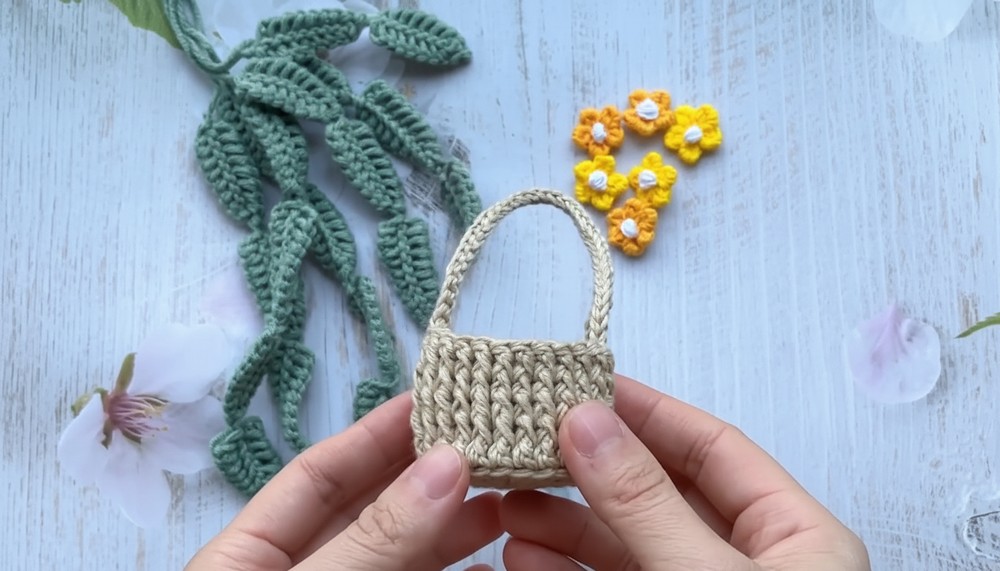
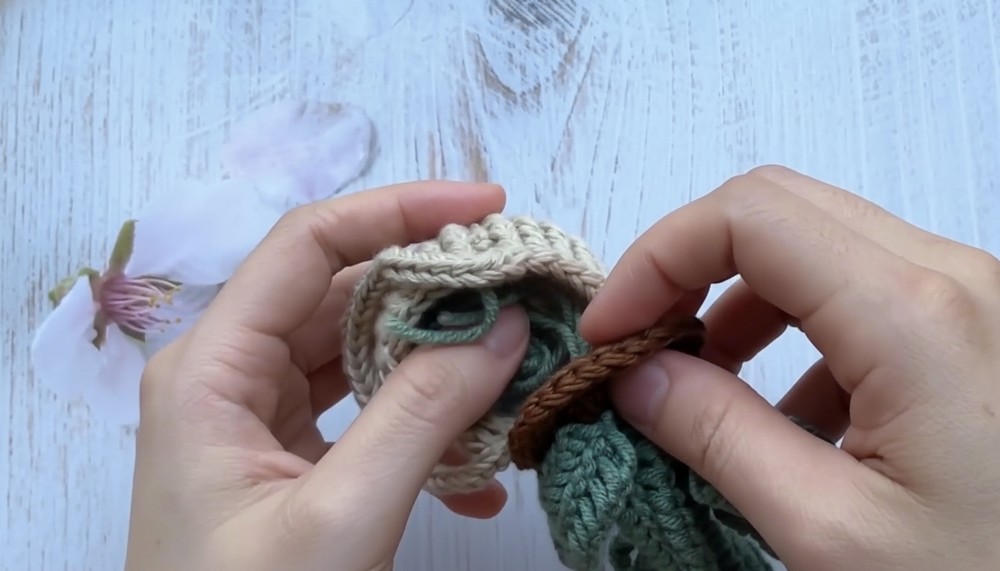
4. Assembly
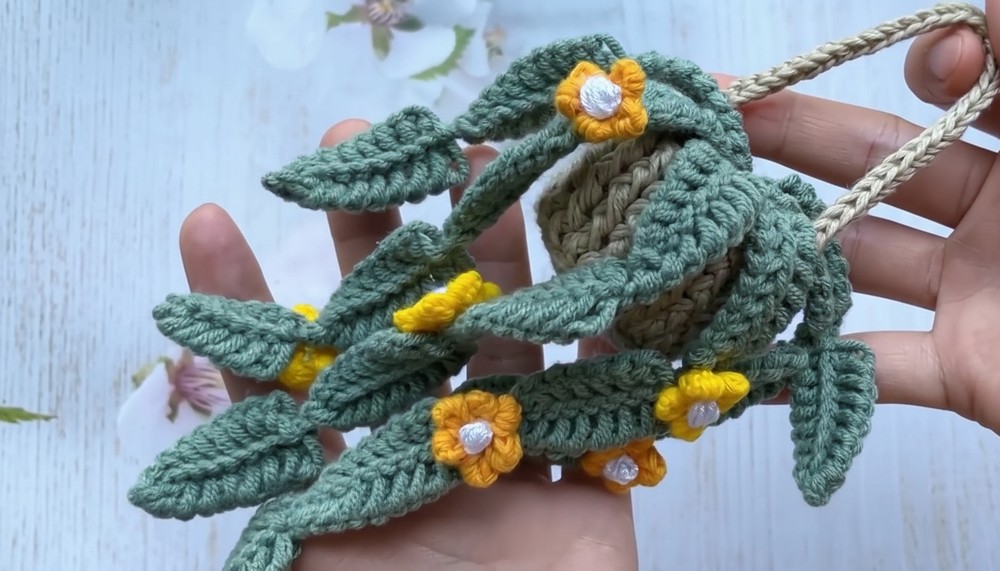
- Attach Flowers to Leaves: Sew flowers onto individual leaves. Use yarn sewing needles for precision.
- Create Full Vines: Attach leaves to stems (chains) if desired for extended structure.
- Position Base Fill: Place minimal polyfill into the basket bottom for volume.
- Insert Vines & Flowers: Carefully arrange vines and flowers into the basket for a natural hanging effect.
- Sew Components: Use thread matching the basket yarn to sew stems and vines securely in place.
Tutor Suggestions
- Stitch Confidence: Focus on uniformity in loops for petals and leaves; irregular stitches can make assembly trickier.
- Layer Variations: Experiment with flower colors and vine lengths to personalize the basket.
- Staying Centered: Always align the basket handle properly to avoid imbalance in the final piece.
Uses
- Decor: Perfect for brightening small spaces, walls, or work desks.
- Gifting: Customizable colors and flowers make it a thoughtful, handmade present.
- Practice Project: Ideal for improving crochet skills involving different stitches and assembly techniques.
Pro Tip
When making the leaves and flowers, use stitch markers to keep precise counts. For added elegance, use metallic or textured yarn for flowers!
Conclusion
This Mini Hanging Flower Basket Crochet Pattern combines simplicity with intricate detail, offering an ideal project for crochet enthusiasts of intermediate skill levels. The basket, leaves, and flowers come together beautifully, creating a unique and eye-catching piece for decor or gifting. With patience, creativity, and the guidance provided here, you’ll craft a delightful decoration that’s sure to impress.