How to Crochet Jellyfish Keychain Amigurumi Pattern for Beginners
Crochet Jellyfish Keychain Amigurumi Pattern in Simple Steps
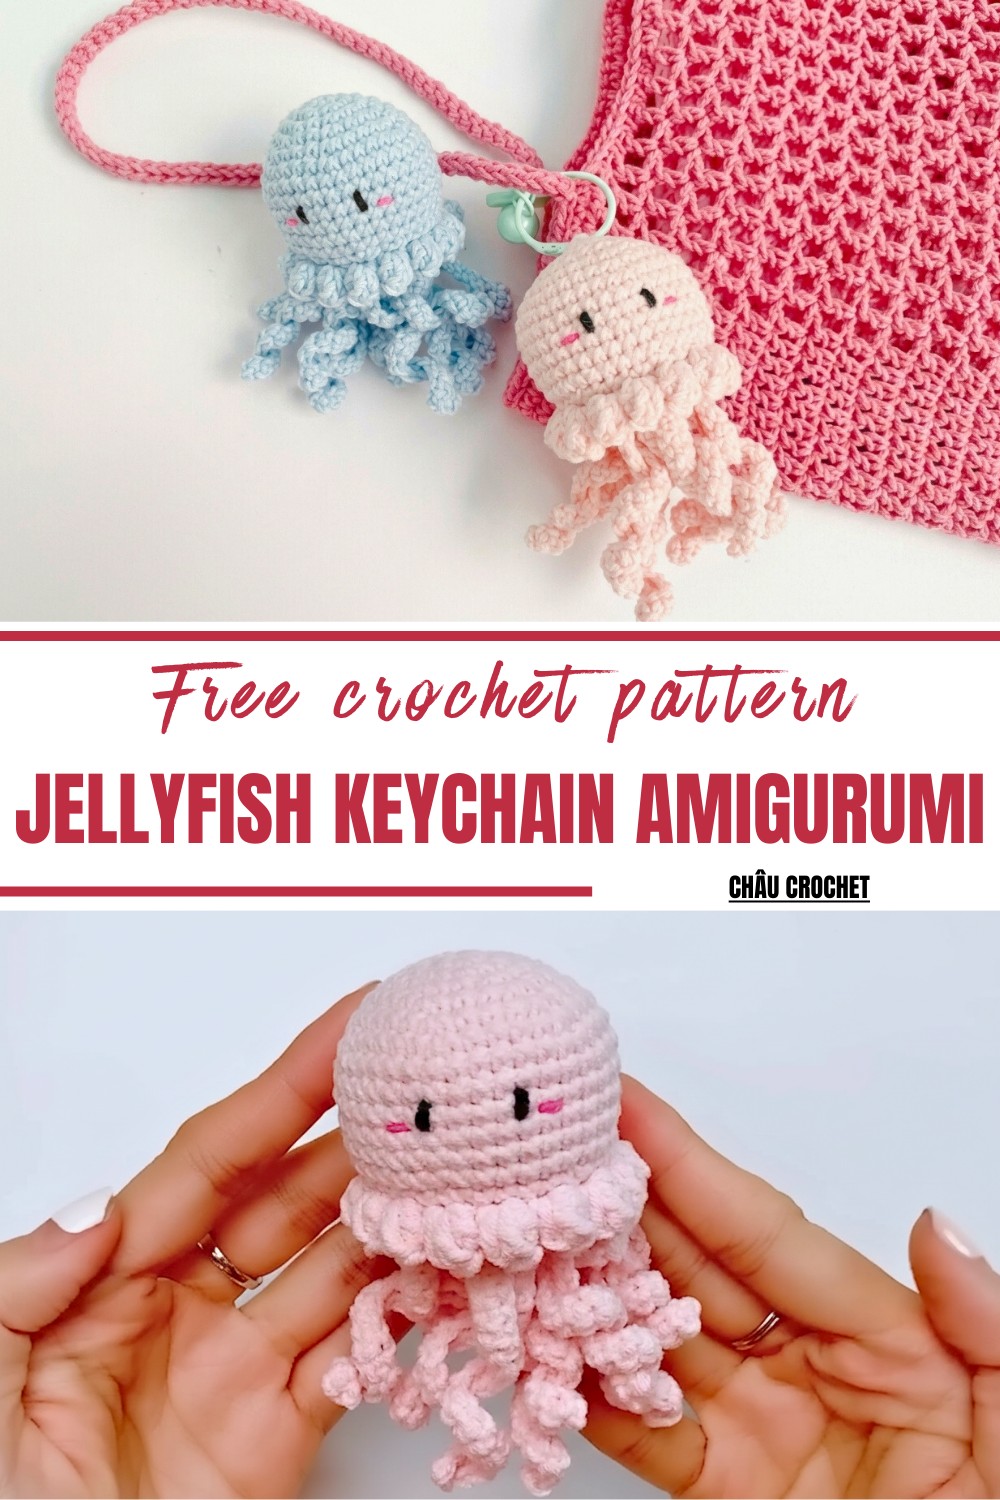
The pattern is stress-free and suitable for beginners, making it an enjoyable way to jump into crocheting without feeling overwhelmed. You can customize the jellyfish by choosing bright, pastel, or multi-colored yarns, and even play around with the tentacle lengths to suit your style. Beyond its aesthetic value, working on this pattern helps you relax and unwind while practicing repetitive stitches.
The jellyfish pattern is whimsical and stands out, turning an everyday object like a keychain into something delightful. Soothing to make and fun to use, this project lets you bring a touch of the ocean with you while spreading smiles wherever it’s displayed!
Materials Required:
- Yarn: A ball of medium-weight yarn (preferably cotton or acrylic) in your preferred jellyfish color.
- Crochet Hook: 3.0 mm hook.
- Stitch Marker (optional, but highly recommended).
- Yarn Needle for sewing and details.
- Polyester Fiberfill or stuffing for the head.
- Scissors.
- Black Yarn for the eyes.
- Pink or blush thread/yarn for the cheeks.
Special Features:
- Level of Difficulty: Beginner
- Time Required: Roughly 3–4 hours depending on your speed and familiarity with stitches.
- Tutor’s Suggestions:
- Use neutral or pastel colors for a soft and whimsical look.
- Stuff the jellyfish’s head lightly so it retains its shape without being too tight.
Step-by-Step Pattern
Part 1: Crochet the Jellyfish Head
Step 1: Create a Magic Ring & Foundation Round
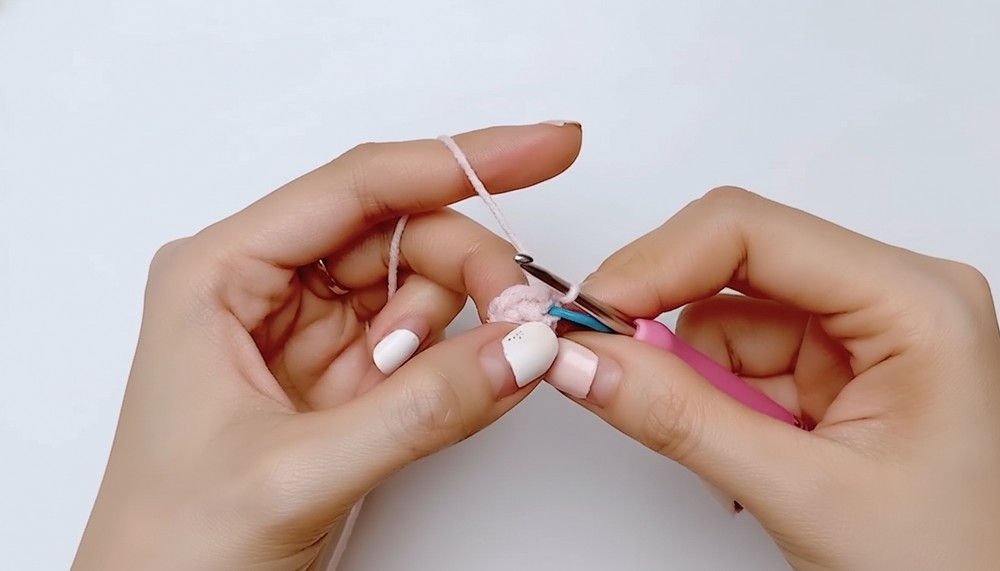
- Create a Magic Ring, then chain 1.
- Work 6 single crochet (sc) stitches into the ring. Pull the starting tail to close the ring tightly.

2: Round 2 – Increase
- Work in continuous rounds (spiral) without slip stitches.
- In each stitch from Round 1, crochet 2 single crochet (sc) stitches. You will now have 12 stitches. Use a stitch marker to mark the first stitch.
3: Round 3 – Alternate Increase
- First stitch: 1 single crochet (sc).
- Second stitch: 2 single crochets in the same stitch (increase).
- Repeat the pattern of 1 sc, 2 sc in the next, until the end of the round (18 stitches in total).

4: Round 4 – Adjust Increase Pattern
- Work 1 single crochet (sc) in each of the first two stitches, then in the third stitch, work 2 single crochet (sc).
- Continue the repeat pattern (1 sc, 1 sc, 2 sc) until you reach 24 stitches total.
5: Round 5 to Round 6: Build the Shape
- Repeat the similar pattern: increase every 3rd and 4th stitches while single crocheting in the remainder. By the end of Round 6, there will be
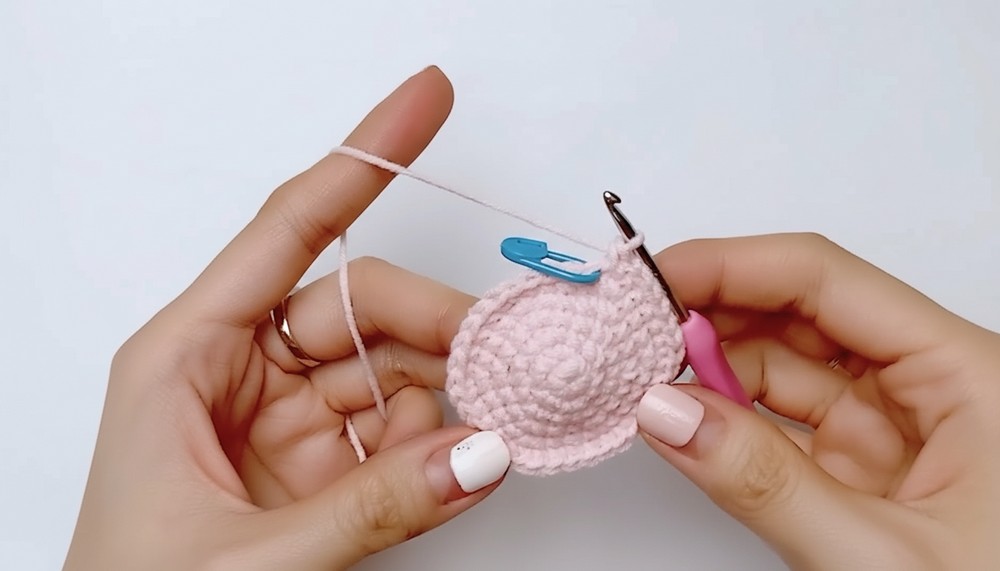
36 stitches.
6: Round 7 to Round 12 – No Increases
- 1 single crochet (sc) per stitch for each of these rounds, keeping the stitch count at 36.
- By Round 12, the body will develop into a dome-like shape. Lightly stuff the head with fiberfill.
Part 2: Decreasing for the Base Closure
Step 7: Rounds 13 to 17 – Decreasing
- Round 13: Crochet 4 sc and then 1 decrease (sc2tog). Repeat until you have 30 stitches.
- Round 14–15: Alternate between regular sc and decreases while stuffing the jellyfish. Round 15 should leave you with 18 stitches.
- Round 16: Crochet 1 sc, 1 decrease until you have 12 stitches remaining.
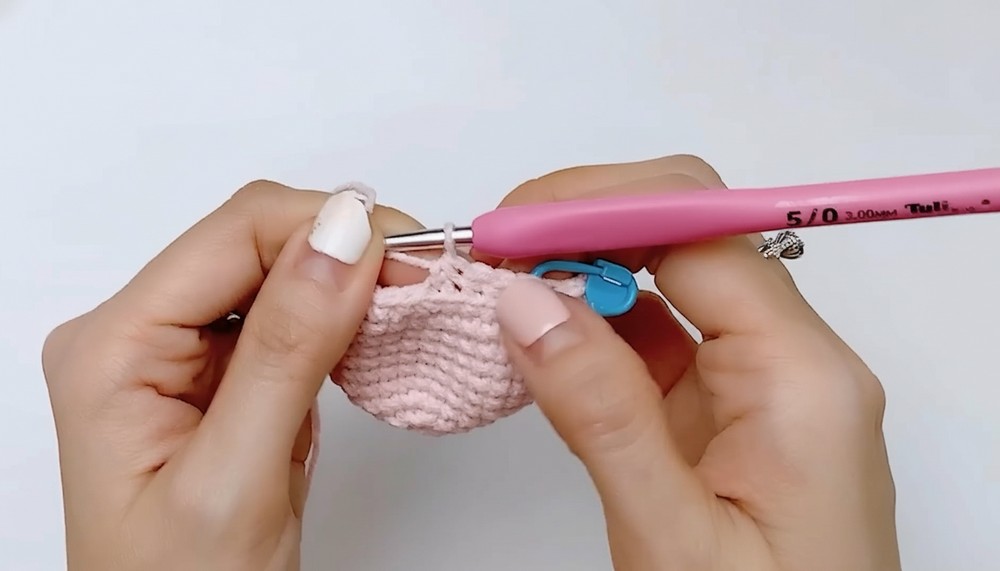
- Round 17 (Final Round): Reduce all remaining stitches by working decreases (sc2tog) until the hole closes. Fasten off and weave in the ends.
Part 3: Adding Tentacles
Step 8: First Tentacle
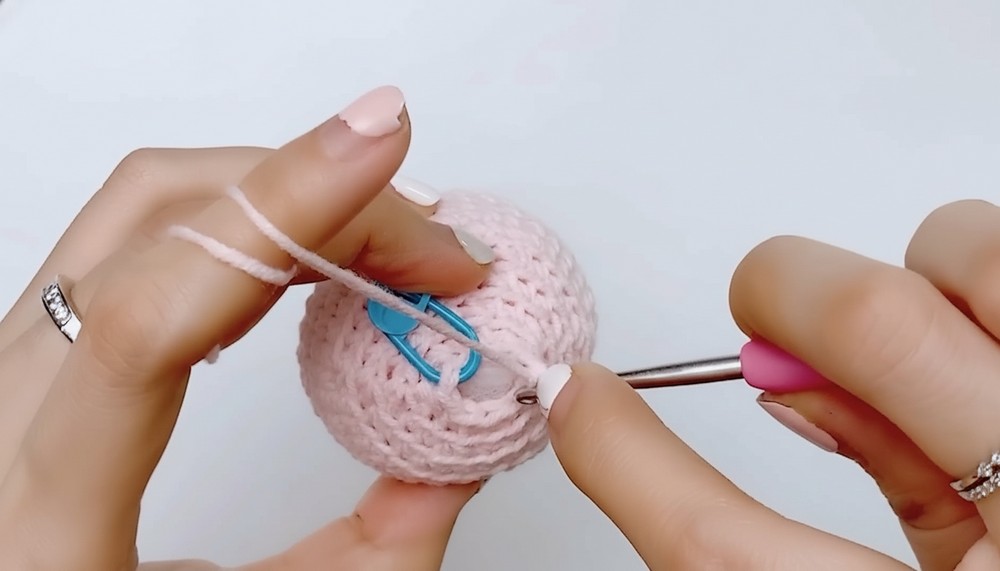
- Locate the bottom “ridge” of the jellyfish from the last step.
- Attach yarn to one ridge and chain 21.
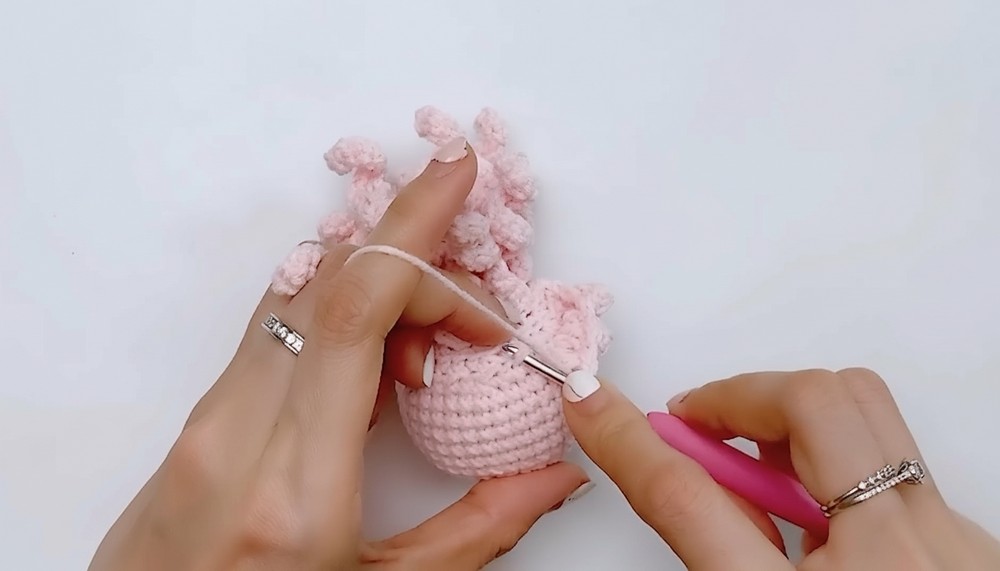
- Starting from the 2nd chain from the hook, work 1 single crochet (sc) in every chain down. This will create a curled effect. Secure it to the base with a slip stitch.

9: Repeat for Multiple Tentacles
- Slip stitch into the next available stitch on the base. Repeat the same process, creating 11 tentacles in total spaced evenly around the base of the jellyfish.
- Slip stitch at the end of the last tentacle, fasten off, and weave in the ends.
4: Hump Detailing (Optional)
10: Decorative Bobble Stitches
- Attach yarn at the base of the head near the tentacles. Work bobble stitches (5 double crochet (dc) in the same stitch, close together) to create a ring of “bumpy” accents.
Part 5: Features
11: Adding Eyes
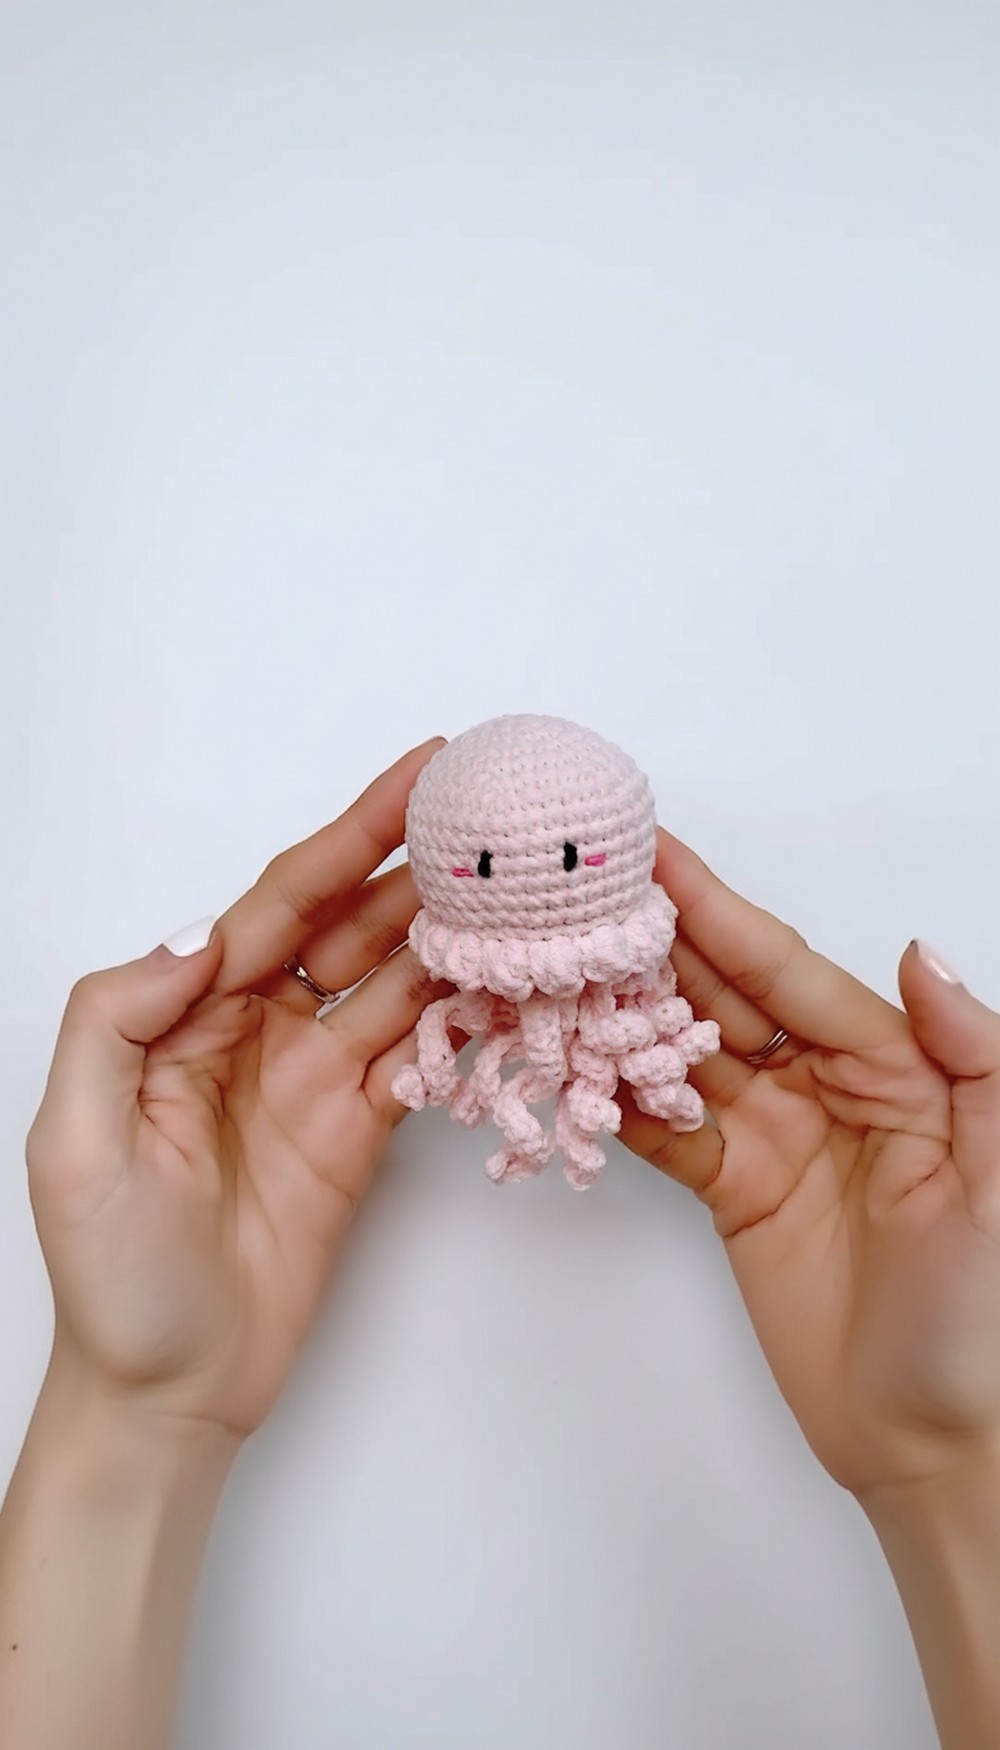
- Use black yarn to stitch eyes between Round 4 and Round 5. Space the eyes about 4 single crochet stitches apart.
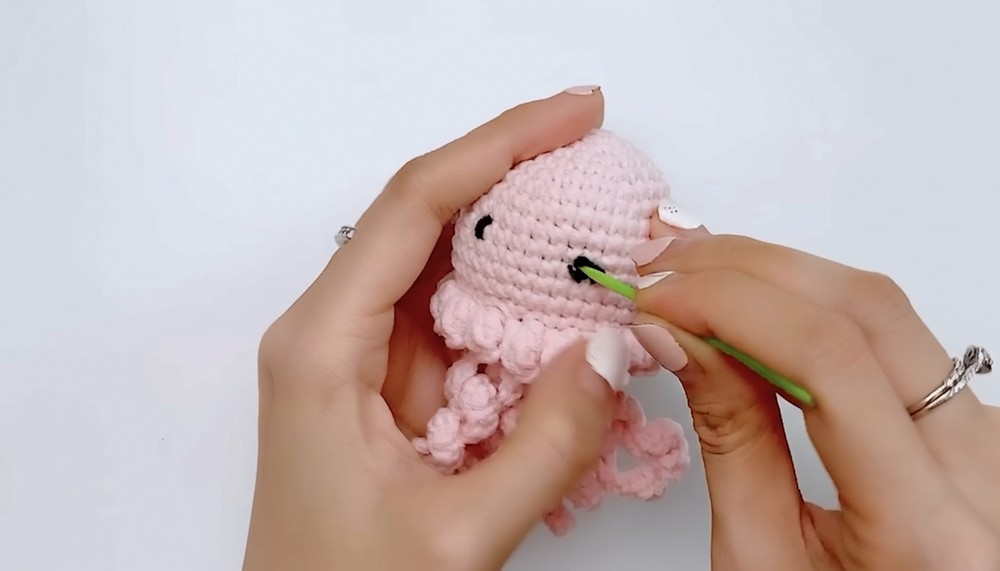
Step 12: Adding Cheeks
- With pink or blush thread, create small satin stitches below and slightly away from each eye to form rosy cheeks.

Uses
- Perfect for a keychain, bag charm, or child’s room decoration.
- Can be used as a small plush for children or as a thoughtful handmade gift.
- Add a keyring or chain loop to transform it into a portable accessory.
Quick Tip:
To make your jellyfish even more whimsical, try combining different yarns for the head and tentacles or use variegated yarn for a colorful effect.
Conclusion:
This Crochet Jellyfish Keychain Amigurumi is an easy yet satisfying project for beginners and pros alike. Whether you’re looking to practice your crochet skills or make a handmade gift, this jellyfish is sure to delight.