How to Crochet Daisy Flower Pattern That’s Both Light and Lovely
Crochet Daisy Flower Pattern for Gorgeous Results Every Time

It works well as a thoughtful gift decoration or as a pop of color in a creative display. The layered pattern offers depth, making the flower look realistic and giving it a professional finish. Choosing different yarn colors opens up endless possibilities to match themes or seasons.
Completing one daisy feels rewarding, offering both relaxation and a creative outlet. Whether for a personal project or as a heartfelt touch to a gift, a crochet pattern combines simplicity and versatility. Its small size makes it quick to finish, inviting anyone to enjoy the calming satisfaction of crocheting something beautiful, one petal at a time.

Materials Needed:
- Yarn: 4 strands of cotton yarn (choose colors for the center and petals).
- Hook: Appropriate size for the yarn (tutorial uses approximately 2.5mm–3.0mm hook).
- Scissors.
- Sewing needle.
Crochet Pattern – Step-by-Step
Step 1: Crochet the Center (Round 1)
- Start with a magic ring.
TIP: A magic ring allows you to cinch the center tightly for a smooth finish.
- Chain 1 (CH) (this does not count as a stitch).
- Inside the ring, work 6 single crochets (SC).
- Tighten the ring by pulling the loose end firmly.
- Slip stitch (SL ST) into the first single crochet (SC) to join the round.

2: Increase for Round 2
- Chain 1 (CH) and complete 6 single crochet increases (SC INC).
This means you will crochet 2 single crochets (SC) in every stitch from the previous round.
- At the end of the round, you should have 12 stitches total.
- Make a Slip Stitch (SL ST) into the first single crochet.
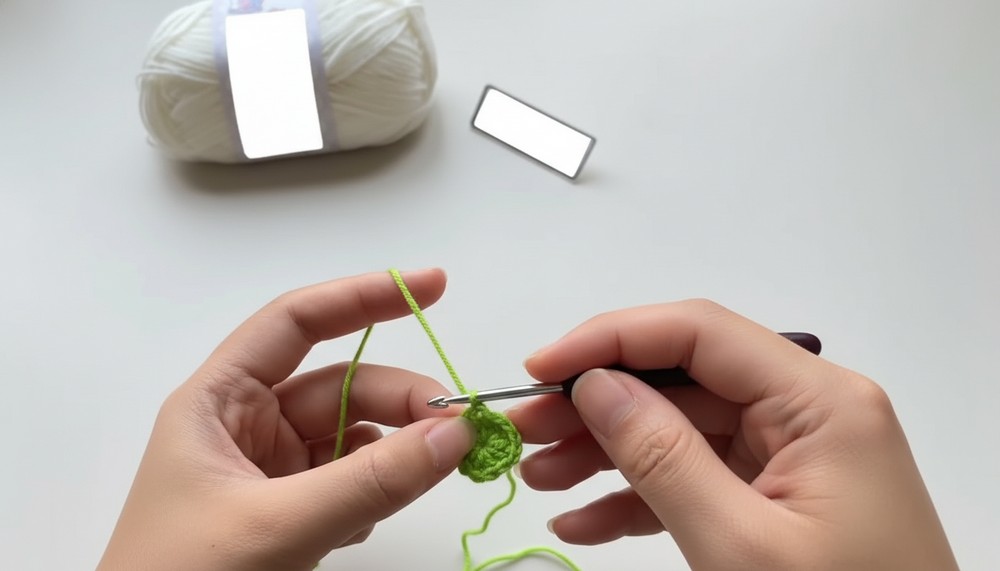
3: Crochet Round 3
- Chain 1 (CH).
- Work 1 single crochet (SC) into each stitch around (no increases).
- At the end of this round, you should still have 12 stitches in total.
- Make a Slip Stitch (SL ST) into the first single crochet and cut the yarn.
4: Attach Two Centers
- Turn the first piece to the back.
- Pick up half stitches on both sides and make slip stitches to connect it securely.
- Place the yarn tail in the middle to tightly secure the connected layers.
5: First Layer of Petals
- Change yarn color (for the petals).
- Attach your yarn and stand up with 1 chain stitch (CH).
- In the front loop of the first stitch:
- Make a Slip Stitch (SL ST).
- Chain 3 (CH).
- Work 1 double crochet (DC) into the same stitch.
- Chain 3 (CH) and make another Slip Stitch (SL ST) into the same stitch.
This completes one petal.
- Move to the next front loop and repeat:
- Slip Stitch (SL ST).
- Chain 3 (CH).
- 1 double crochet (DC) in the same stitch.
- Chain 3 (CH).
- Slip Stitch (SL ST) in the same stitch.
- Continue for a total of 12 petals to complete the first layer of the daisy.
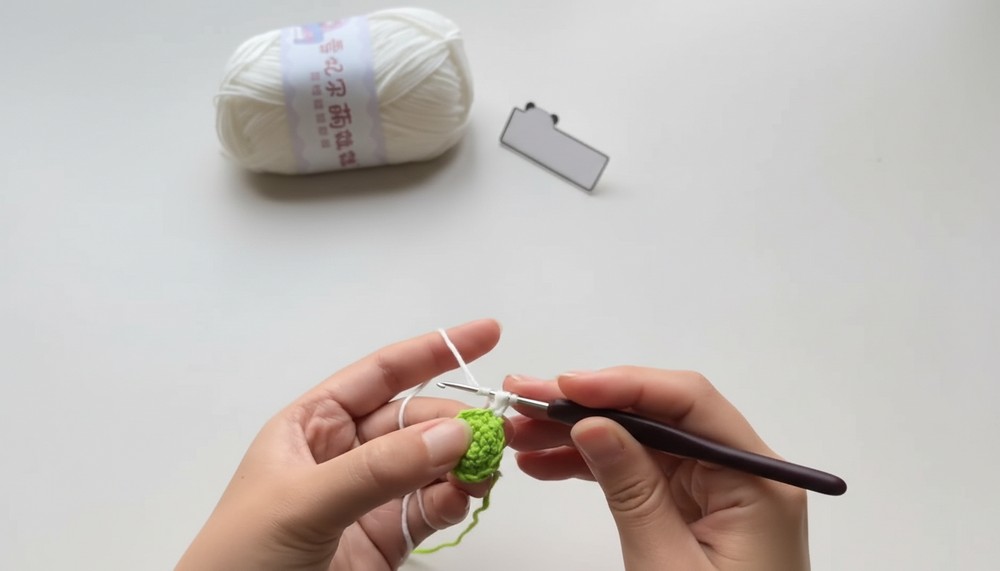
6: Second Layer of Petals
- Flip the flower to the back.
- Attach your yarn to the remaining back loops of the first round.
- In the back loop of the first stitch:
- Make a Slip Stitch (SL ST).
- Chain 4 (CH).
- Work 1 treble crochet (TR) into the same stitch.
- Chain 4 (CH) and make another Slip Stitch (SL ST) into the same stitch.
This completes one back-layer petal.
- Move to the next loop and repeat:
- Slip Stitch (SL ST).
- Chain 4 (CH).
- 1 treble crochet (TR).
- Chain 4 (CH).
- Slip Stitch (SL ST).
- Continue creating 12 back-layer petals around.
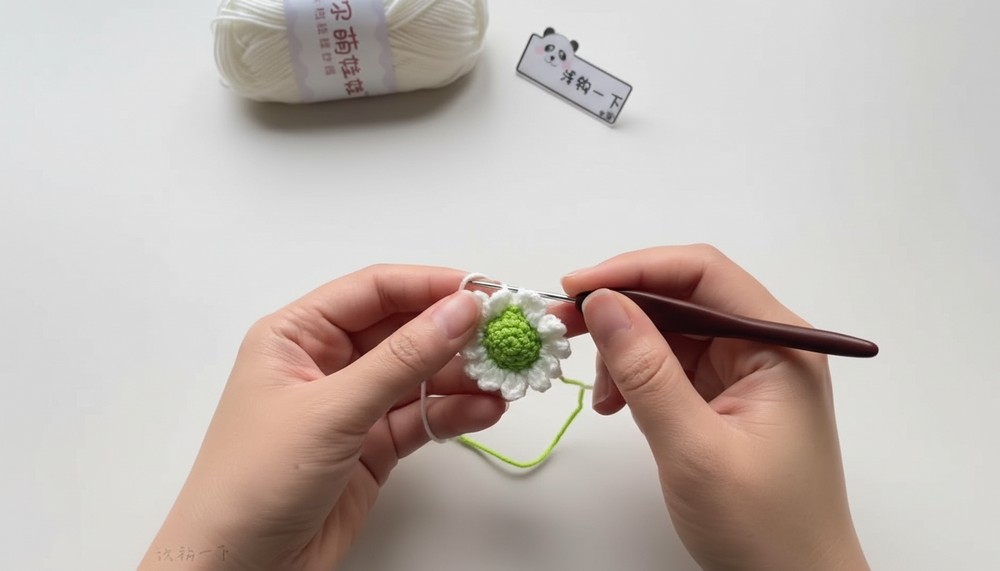

7: Finishing
- After completing the second layer, make a Slip Stitch (SL ST) into the first petal of the back layer to join.
- Cut the yarn and pull it through.
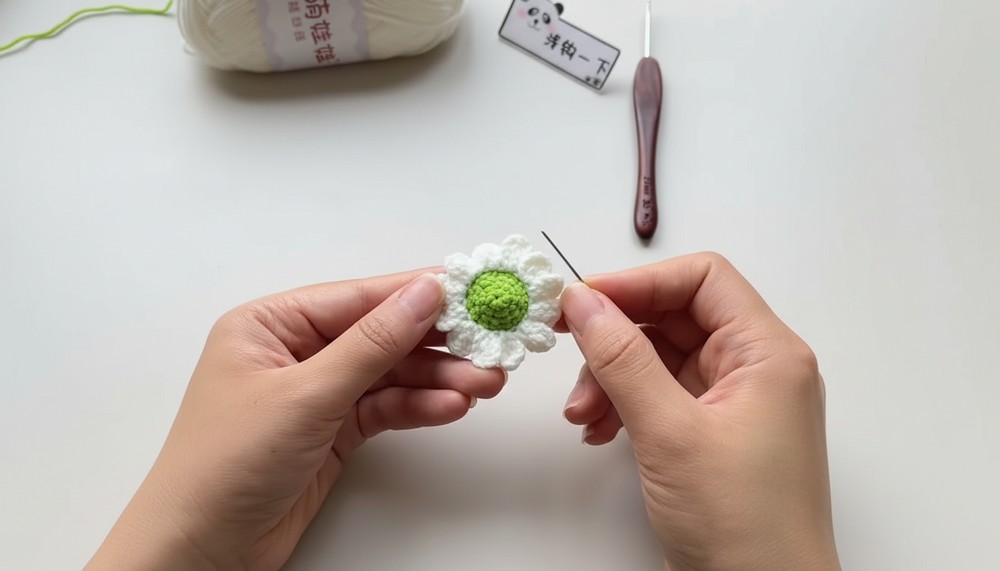
- Use a sewing needle to hide all yarn tails.
- Adjust the petals and push the central seams into the middle to smoothen the flower.
Special Features
- Two Layers of Petals: This flower has a double-layered design, giving it a fuller, more realistic look.
- Textured Dimensions: The separate front and back loops create a 3D effect.
Level of Difficulty
Beginner to Intermediate – Easy to follow, with a bit of attention needed for treble crochets and petal shaping.
Tutor’s Suggestions
- Use contrasting or complementary colors to make the center and petals pop.
- For added stiffness, apply fabric starch lightly to the petals.
Uses
- Hair Accessories: Attach to headbands or barrettes.
- Decorations: Add to bags, cushions, or curtains for a floral touch.
- Gifting: Use as an embellishment for personalized gift wrapping.
- Home Decor: Create garlands or table accents.
Pro Tip
For a neat and professional finish, ensure all yarn tails are well hidden and the petals are evenly spaced. Block your flower gently to achieve perfect petal alignment.
Conclusion
This double-layer crochet daisy flower is not only easy to make but also incredibly versatile. Its three-dimensional pattern elevates it from a simple motif to a stunning embellishment for countless projects. Whether for personal use or gifting, this pattern adds beauty and charm wherever it’s placed.