Free Crochet Cuffed Baby Boots Pattern That Moms Will Love
Achieve warmth and charm effortlessly with this Free Crochet Cuffed Baby Boots Pattern, ideal for unique baby gifts in no time.
There’s something creative about tiny handmade baby items, and this cuffed baby boot pattern brings both style and function together effortlessly. Perfect for keeping little feet warm and cozy, this pattern is lightweight, soft, and created to provide comfort without compromising on cuteness. Ideal for babies aged 0 to 12 months, the pattern allows you to customize the size by simply choosing different hook sizes, making it adaptable for every little bundle of joy.
Free Crochet Cuffed Baby Boots Pattern for Comfort, Style, & Warmth
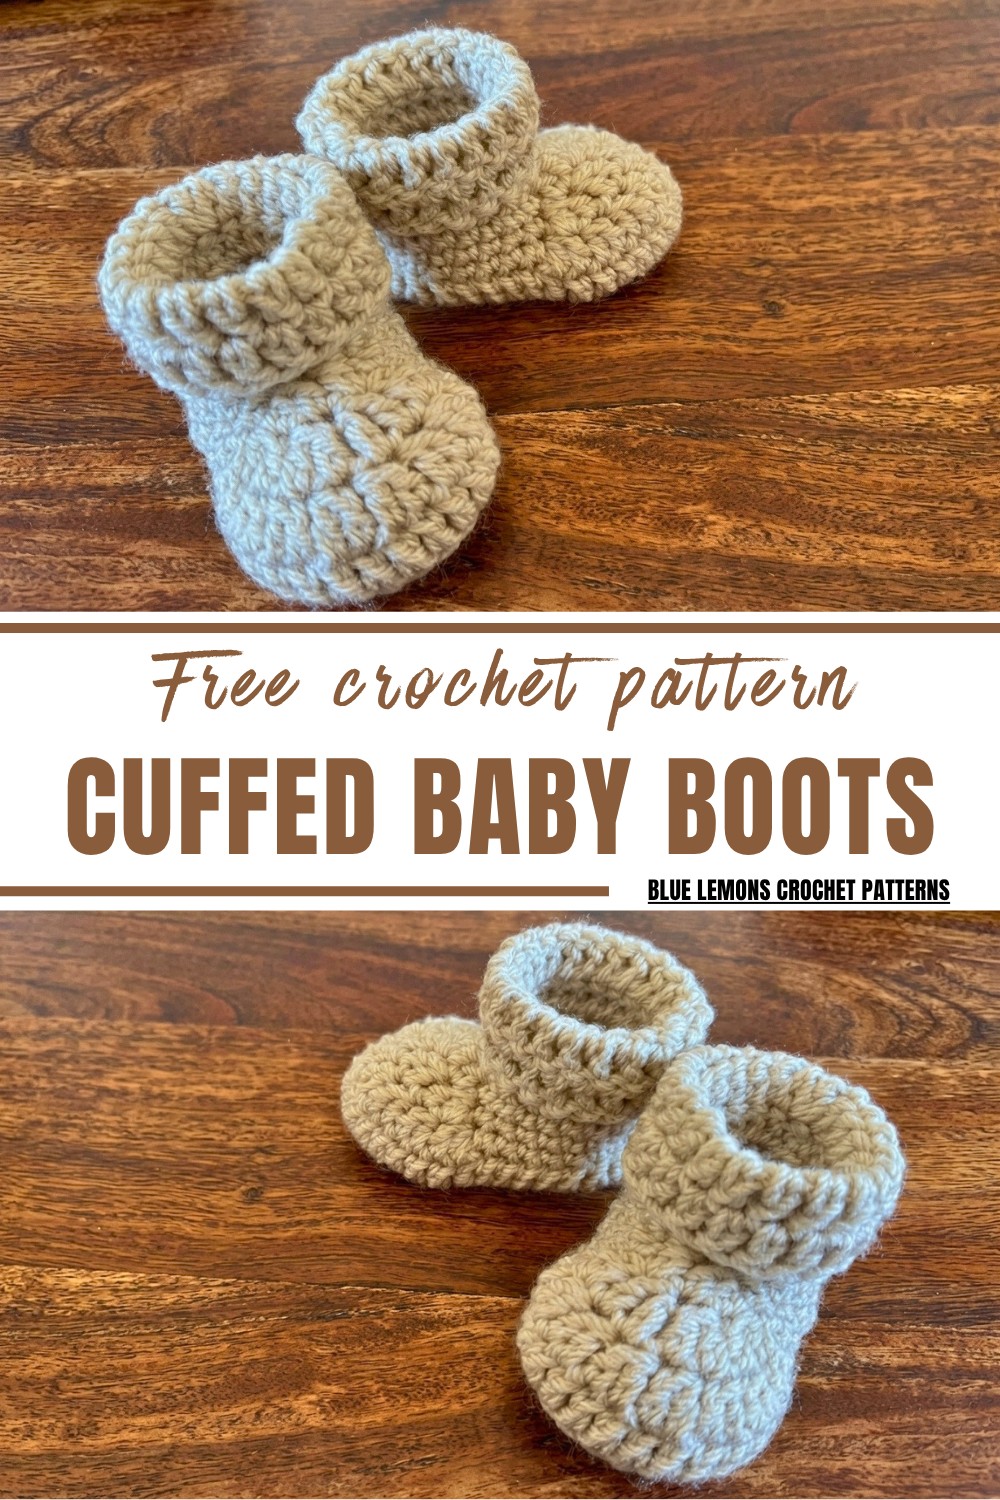
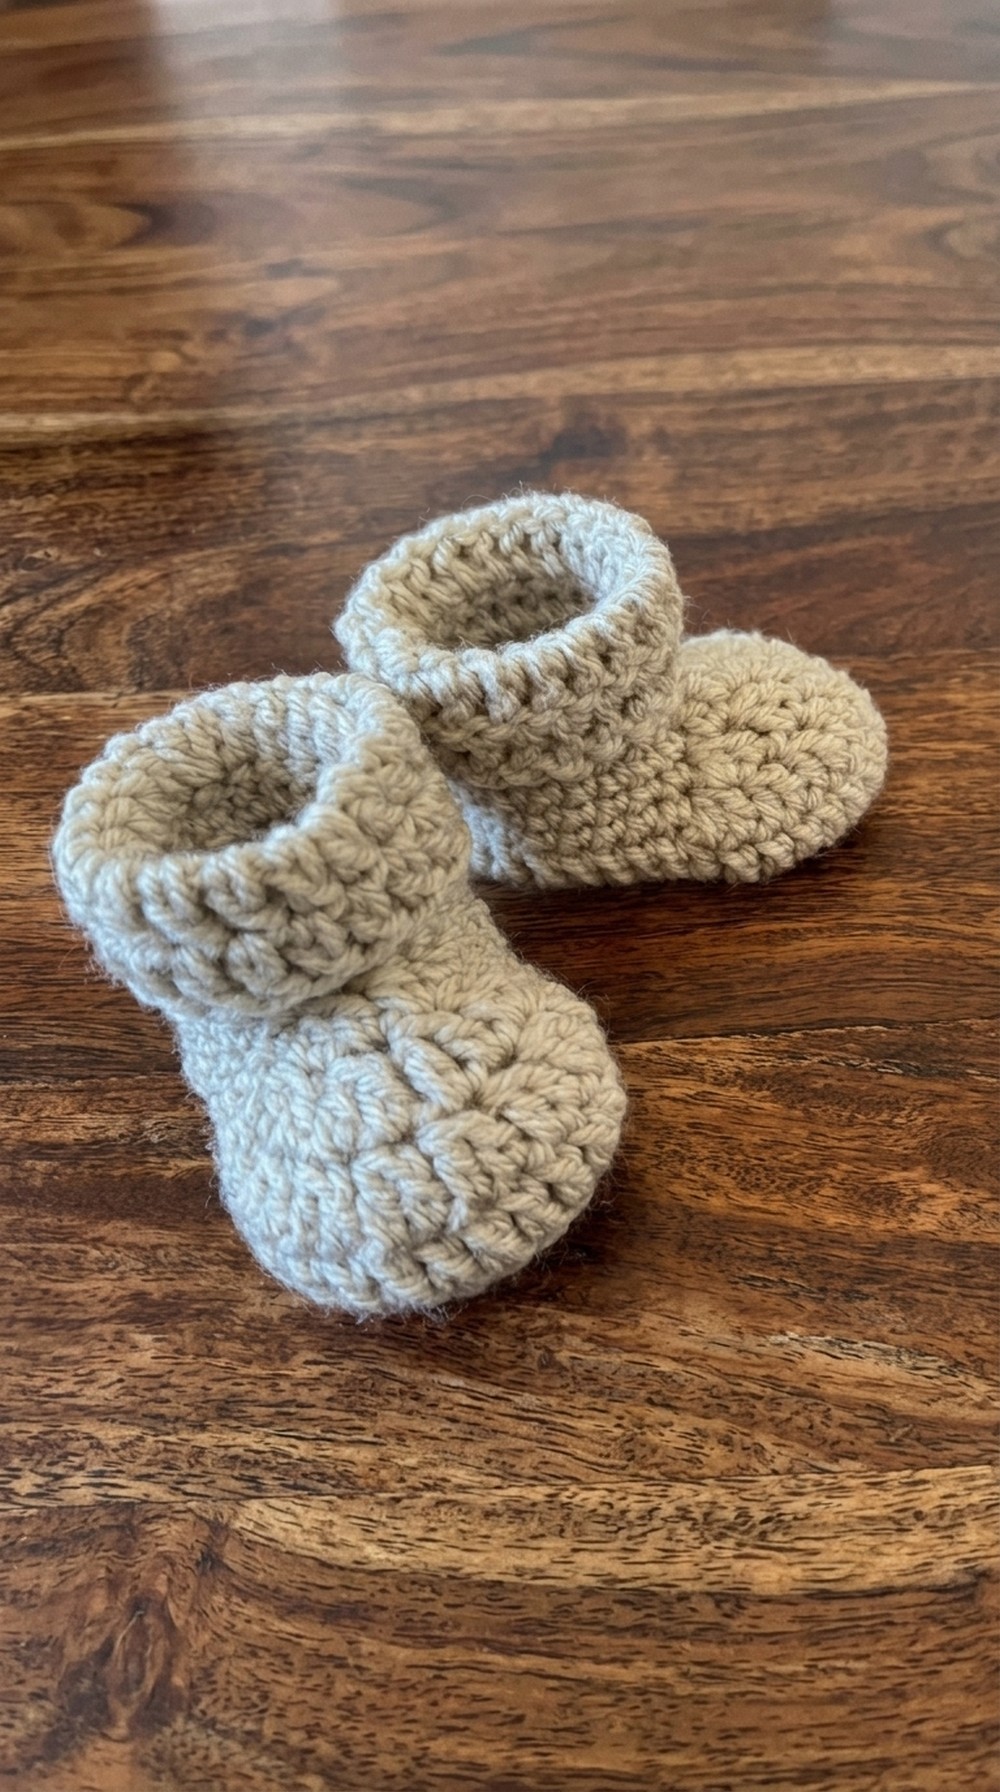
Not only is it practical, but it’s also incredibly versatile, a thoughtful gift for baby showers, a cherished keepsake for new parents, or a fashionable accessory for milestone photoshoots. The folded cuff in the pattern adds extra charm while ensuring a snug fit, making it as functional as it is adorable. With no need for advanced skills, this beginner-friendly project offers a quick and satisfying task that can be completed in under an hour.
Designed with durability and love, this pattern ensures the final product will hold up to tiny wiggling feet. Whether you’re making it as a heartfelt present or adding it to your baby’s collection, this cuffed baby boot pattern is the perfect way to combine creativity, care, and comfort into one delightful design.
Materials Needed:
- Yarn: Aran-weight yarn.
- Hook Sizes:
- 3 mm for 0–3 months.
- 3.5 mm for 3–6 months.
- 4 mm for 6–12 months.
- Other Tools: Scissors, blunt-tipped tapestry needle, and pointy needle for finishing.
Pattern Instructions:
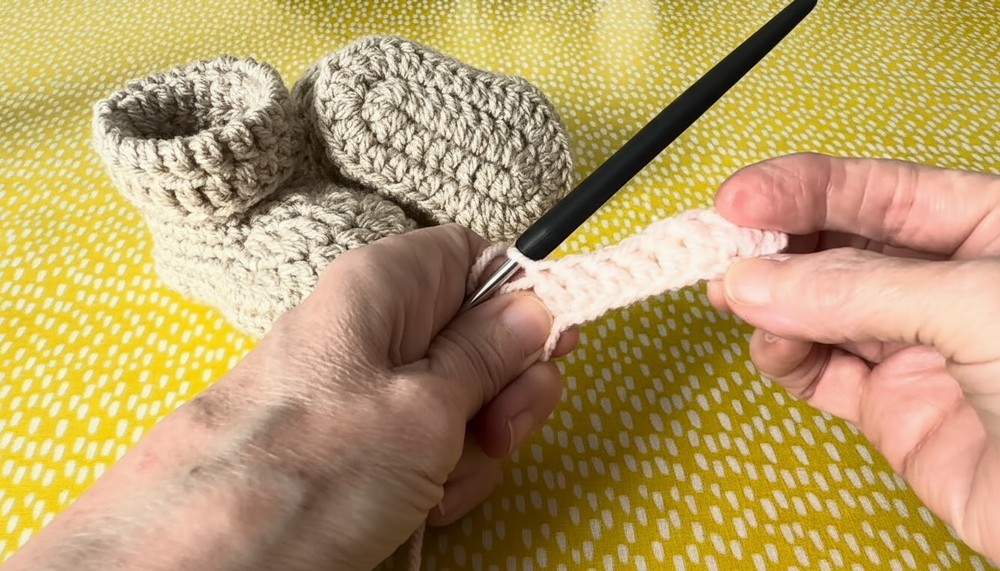
Round 1: Sole Foundation
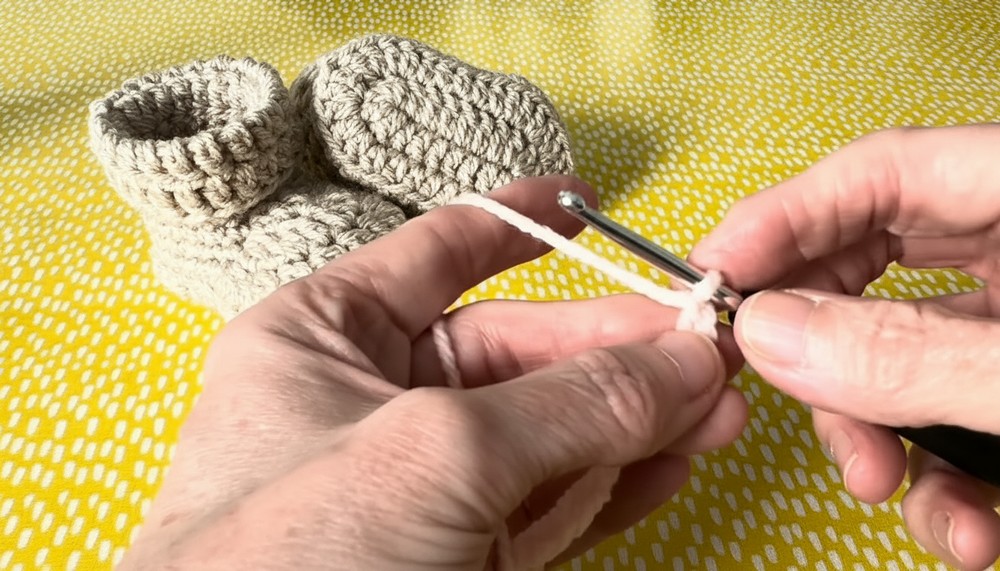
- Start with a slip knot.
- Chain 10.
- In the third chain from the hook, work 2 double crochets (DC).
- Work 1 DC into the next 6 chains.
- In the last chain, work 6 DC to form a curve around the end.
- Work back along the opposite side: 1 DC into the next 6 chains.
- In the first stitch, work 2 DC.
- Join to the top of the first stitch with a slip stitch (SL ST).
- Total stitches: 22.
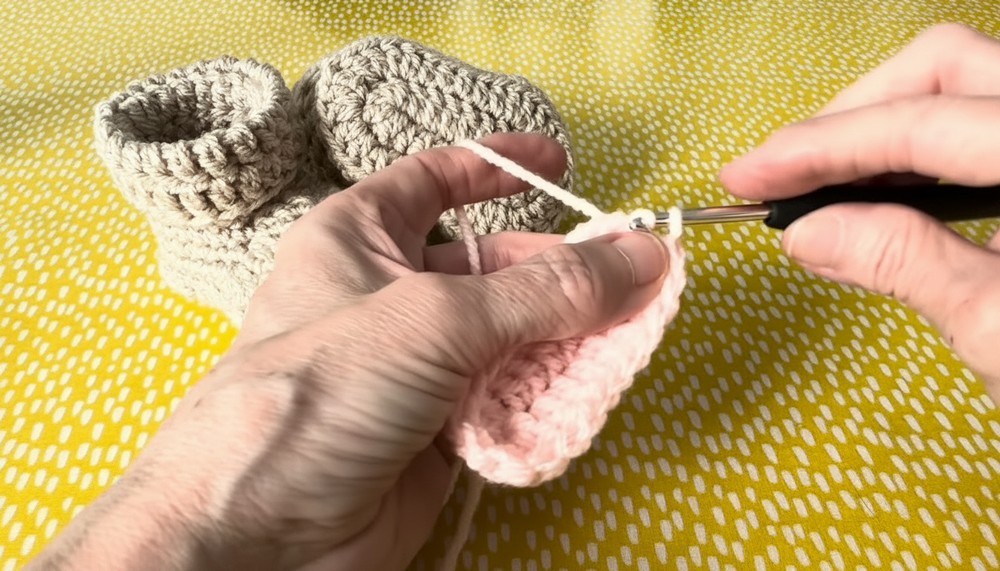
Round 2: Increasing the Sole
- Chain 2 (does not count as a stitch).
- Work 2 DC into the first stitch (at the base of the chain) and 2 DC into the second stitch.
- Work 1 half double crochet (HDC) into the next 5 stitches: Yarn over, insert hook, yarn over, pull through, yarn over, pull through all 3 loops.
- In the next 8 stitches, make 2 DC into each stitch.
- Work 1 HDC into the next 5 stitches.
- Finish by working 2 DC into the final 2 stitches. Join with a SL ST.
- Total stitches: 34.
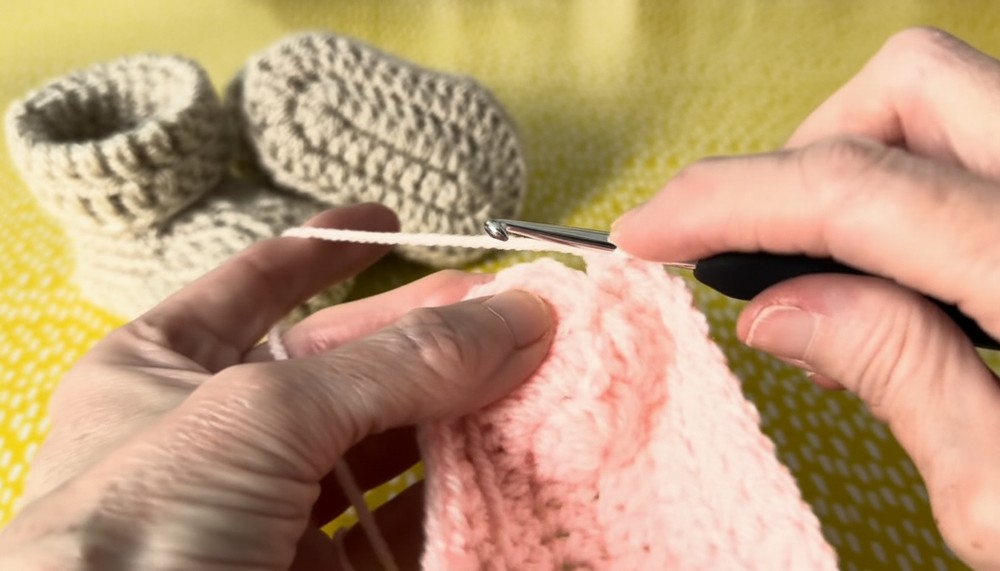
Rnd 3: Defining the Sole
- Chain 2 (does not count as a stitch).
- Work 1 DC into the back loop only for all stitches around (this creates a defined sole edge).
- Join with a SL ST.
- Total stitches: 34.
Rnd 4: Begin Shaping the Boot Body
- Chain 1.
- Work 1 single crochet (SC) into each of the first 10 stitches.
- Create 8 double crochet decreases (DC2Tog) over the next 16 stitches:
- Yarn over, insert hook into the first stitch, yarn over, pull through, yarn over, pull through 2 loops, yarn over and insert hook into the next stitch, yarn over, pull through, yarn over, pull through 2 loops, yarn over, pull through all 3 loops.
- Work 1 SC into each of the final 8 stitches.
- Join with a SL ST.
- Stitch count: 26.
5 Round: Narrowing the Toe
- Chain 1.
- Work 1 SC into each of the first 10 stitches.
- Make 4 double crochet decreases (DC2Tog) over the next 8 stitches.
- Work 1 SC into each of the last 8 stitches.
- Join with a SL ST.
- Stitch count: 22.
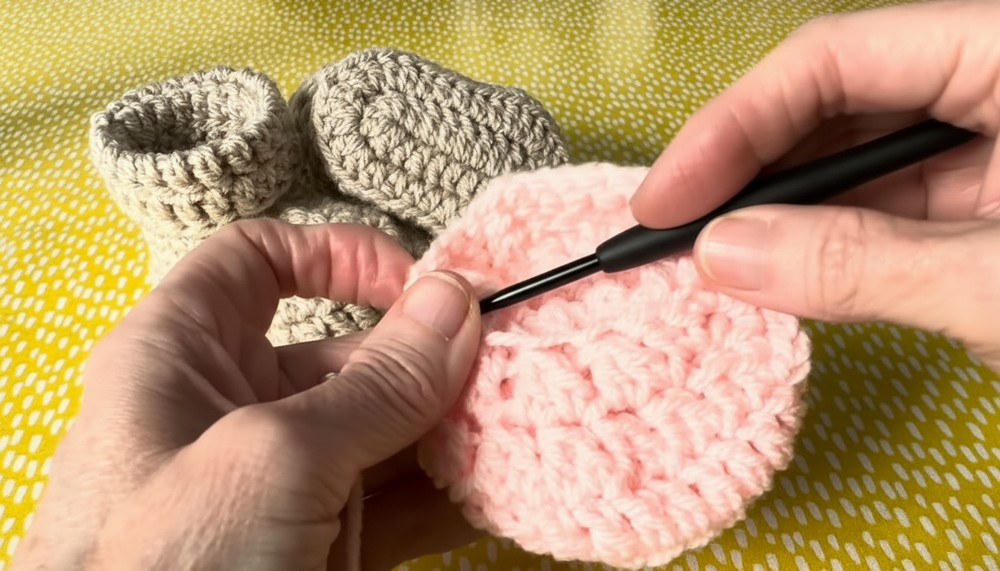
Round 6: Shaping Final Toe Round
- Chain 1.
- Work 1 SC into each of the first 10 stitches.
- Create 2 double crochet decreases (DC2Tog) over the next 4 stitches.
- Work 1 SC into each of the last 8 stitches.
- Join with a SL ST.
- Stitch count: 20.
Round 7: Transition Round
- Chain 1.
- Work 1 SC into each stitch around (20 stitches).
- Join with a SL ST.
8–11 Rounds: Cuff
- Chain 2. Work 1 DC into each stitch around (20 stitches).
- Join with a SL ST after each round.
- Repeat for a total of 4 rounds (Rounds 8, 9, 10, 11).
Finishing Touches:
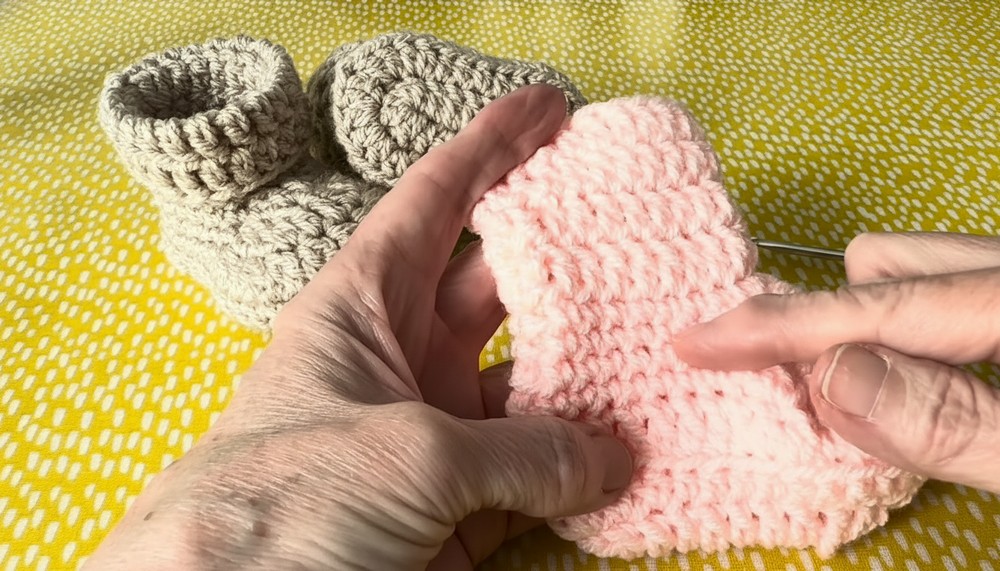
- Fasten off and weave in ends securely using a blunt and pointy needle. Use the pointy needle to split yarn threads slightly for a firm finish.
- For a polished look, turn the cuff over.
- Block the boots using water and stuffing material (e.g., old cushion stuffing) to shape the finished project. Allow to dry overnight.

Special Features:
- Back loop stitching in Round 3 creates a neat edge that defines the sole and boot body.
- This pattern is quick and customizable, making it ideal for baby gifts or baby showers.
Skill Level:
Beginner to intermediate (requires understanding of basic stitches and decreases).
Tutor’s Suggestions:
- Experiment with different yarn colors and textures for a personalized touch.
- Adjust the cuff length or design by adding unique stitch patterns like ribbing or scallops.
Uses:
These boots are perfect for keeping little feet warm and stylish. Whether for photoshoots, casual wear, or thoughtful gifts, they’re practical and adorable.
Final Tip:
When working in rounds, always double-check your stitch counts to ensure proper shaping. Blocking makes all the difference in giving a professional look, so don’t skip it!
Conclusion:
The cuffed baby boots are a quick, enjoyable project that successfully combines comfort, charm, and creativity. Whether for a special occasion or everyday use, these boots will delight both makers and recipients.