Elegant Crochet Rose Pattern for a Touch of Beauty Everywhere
Gorgeous Crochet Rose Pattern to Enhance Your Decor
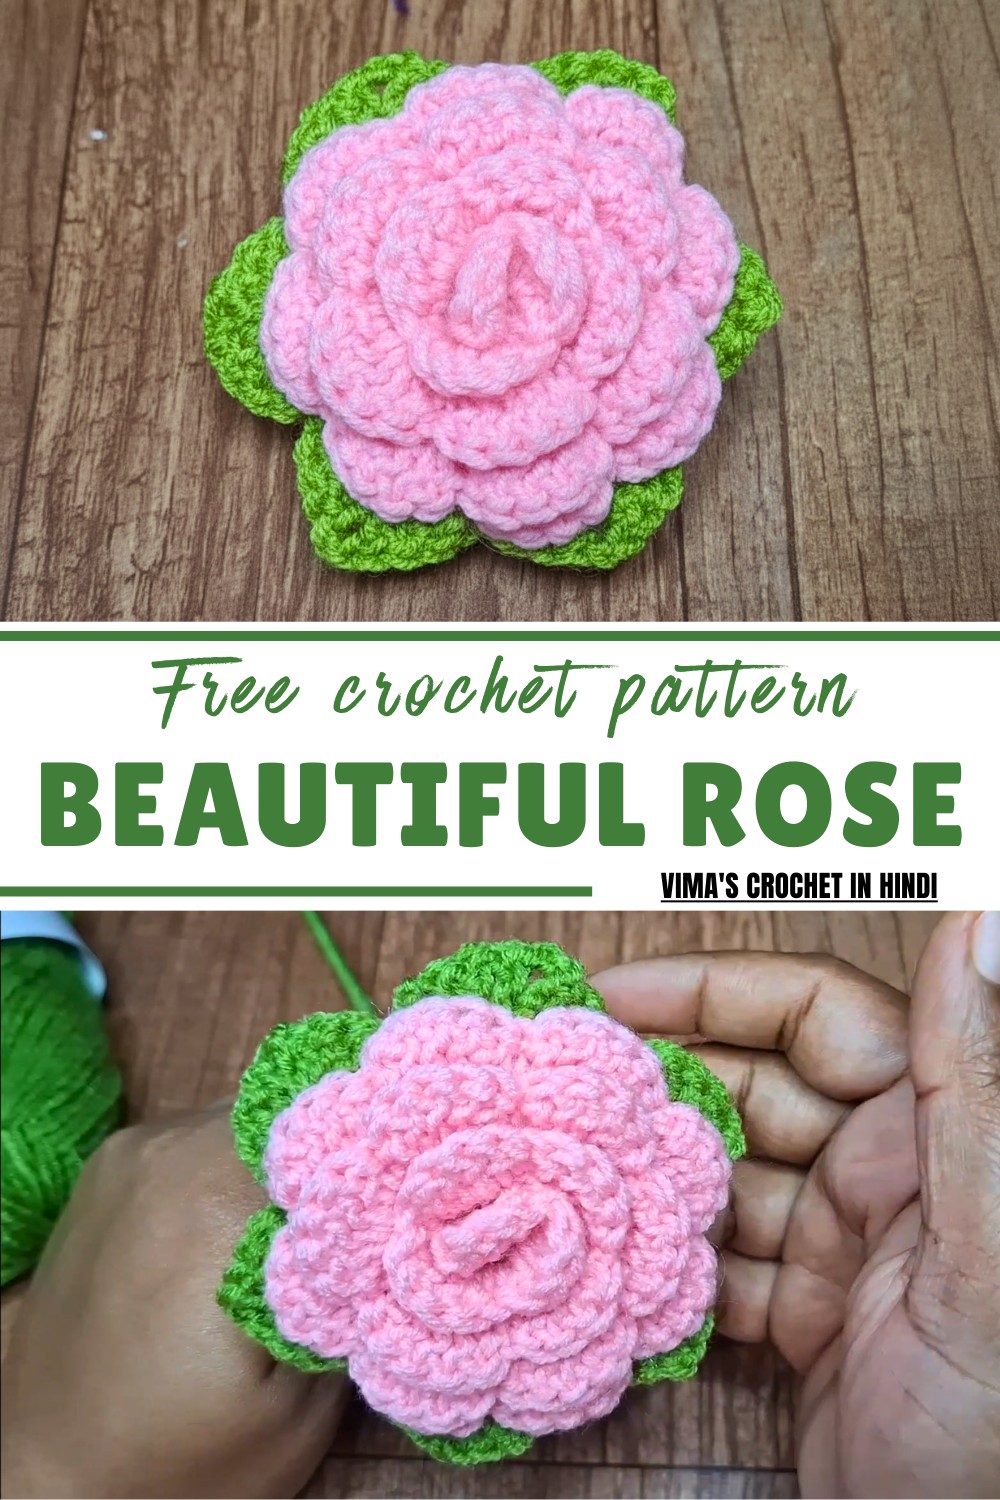
The crochet rose is an elegant and rewarding project, perfect for transforming simple items into something truly unique and eye-catching.
Materials
-
- Yarn: Hobby Store yarn in Powder Pink color (any DK weight yarn will work).
- Hook: 4mm crochet hook.
- Scissors.
- Needle: A tapestry needle for weaving ends.
- Glue gun: To stick the crochet rose securely.
- Metal flower stem/wire: Easily available on Amazon (search for “flower stick”).
- Polyfil (optional).
- Flower tape: To wrap the stem (optional).
Step-by-Step Pattern
1: Start with the Foundation
- Slip Knot: Begin with a slip knot on the hook.
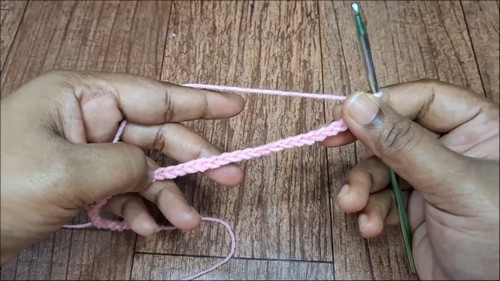
- Chain 40: Work 40 chains.
- Extra Chain: Add 1 extra chain for turning, making it easier to work the stitches in the opposite direction.
Step 2: Row 1 – Single Crochet Base
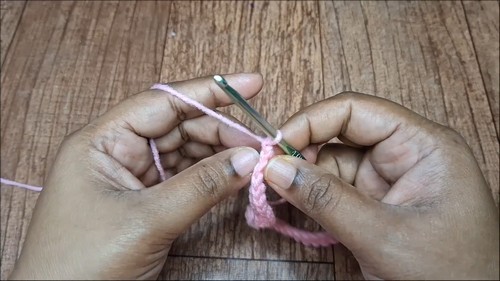
- Single Crochet: Insert your hook into the 2nd chain from the hook. Work Single Crochet (SC) into the back loop of each chain across the row.Total stitches: You should have 40 SC at the end.
- Turn: Chain 1 and turn the work.
Step 3: Row 2 – V-Stitch
- First V-Stitch: Work Double Crochet (DC) into the first SC. Chain 1, then work another DC into the same stitch. This forms a V-Stitch.
- V-Stitch Formula: DC, chain 1, DC in the same stitch.
- Skip One SC: Skip the next stitch and work another V-Stitch in the following stitch.
- Repeat: Continue skipping one stitch and working V-Stitches across the row.
- Total V-Stitches: You should have 20 V-Stitches at the end of the row.
- Last Stitch: Work the 21st V-Stitch in the final stitch of the row.
- Turn: Chain 1 and turn the work.
4: Row 3 – Petals
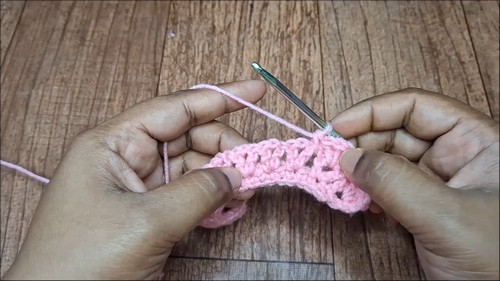
- First Petal: In the first V-Stitch, work 3 Double Crochets (DC).
- Single Crochet in Space: In the space between two V-Stitches, work a Single Crochet (SC).
- Next V-Stitch: In the second V-Stitch, work 4 DC.
- Repeat: Continue alternating between 4 DC in each V-Stitch and SC in the space between V-Stitches across the row.
- Special Note: For the last V-Stitch in the row, work 5 DC to create a fuller petal edge.
- Finish Off: Work a Single Crochet into the space at the beginning of the row, then slip stitch into the foundation row below, moving back to secure the base.
- End Work: Chain 1, cut the yarn, and secure it with a knot.
5: Assemble the Rose
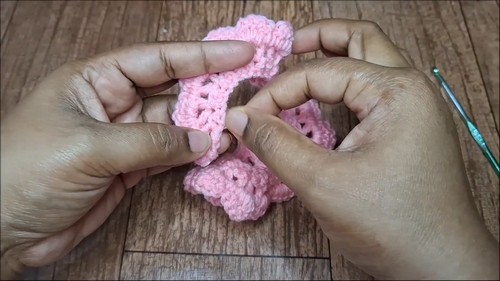
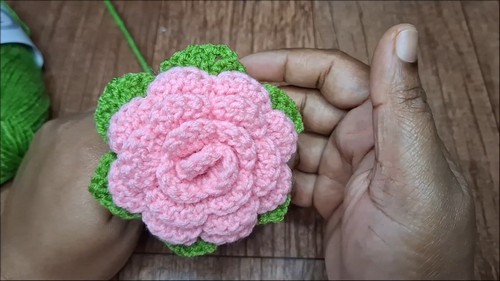
- Begin rolling the petal strip into a rose shape.
- Glue Gun: Use a glue gun to secure the layers of the rolled petals. Apply glue in small sections as you roll to ensure the rose holds its shape and doesn’t unravel.
- Adjust the petals to make sure the rose looks even and symmetrical.
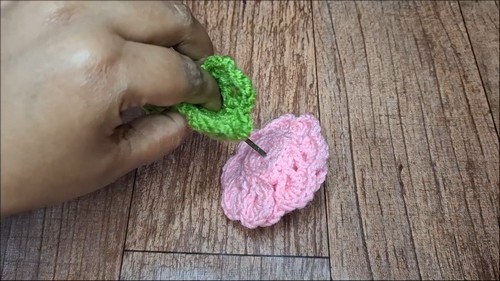
6: Create the Green Sepal
First Round: Foundation
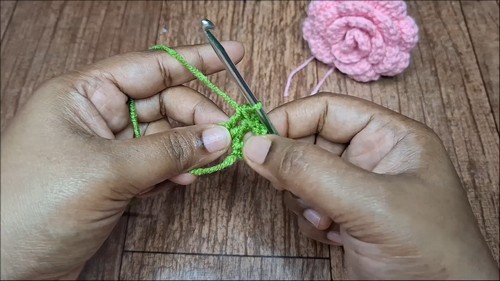
- Magic Circle: Start with a magic circle.
- Chain 3: This acts as your first Double Crochet (DC).
- Double Crochet & Chain 1: Work 2 DC in the magic circle, then chain 1.
- Repeat this pattern (2 DC, chain 1) 6 times to create 6 sets of DC pairs with spaces in between.
- Close Circle: Pull the yarn tail to tighten the magic circle. Slip stitch into the first chain to join the round.
Second Round: Shells
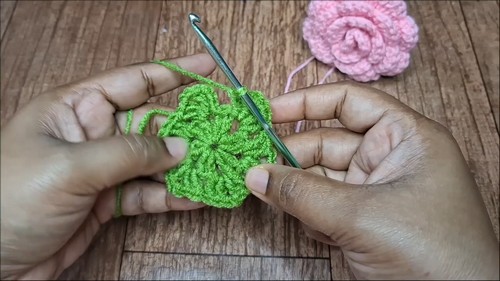
- Slip Stitch into Next Space: Move into the next chain space with a slip stitch.
- Chain 3: Acts as your first DC.
- Shell Creation: Work 2 DC, chain 2, 2 DC into the same space.
- Repeat: Work shells (2 DC, chain 2, 2 DC) in every chain space.
- Total Shells: You will have 6 shells.
- Finish Off: Slip stitch into the beginning of the round to close. Chain 1, cut yarn, and secure.
Third Round: Larger Shells
- Slip Stitch to the Center of the previous shell’s chain 2 space.
- Chain 3: Work 4 DC, chain 2, and 4 DC into the same space.
- Repeat: Work this larger shell (4 DC, chain 2, 4 DC) in every chain 2 space across the round.
- Extra Touch: Add Single Crochet (SC) in between shells to secure.
- Finish Off: Slip stitch into the beginning of the round. Cut yarn and weave in ends.
7: Attach Sepal and Stem
- Insert the metal flower stem/wire into the rose’s base.
- The wrong side of the rose petals should be facing upward.
- Wrap the wire gently with green yarn or flower tape for a seamless finish.
- Use the glue gun to secure the yarn/tape.
- Attach the green sepal securely at the base of the rose using the glue gun. Continue carefully wrapping the yarn downward to cover the stem evenly.
Conclusion
Your beautiful crochet rose is now complete! This versatile flower pattern can be used for home decorations, accessories like hair clips, bouquet arrangements, or thoughtful handmade gifts. Let your creativity flourish with different yarn colors or experiment by making smaller or larger roses.
Tutor Suggestions & Uses
- Suggestions:
- Use glossy or textured yarn for a more elegant rose finish.
- For extra embellishments, sew beads in the center.
- Uses:
- Perfect for gifts, wedding décor, or simple home décor accents.
Tip
When rolling the rose, keep the petals loose at first and adjust the tightness as you glue. This will create a natural, layered effect without flattening the petals.