
Elegant Crochet Baby Sun Hat Pattern for Ultimate Summer Style
Brighten your baby’s summer days with this Free Crochet Baby Sun Hat Pattern that’s simple to follow and perfect for sunny adventures.
Add a touch of charm to your little one’s outfit with a lightweight baby sun hat that’s as functional as it is adorable. This free crochet Baby Sun Hat pattern makes it easy to work on a stunning piece that provides excellent protection from the sun while keeping tiny heads cool and comfortable. Perfect for sunny outings, beach trips, or garden playdates, the hat’s airy pattern and soft texture ensure it’s gentle on delicate skin.
Easy Crochet Baby Sun Hat Pattern for Beginners and Experts
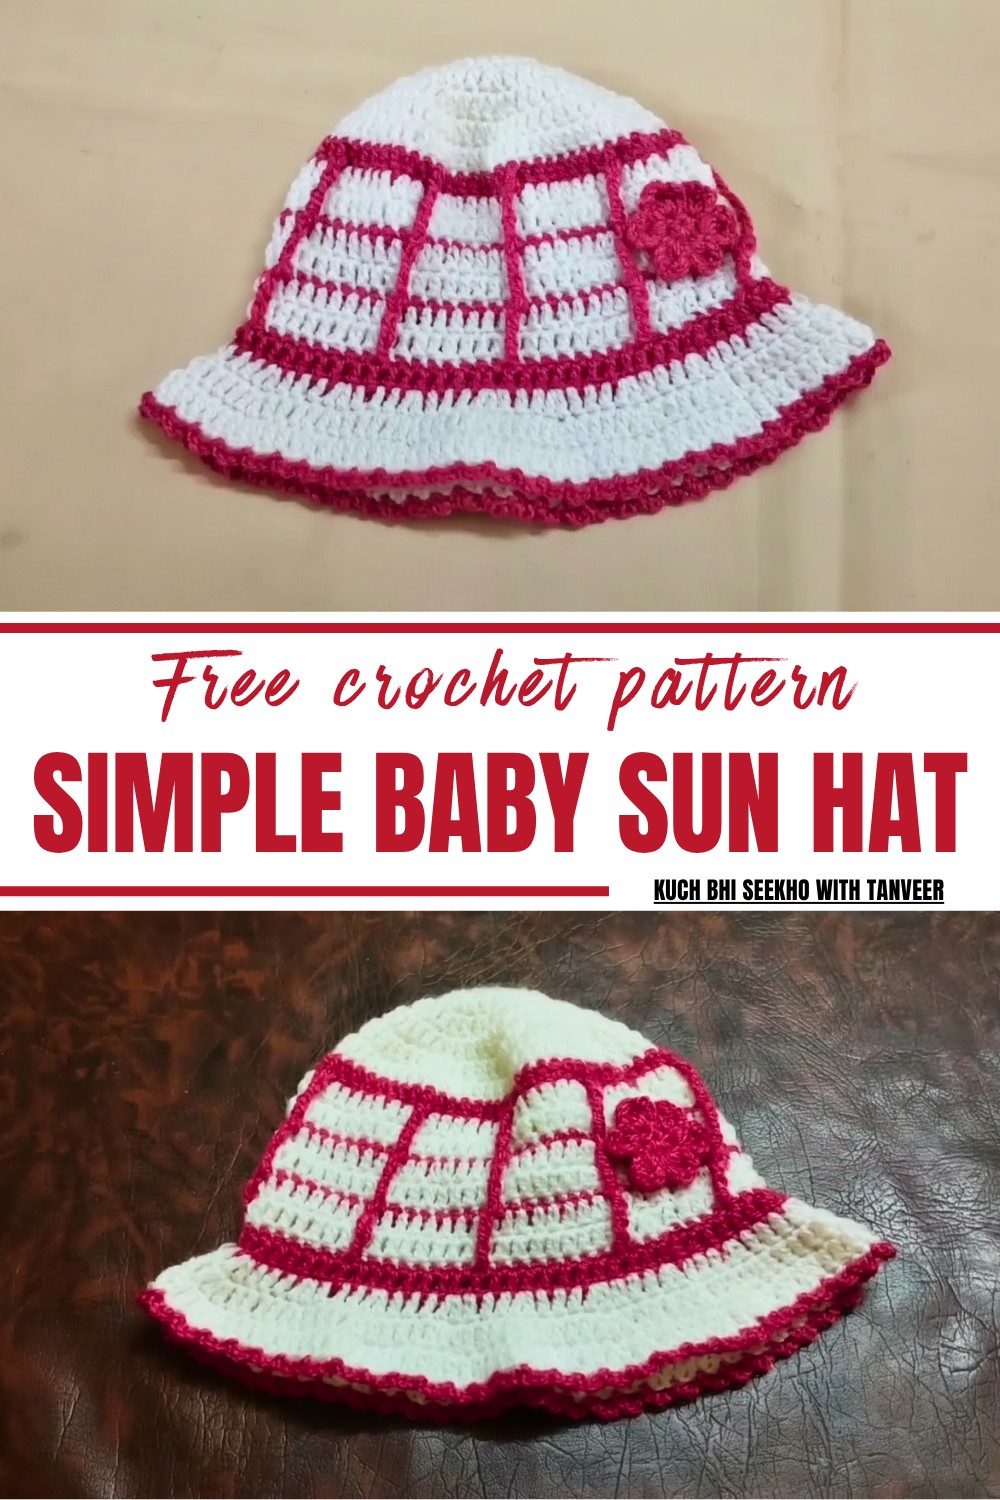
Using simple stitches, the pattern allows crochet lovers of all levels to achieve cute, wearable results without complicated techniques. You’ll enjoy working with vibrant yarns or pastel shades to suit the season or personalize it as a thoughtful handmade gift for a baby shower. The hat’s gentle scalloped edges and breathable layout add to its versatility, making it a stylish accessory for children’s wardrobes.
Not only does this pattern save time and effort, but it’s perfect for those who want sustainable, reusable alternatives to store-bought children’s accessories. A quick, enjoyable project for weekends, it can easily become a family favorite by combining practical use with timeless style.
Special Features
- Ideal for 2–3-year-old baby girls.
- Stylish design with alternating colors for an eye-catching look.
- Lightweight and comfortable to wear.
- Easy to customize for different sizes.
- Perfect match with frocks or standalone as a trendy accessory.
Difficulty Level
- Beginner to Intermediate. While the basic stitches are beginner-friendly, minor attention to detail is required for the increases and decorative edge.
Materials Needed
- Yarn: Two colors of lightweight yarn (e.g., pink & white).
- Crochet Hook: Metric size 3.50mm (No. 10).
- Scissors: For cutting excess yarn.
- Tapestry Needle: To weave in ends.
Step-by-Step Instructions
Round 1: Starting with the Magic Ring
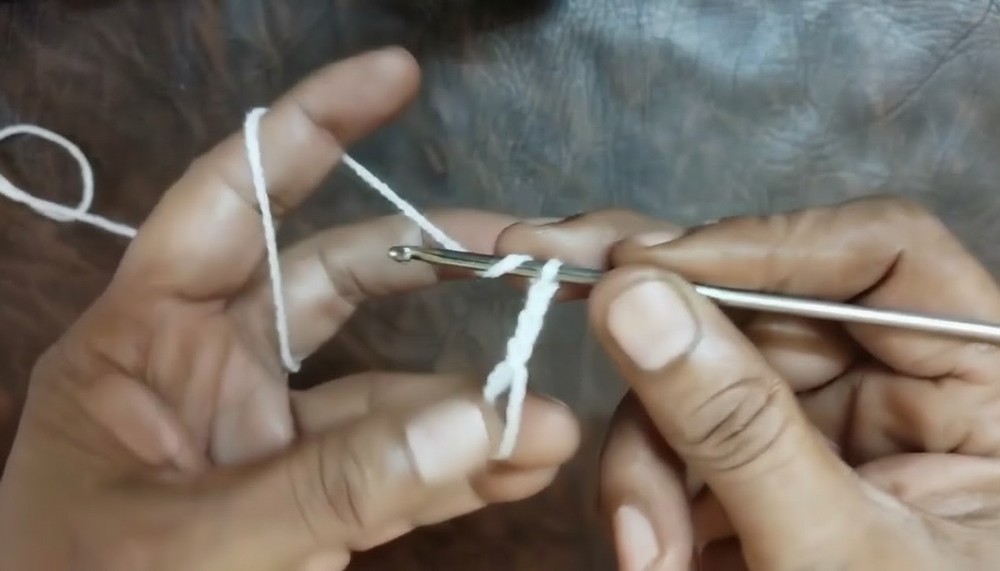
- Create a magic ring with one yarn color.
- Chain 3 (will be counted as the first double crochet).
- Work 12 double crochets into the magic ring.
Stitch: Yarn-over, insert hook into the circle, pull yarn through, yarn-over again, pull through the first two loops, then another pull to finish. - Pull the ring tight to close it.
- Join the last stitch to the third chain of the starting chain with a slip stitch.
R- 2: Increasing the Circle
- Chain 3 (counts as the first double crochet).
- Work 2 double crochets in each stitch around.
Stitch: Yarn-over, insert the hook into the same stitch as the chain, complete the double crochet as usual. - This round will have a total of 24 double crochets.
- Join back to the starting chain with a slip stitch.
Round 3: Alternating Simple and Increase
- Chain 3 (counts as the first double crochet).
- Make 1 double crochet in the first stitch, and 2 double crochets in the next stitch. Repeat this pattern: 1 double crochet, 2 double crochets for the entire round.
- Join the round with a slip stitch. You will now have 36 stitches.
Round 4: Building the Structure
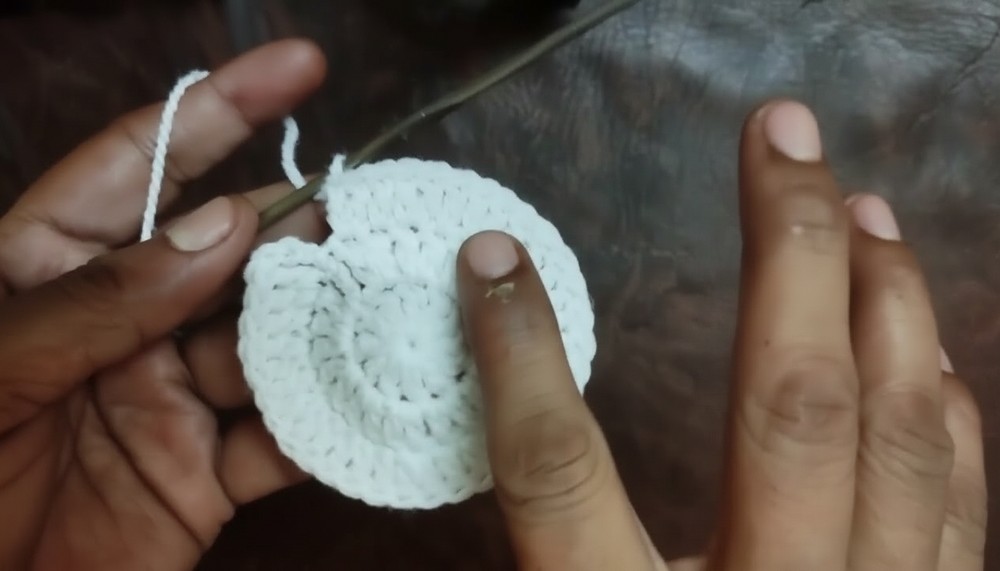
- Chain 3.
- Make 2 simple double crochets in the next two stitches, and 2 double crochets in the third stitch (increase). Continue this pattern around.
- You should have 48 stitches at the end of this round.
Rnds 5–6: Gradual Widening
- Repeat the process of increasing every fourth stitch in Round 5. You’ll end with 60 stitches.
- For Round 6, increase every fifth stitch to reach 72 stitches total.
Rounds 7–8: Uniform Rows
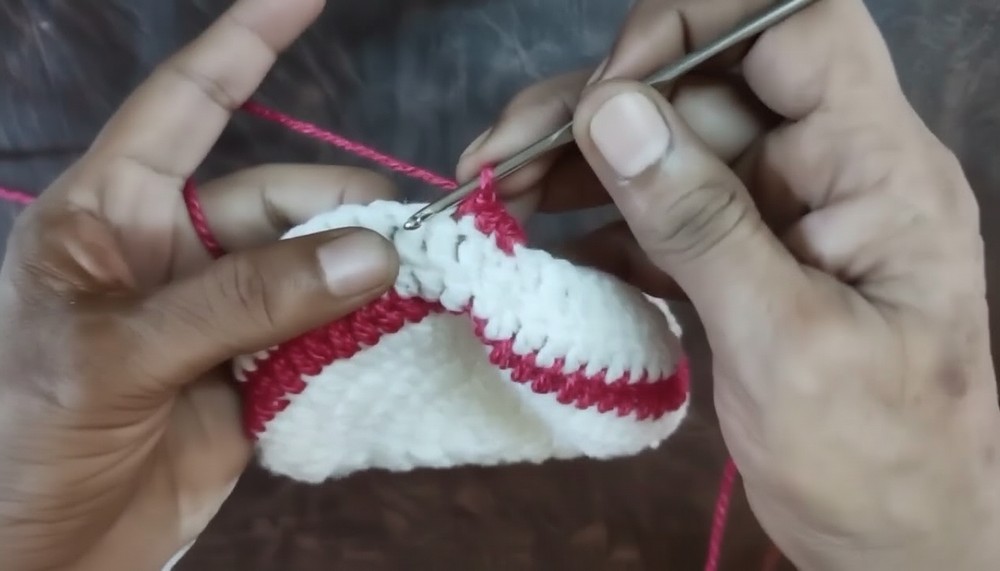
- Switch colors to the second yarn (e.g., pink).
- Complete two rounds of simple double crochets, one stitch in each chain. No increases.
Rnd 9: Decorative Rows
- Switch to the first yarn color (white).
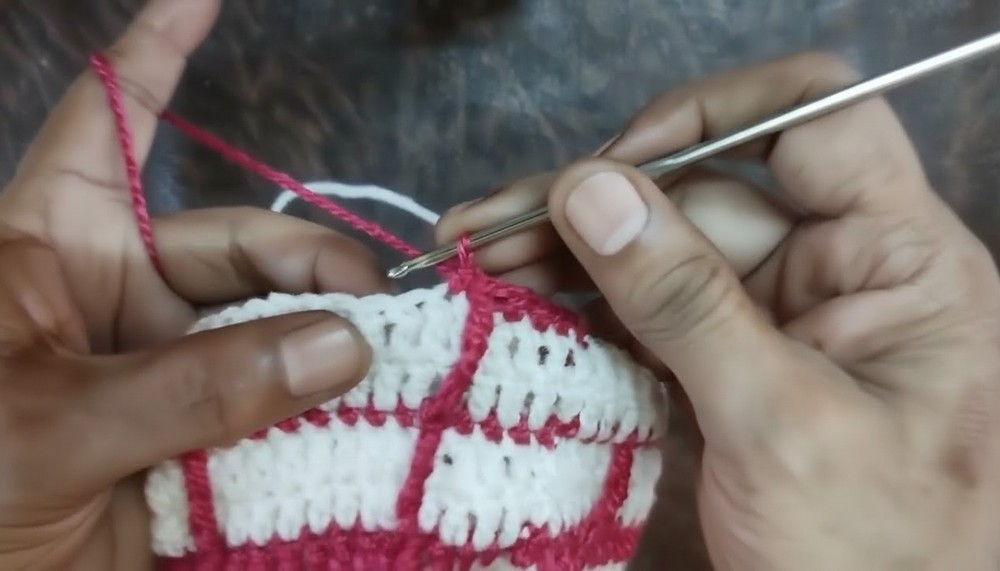
- Start by making 4 single crochet stitches.
- For the fifth stitch: Triple Crochet: Yarn-over three times, insert into the chain, pull through, and remove two loops at a time (four times total).
- Skip one chain, and make 7 single crochets in the next 7 stitches.
- Repeat the 4 single crochets, 1 triple crochet, chain skip, and 7 single crochets for the entire round.
Rounds 10–12: Repeated Edging
- Repeat the decorative pattern for another round. Use white yarn for edging.
- Complete 2 simple rows with double crochets using white.
Final Round: Picot Edging
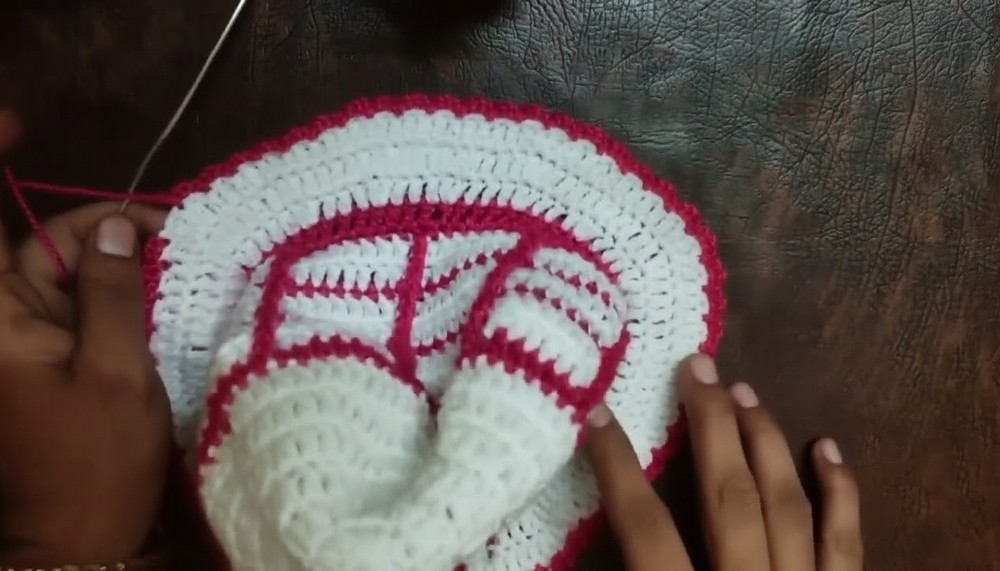
- Switch to the second yarn (or your preferred color for the border).
- Make 3 chains, skip one chain, and slip stitch into the next chain.
- Repeat this pattern all the way around to achieve a neat, decorative picot edge.
- Slip stitch to the starting point and fasten off the yarn.
Finishing Touch
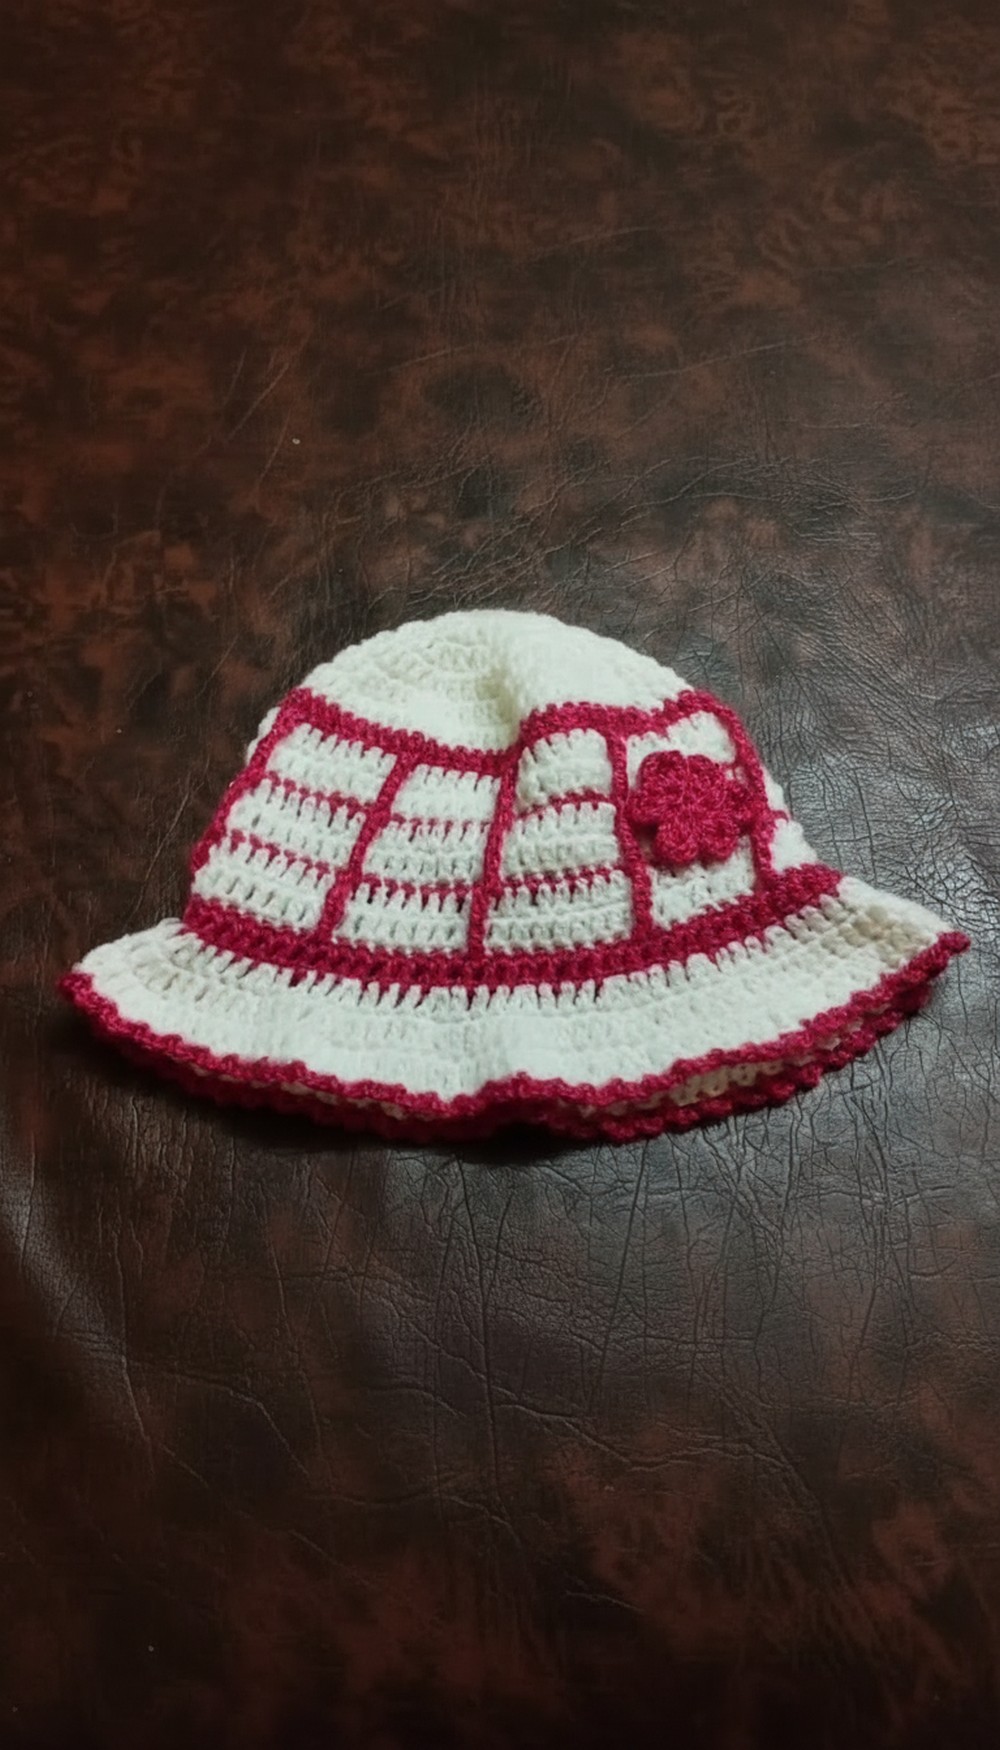
- Make a small crochet flower using the pink yarn and attach it to the cap’s joint for a decorative and adorable finish.
- Weave in all loose ends using the tapestry needle to give it a polished look.
Tutor’s Suggestions
- Ensure to keep the tension consistent while working the stitches for an even and uniform look.
- Use contrasting colors for a vibrant design or pastel colors for a softer look.
- The pattern is versatile and can be adjusted by adding or reducing rounds for different sizes.
Uses
- This cap is perfect for daily wear, photoshoots, or gifting for birthdays and baby showers. It adds a classy yet cozy feel to your child’s wardrobe.
Handy Tip
When working on increases, place a marker (such as a small piece of yarn) at the start of any new round. This prevents losing track of your stitches and ensures your cap has a perfectly round shape.
Conclusion
This beautiful crochet baby cap is a delightful way to showcase your creativity. Its beginner-friendly steps and charming design make it a must-try project. The combination of practical use with an aesthetic appeal makes it a perfect accessory for every little girl.


