Crochet Bunny Amigurumi Keychain Pattern Everyone Will Adore
Free Crochet Bunny Amigurumi Keychain Pattern Perfect for Gifts

Ideal for beginners and seasoned crocheters alike, the pattern uses basic stitches and straightforward assembly, making it approachable for all skill levels. The ability to personalize the bunny with colors, yarn textures, and accessories ensures every creation feels uniquely your own.
Beyond its cuteness, it’s also a thoughtful project, offering a chance to practice sustainability by crocheting something meaningful and reusable. As a charming handmade gift or personal keepsake, this little bunny truly combines functionality with joy.
Materials You’ll Need
- Yarn:
- Barroco Maxcolor No. 4 or a similar lightweight yarn in white, light pink, and black (or any desired colors).
- Hook: 3 mm crochet hook.
- Stuffing: Fiberfill or polyfill for shaping.
- Safety Eyes or Embroidery Yarn: Use black yarn or safety eyes for the bunny’s face.
- Needles:
- Yarn needle for sewing pieces together.
- Fine needle for adjustments.
- Scissors.
- Keychain Ring: If using as a keychain.
Special Features
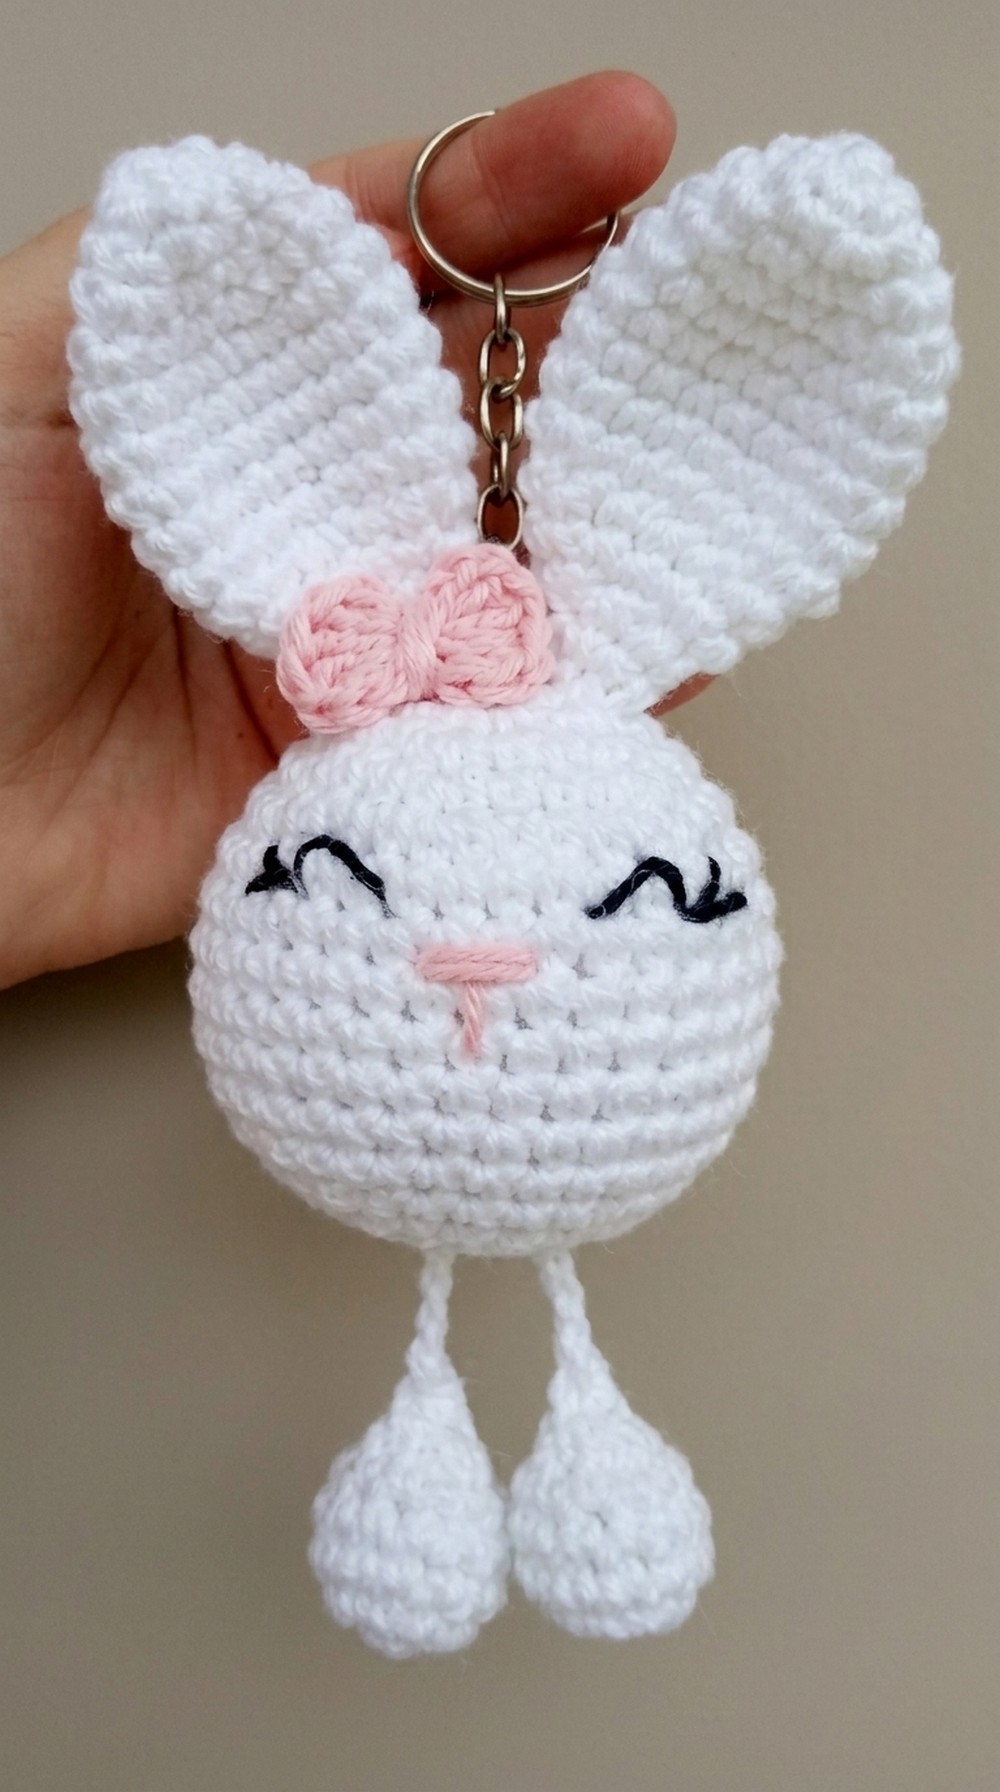
- Adorable Design: Compact size makes it an ideal keychain or mini decor piece for any occasion or holiday like Easter.
- Customizable: Yarn types, colors, and additional features (e.g., bows or accessories) can be tailored to suit personal preferences.
- Multi-Functional: Can function as decor, a keychain, or even as a hanging ornament.
Skill Level
Beginner-Friendly: Requires knowledge of basic stitches like single crochet, magic ring, increases, and decreases.
Step-by-Step Pattern Instructions
1. Head
Step 1: Magic Ring
- Start with a magic ring. Place 6 single crochets (SC) inside it and pull tight.
2: Row 2
- Work 6 increases—make 2 SC into each stitch. (12 stitches total)

3: Row 3
- Alternate 1 SC + 1 increase in every stitch across the row. (18 stitches total)
4: Row 4
- Alternate 2 SC + 1 increase in every stitch. (24 stitches total)

5: Row 5
- Alternate 3 SC + 1 increase in every stitch. (30 stitches total)
6: Row 6
- Alternate 4 SC + 1 increase in every stitch. (36 stitches total)
Step 7: Rows 7–13
- Work 1 SC in each stitch around for seven rows (no increases). The head should form a rounded shape.
Step 8: Row 14 (Decrease Row)
- Alternate 4 SC + 1 decrease (combine 2 stitches) across the row. (30 stitches total)
Step 9–16: Continue Decreasing
- Gradually decrease each row as follows:
- Row 15: 3 SC + decrease (24 stitches total).
- Row 16: 2 SC + decrease (18 stitches total).
- Row 17: 1 SC + decrease (12 stitches total).
- Row 18: 6 decreases to close completely.
- Before completely closing the head, stuff firmly with fiberfill for a rounded, soft appearance.

2. Legs
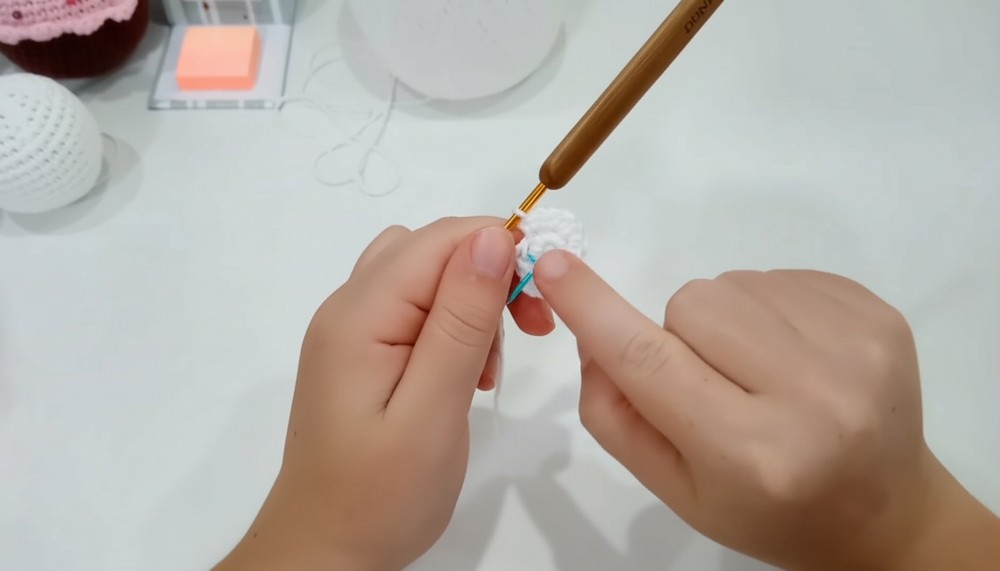
Step 1: Magic Ring
- Begin with a Magic Ring and crochet 6 SC into it. Tighten.
Step 2: Row 2
- Work 6 increases—place 2 SC into each stitch. (12 stitches total)
3: Rows 3–5
- Work 1 SC in each stitch to keep the cylindrical shape.
4: Row 6 (Decrease Row)
- Alternate 1 decrease across every stitch to close it up, adding stuffing before finishing.
Step 5: Finish and Make Two Legs
- Securely sew both legs onto the bunny’s body.
3. Ears
Step 1: Magic Ring
- Create a magic ring and place 6 SC inside.
2: Row 2
- Work 6 increases (12 stitches total).
3: Row 3
- Alternate 1 SC + 1 increase. (18 stitches total).

Step 4–10: Work Straight Rows
- Crochet 1 SC in each stitch around for seven rows to elongate the ears.
5: Row 11 (Decrease Row)
- Begin decreasing: 1 SC + decrease around the row (12 stitches total).
Step 6: Final Assembly
- Fold each ear slightly and sew onto the head between rows 2–3. Ensure symmetrical placement, with ears angled slightly forward.

4. Bow
Step 1: Magic Ring
- Place 5 Double Crochets (DC) inside the ring. Make 2 chains and secure with 1 SC.
2: Repeat
- Repeat Step 1 to make the second side of the bow inside the same magic ring.
3: Finish
- Tighten the magic ring and wrap the center to create a traditional bow shape. Secure with knots and sew onto the bunny near an ear or body.

Final Assembly:
- Face Details:
- Embroider or sew facial features like the nose and eyes using black yarn/thread. Add small lashes for detail if desired.
- Keychain Ring:
- Pass a yarn loop through the head to securely attach the ring.
Tutor’s Suggestions
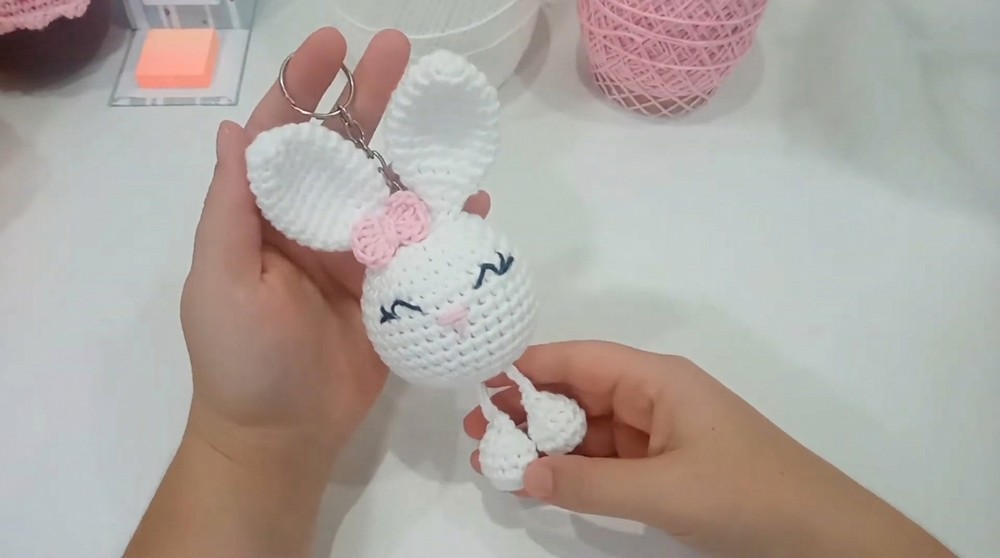
- If using as decor, skip the keychain ring and add a small string loop for hanging.
- Customize with pastel or bright color variations for Easter-themed bunnies.
- Beginners can practice using scrap yarn before starting on finer materials for improved tension and consistency.
Uses and Benefits
- Holiday Decoration: Perfect for Easter baskets, table decor, or hanging ornaments.
- Gifting: A delightful handmade present for friends or kids that showcases your effort and creativity.
- Daily Use: Its sturdy design ensures durability as a keychain.
- Skill-Building: Great for improving crochet techniques like increases/decreases and assembly.
Crochet Tip:
When embroidering facial features, make a light pencil mark to guide placement. Ensure adequate stuffing before shaping pieces to avoid lumps or misshaping.
Conclusion
This Crochet Bunny Amigurumi Keychain Pattern is a charming and easy project that celebrates both creativity and functionality. Whether used as a playful accessory or heartfelt decoration, your bunny will bring joy and warmth wherever it goes.