Beginner-Friendly Free Crochet Teddy Bear Keychain Pattern
Easy Crochet Teddy Bear Keychain Pattern You Can Finish in One Hour

Materials
Refer to the original tutor’s list for exact materials, but here’s what you will need:
- Yarn in desired colors (gray, brown, or any color you prefer)
- Crochet hook (size suitable for your yarn)
- Tapestry needle
- Black embroidery thread
- Fine tapestry needle for embroidery
- Beads for eyes (or use glue for alternatives)
- Liquid silicone glue (optional)
- Keychain clasp or ring
Level of Difficulty: Beginner to Intermediate
Though easy to follow, this project involves techniques like the magic ring, midpoints, and embroidery, which may require practice for beginners. Don’t worry—each step is explained in detail.
Pattern Steps
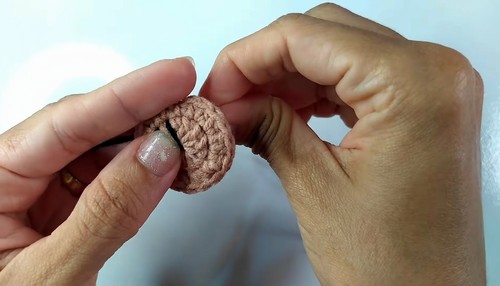
Crochet the Head
- Magic Ring: Start with a magic ring.
- Row 1:
- Chain 2 (this doesn’t count as the first stitch).
- Inside the magic ring, make 12 double crochets.
- Pull the ring to close and secure with a slip stitch in the first double crochet.
- Row 2:
- Chain 2.
- Make 2 double crochets in the first stitch. Continue the row by making an increase (two double crochets in each base stitch) across all stitches.
- Close with a slip stitch in the first stitch of the row.
- Row 3:
- Chain 2.
- Alternate between 1 double crochet in the first stitch and an increase in the next stitch (two double crochets).
- Repeat this pattern across the row. Finish with a slip stitch in the first stitch.


Create the Ears
- Walk 14 slip stitches into the head structure to position yourself above the row’s curve.
- Ear (First Side):
- Skip 2 stitches on the base.
- Make 2 loops on your needle and crochet 8 triple crochets in the next stitch (use yarn-over and remove two loops at a time).
- Anchor the ear by making a slip stitch in the third stitch after the last triple crochet.
- Ear (Second Side):
- Continue walking slip stitches for 4 stitches.
- Skip 2 base stitches again and crochet another 8 triple crochets in the next stitch.
- Secure with a slip stitch in the third stitch following the last triple crochet.
- Finish off by slip stitching along the remaining head stitches to match where the ear pattern began. Cut the yarn and tie a knot. Weave in loose ends with a tapestry needle.

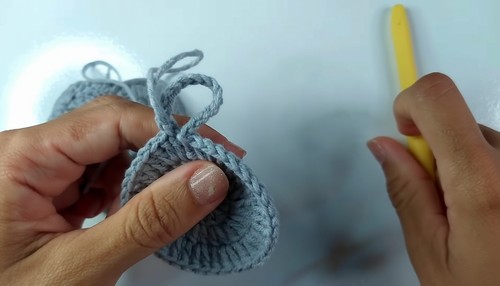
Back Circle for Keychain
- Repeat the first three rows of head pattern.
- Make 15 chain stitches to create the loop for the keychain clasp.
- Attach the chain loop back to the base circle with a slip stitch.
- Cut the yarn, tie off securely, and finish any loose ends using the tapestry needle. Optionally, replace the backing circle with felt glued to the crocheted head.
Create the Snout
- Magic Ring: Create a new magic ring and chain 2.
- Row 1:
- Make 12 double crochets inside the ring.
- Pull tight and close with a slip stitch in the first stitch.
- Row 2:
- Chain 1.
- Crochet 1 midpoint (loop back and remove 3 loops at once) in the first stitch.
- In the second stitch, crochet 2 midpoints (increase). Continue alternating 1 midpoint with an increase across the row.
- Finishing:
- Complete the final increase and close with a slip stitch at the base of the first stitch.
- Cut the yarn, tie off, and weave in loose ends.

Embroidery and Assembly
- Embroider the Facial Features: Using black thread and a thin tapestry needle, embroider the nose and mouth onto the snout. Fill in any gaps for a neat finish.
- Attach Eyes: Use beads or glue felt pieces for the eyes. Ensure they are positioned symmetrically.
- Glue or Sew Parts: Attach the snout securely to the head with either liquid silicone glue or sewing. Attach the backing circle to complete the keychain look.

Keychain Assembly
Slide your crochet bear onto a keychain ring or clasp, using the chain loop you made earlier. Secure firmly to ensure durability.

Conclusion
Your adorable crochet bear keychain is now complete! This quick, versatile project is perfect for gifting, selling, or simply adding flair to bags and accessories.
Tutor’s Suggestions
- Colors: Experiment with yarn colors to match themes, seasons, or preferences.
- Customization: Replace beads with felt for a safer option or add accessories like bows.
- Glue Use: Liquid silicone glue provides a secure bond, but take care to apply minimally to avoid mess.
Crochting Tip
To make your bear keychain sturdier, line the back with felt for durability and better weight distribution. This also ensures your keychain stays neat over time.