Eco-Friendly Crochet Bear Wallet Pattern Perfect for Everyday Use
Step-by-Step Crochet Bear Wallet Pattern for All Skill Levels

The pattern works well for beginner or intermediate crocheters, relying on basic stitches like single and double crochets. What makes it even more appealing is the flexibility to customize—choose bold or subtle tones, add playful facial details, or embellish with extra features to reflect your style. It’s a fun way to upgrade your accessory collection or crochet thoughtful, handmade gifts for loved ones.
Beyond its aesthetic appeal, the pattern highlights the durability of crochet work, providing a long-lasting solution to storing essentials. Whether for daily convenience or gifting, this pattern is a charming project that adds practicality and joy to your creations.
Special Features
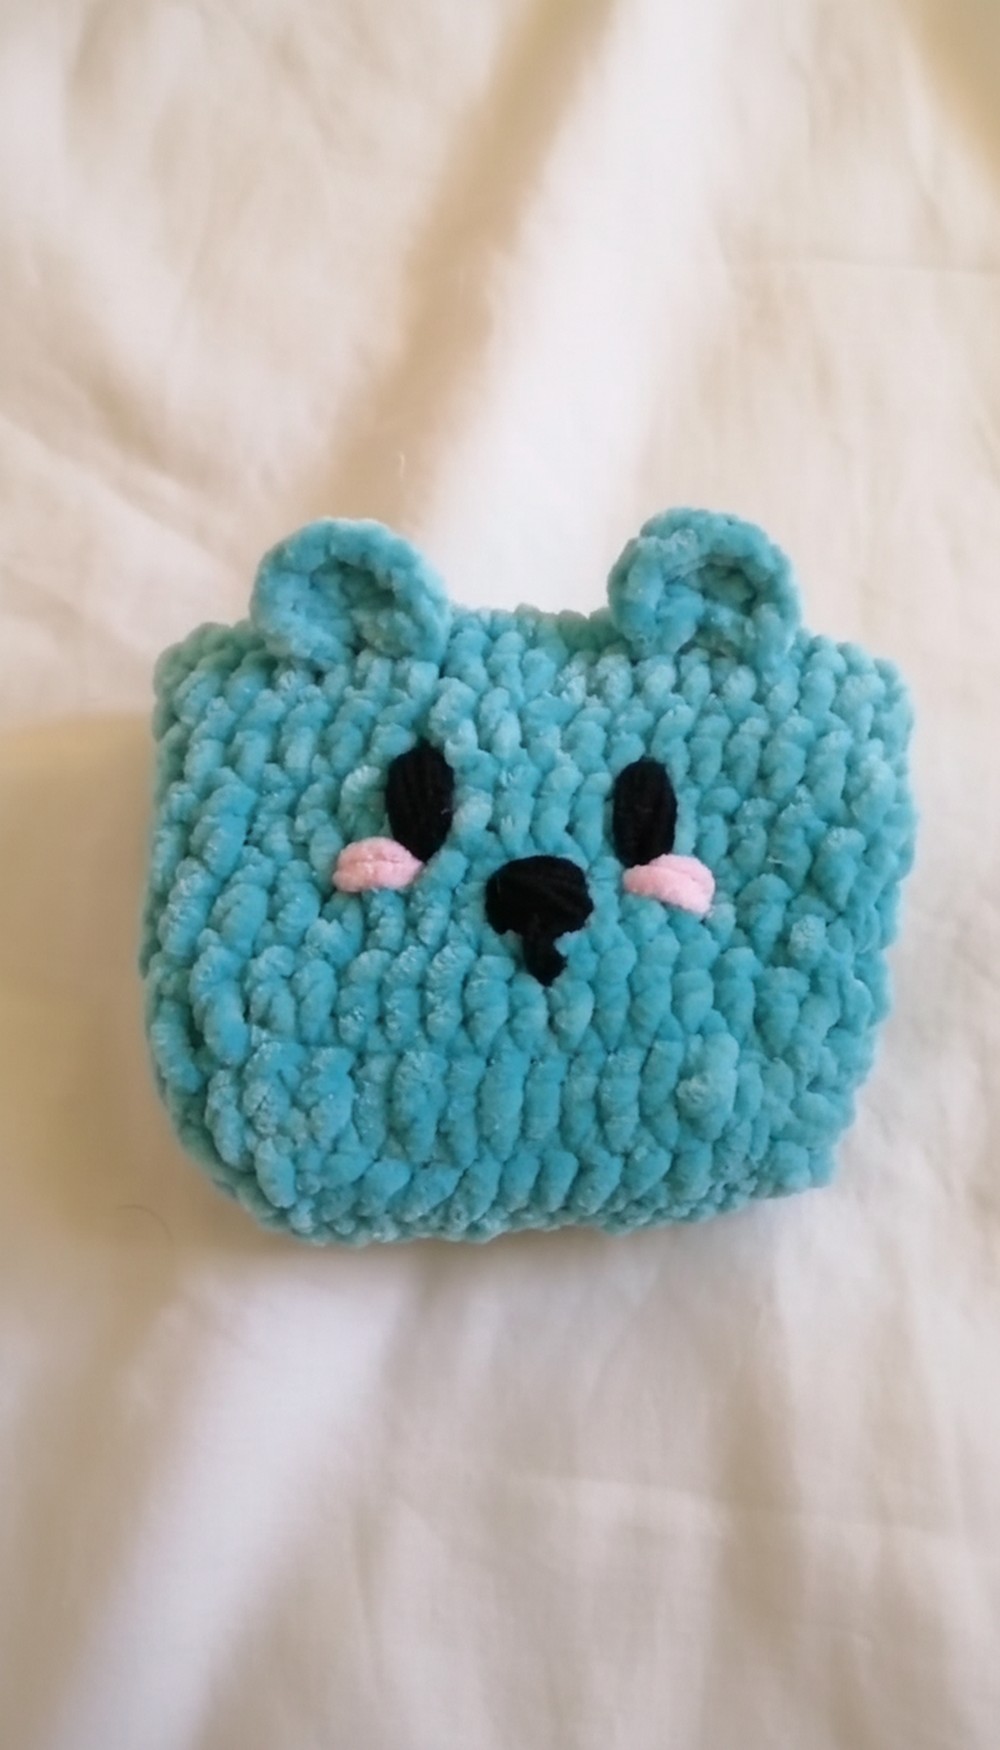
- Adorable Bear Design: Fun and cheerful look with bear ears and a cute embroidered face.
- Customizable Size: Adjust the foundation chains to fit your storage needs.
- Practical and Functional: A compact wallet perfect for storing small items or gifting to loved ones.
Level of Difficulty
- Beginner-Friendly: Uses basic stitches (chains, single crochets, double crochets, slip stitches) and simple techniques like sewing parts together.
Step-by-Step Crochet Pattern
1. Create the Wallet Base
Step 1: Chain Foundation
- Start with a slip knot and create a foundation chain.
- Tip: Chain as many as needed to match the intended size of your wallet. In the tutorial, 40 chains were made to accommodate coins.
- Make sure your chains are not too tight or too loose, as this will affect the wallet’s flexibility.
2: Work Single Crochets (SC)
- Skip the first chain from your hook and insert your hook into the second chain.
- Yarn over, pull up a loop (2 loops on the hook).
- Yarn over, pull through both loops. (This completes one single crochet.)
- Repeat single crochets across the row until you reach the end of your chain.
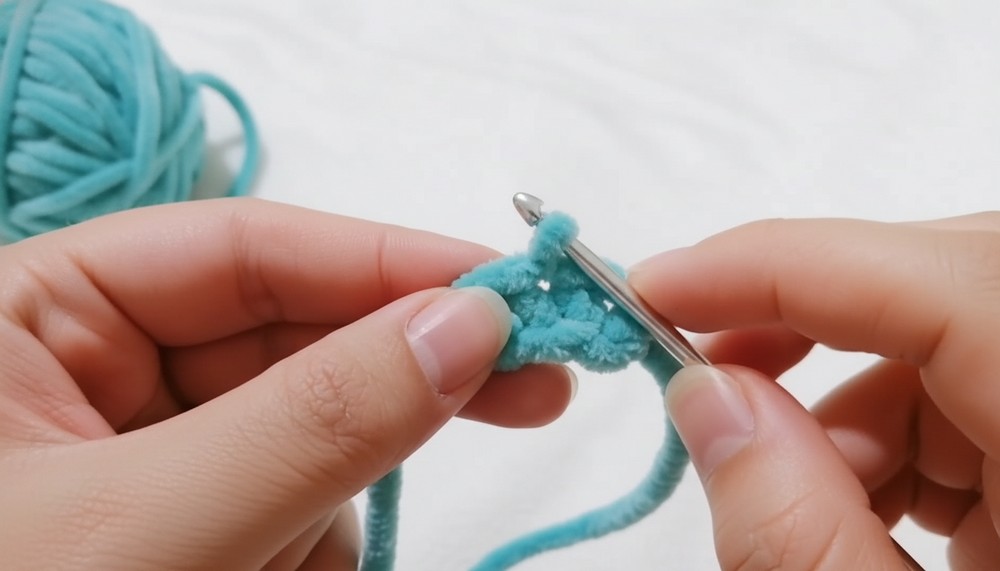
3: Turn the Corner
- In the last chain of your row, work 3 single crochets into the same stitch. This will create a smooth, rounded corner for the base.
- Chain 1, then continue working single crochets along the opposite side of the foundation chain.
4: Join the Row
- When you reach the starting point of your row, join with a slip stitch:
- Insert your hook into the first stitch, yarn over, and pull through both loops.
- This completes your first round.

2. Build the Wallet Body
Step 1: Double Crochet (DC) Rounds
- Chain 2 at the start of the round to serve as your turning chain.
- Work double crochets into each stitch around:
- Yarn over, insert your hook into the next stitch, yarn over again, and pull up a loop (3 loops on the hook).
- Yarn over, pull through the first two loops (2 loops remaining).
- Yarn over again and pull through the remaining two loops.
- Mark the beginning of each round to keep track of your start point.

2: Repeat Rounds
- Continue working in rounds of double crochets until you reach the desired height for your wallet.
- Each round begins with a chain 2 and ends with a slip stitch to join.
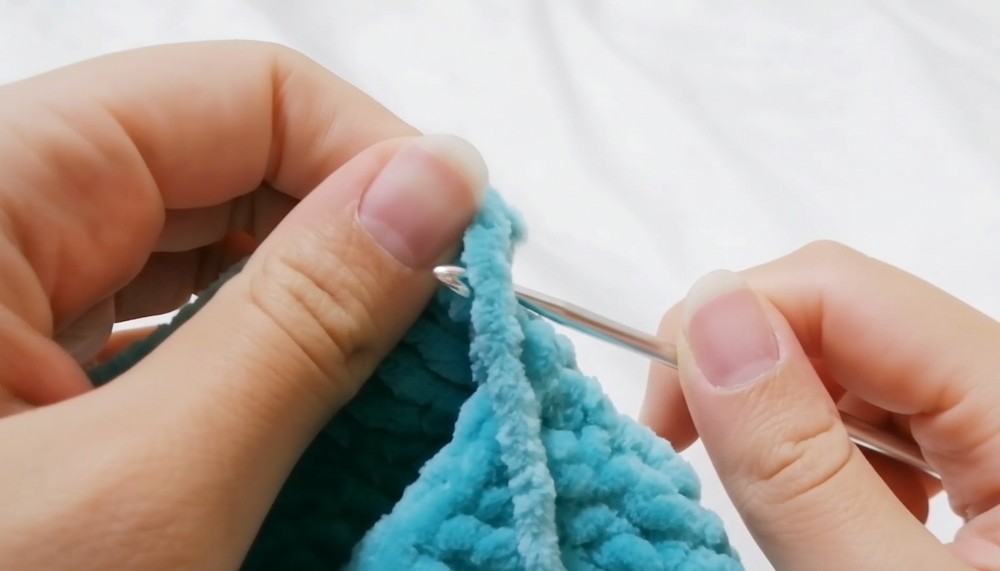
3: Shape the Flap
- Once the body is complete, chain 2 and turn your work. From this point, work rows of double crochets only halfway across the round to form the closing flap.
- For the next few rows, repeat:
- Chain 2, turn, and double crochet across.
- In the last row, chain 2, skip one stitch, and work double crochets in the remaining stitches to shape the closure.
3. Add Finishing Touches
Step 1: Sew the Button
- Bring your yarn needle and button.
- Position the button on the flap, ensuring it lines up with the opposite side of the wallet base. Sew it securely.
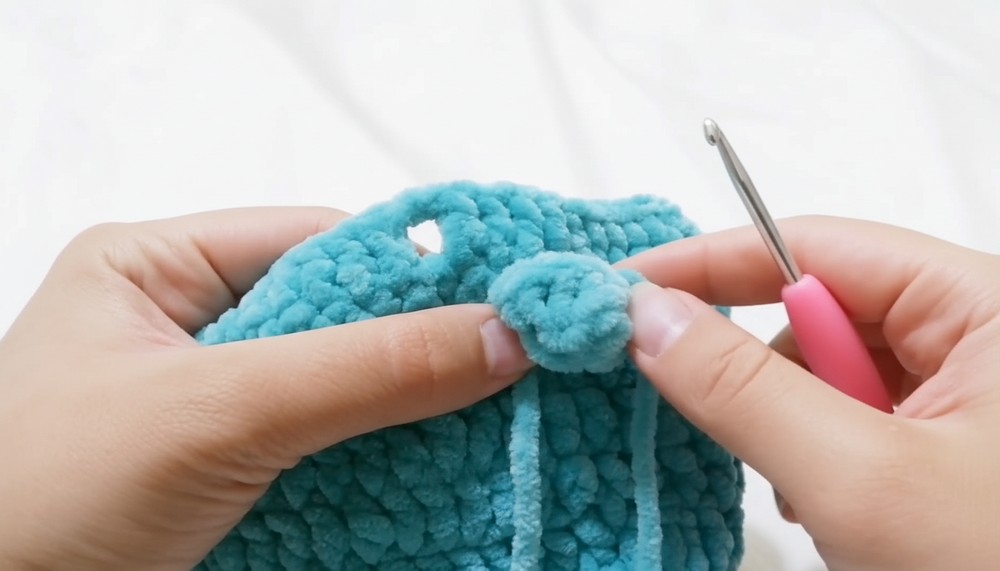
2: Make the Bear Ears
- Start with a magic ring: Wrap yarn around two fingers to create two loops, pull the back loop through the front, and secure with a chain.
- Work 7 double crochets into the magic ring, ensuring the tail of the yarn is on the hook.
- Pull the tail to tighten the ring and form a round shape.
- Leave a tail for sewing, fasten off, and repeat for the second ear.
3: Attach the Ears
- Position the ears on the top corners of the flap.
- Use the tail ends to sew them securely to the wallet. Tie a double knot in the back and hide the tails.
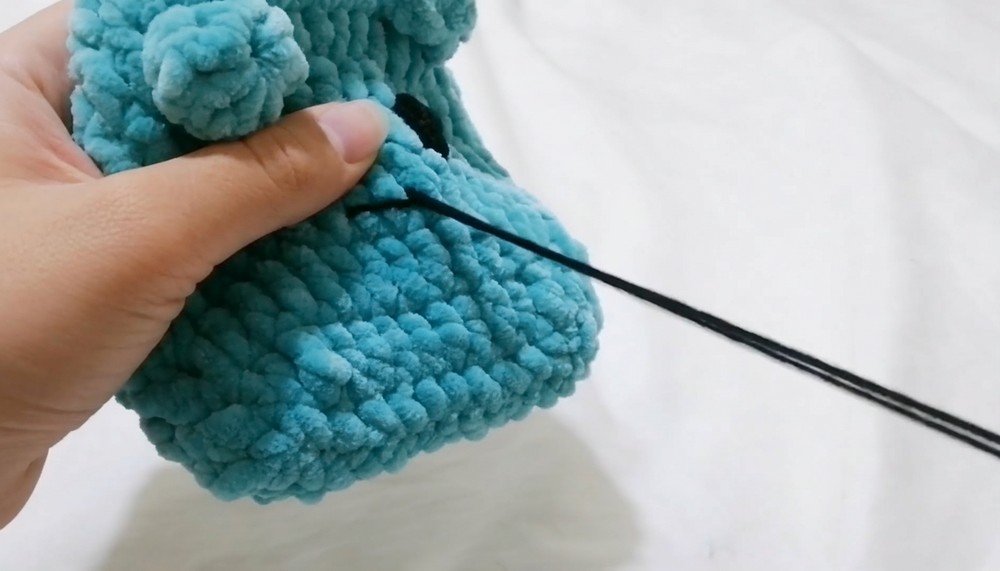
4: Embroider the Face
- Use black yarn and a plastic needle.
- For the eyes:
- Insert the needle from the back to the front, make small vertical stitches for both eyes, and tie off at the back.
- For the nose:
- Start from the middle, working triangular stitches to form a small nose. Tie securely at the back.
4. Final Touches
- Glue the Ears: Apply glue to secure the ears if needed for extra stability.
- Once all parts are attached and secured, check that the wallet opens and closes smoothly with the button.
Uses
- Practical Storage: Perfect for holding loose change, earbuds, or small trinkets.
- Gift Idea: Makes a thoughtful and budget-friendly present for kids or animal lovers.
- Decorative: Doubles as a fun accessory or keychain if scaled down.
Tutor’s Suggestions
- Experiment with colors to give the wallet a unique personality.
- For smaller yarn or hooks, adjust the starting chain count to maintain proportions.
- Use safety eyes or fabric glue if making it for young children.
Pro Tip
For a cleaner finish, always block the finished piece by lightly steaming or stretching it to shape before adding the facial features. This ensures neater stitches and a professional look.
Conclusion
The bear wallet is not just an easy crochet project but also a delightful way to make something functional and cute. With its compact pattern and endless customization options, it’s a perfect addition to your accessory collection or a heartfelt handmade gift. With just a little yarn, a hook, and some creativity, you can turn practical storage into a charming work of art.