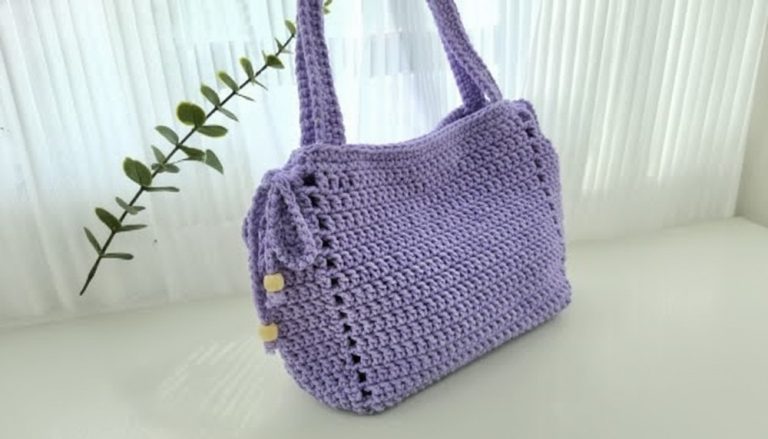
Eco-Friendly Crochet Baguette Bag Pattern You’ll Fall in Love With
Upgrade your accessory game with a free crochet baguette bag pattern that’s chic, eco-friendly, and perfect for adding style to your look.
There’s nothing like a bag that combines style, convenience, and a handmade touch to elevate your everyday routine. This chic baguette bag pattern is the ultimate accessory, designed to carry your essentials while keeping things lightweight and fashionable. From casual outings to special moments, it’s the perfect fit for those who value practicality without compromising their sense of style. The pattern lends itself to versatility, allowing you to pair it with anything from relaxed jeans to elegant dresses.
How to Choose the Right Yarn and Hook for a Perfect Crochet Baguette Bag Pattern

With simple stitches and an adaptable pattern, it’s ideal for crochet enthusiasts of any level, providing an opportunity to personalize your accessory while perfecting your skills. The straightforward pattern means you can customize the size, color, and finishing touches to fit your aesthetic or needs. Whether you prefer neutral tones for everyday wear or bold hues to stand out, this project makes it easy to crochet a bag that suits you completely.
Beyond its practicality and charm, it also offers an eco-friendly alternative to store-bought bags, aligning with more sustainable living. Add thoughtful details like handmade straps, magnetic buttons, or decorative tags to make it uniquely yours. Stylish, functional, and endlessly versatile—it’s the perfect addition to your wardrobe.

Special Features
- Lightweight and compact design: Measures 27 cm (length) by 16 cm (height).
- Customizable size: Adjust dimensions by increasing or decreasing stitches.
- Easy-to-make Romanian cord strap for secure handling.
- Includes a handmade tag and magnetic button closure for a professional finish.
Skill Level
Beginner-Friendly: Basic understanding of single crochet, slip stitch, and simple decreases is required.
Materials Needed
- 200 grams of braided cotton craft yarn (Size 3 or lightweight yarn).
- 3.5 mm crochet hook (or hook size recommended for your yarn).
- 18 mm magnetic button for closure.
- Sewing needle and thread (to attach buttons).
- Handmade tag (optional).
- Scissors.
- Yarn needle (to weave in loose ends).
- Stitch markers (highly recommended for keeping track).
Pattern Instructions
Part 1: Center Panel
- Make a Slip Knot:
- Wrap the yarn around your fingers, with the tail end at the bottom.
- Insert the hook, rotate clockwise to form a loop, yarn over, and pull through. Tighten the knot.
- Create 49 Chains:
- Yarn over and pull through the loop on the hook. Repeat until you have 49 chains. The length of the chains will determine the size of your bag.
- Work in the Back Bumps:
- Turn the chain over to see the “back bumps” (small dotted loops).
- Skip the first back bump and insert your hook into the second bump.
- Yarn over, pull through (two loops on hook), yarn over again, pull through both loops. This creates 1 single crochet (SC).
- Complete Row 1:
- Continue with SC across all chains. By the end of Row 1, you should have 48 SC stitches.
- Start Row 2:
- Chain 1 (CH1) and turn your project to the left.
- Work a SC in the first stitch and mark it with a stitch marker.
- Continue making SC into each stitch across.
- Repeat Rows:
- Repeat the steps for Row 2 until you complete a total of 40 rows. This will form the center panel.
- The finished center panel should measure approximately 31 cm x 23 cm.


2: First Side of the Bag
- Start Side 1:
- With the first side of the center panel, CH1 and turn your project.
- Work 20 SC stitches evenly across the side edge.
- Shaping with Decreases:
- Once the 20 SC stitches are complete, start decreasing stitches to shape the curve of the bag.
- Insert the hook into the next stitch, yarn over, pull through, insert into the next stitch, yarn over, pull through again. With 3 loops on the hook, yarn over and pull through all 3 loops (single crochet decrease).
- Repeat this process 4 times, marking the first and fourth stitches for easier counting.
- Continue Rows:
- For Row 2, work SC across without any decreases.
- For Row 3, repeat the decrease process as described earlier.
- Finish Side 1:
- Work until the 4th row is complete. This creates a curved shape at the bottom for the side of the bag.


3: Second Side of the Bag
- Repeat the Side 1 Pattern:
- Work along the opposite edge of the center panel using the exact pattern and instructions as Side 1.
- Ensure the sides match in shaping and size.
4: Joining the Sides
- Flip to the Wrong Side:
- Turn your project inside out (wrong side facing you).
- Fold the project so the sides align perfectly.
- Join with Slip Stitches:
- Insert your hook into the first stitch of both sides.
- Yarn over, pull through both stitches and the loop on your hook (slip stitch).
- Repeat across until both sides of the bag are joined.
- Fasten Off:
- Trim the yarn, leave a long tail, and pull it through the last loop to secure.
- Weave in the yarn tail with a yarn needle.
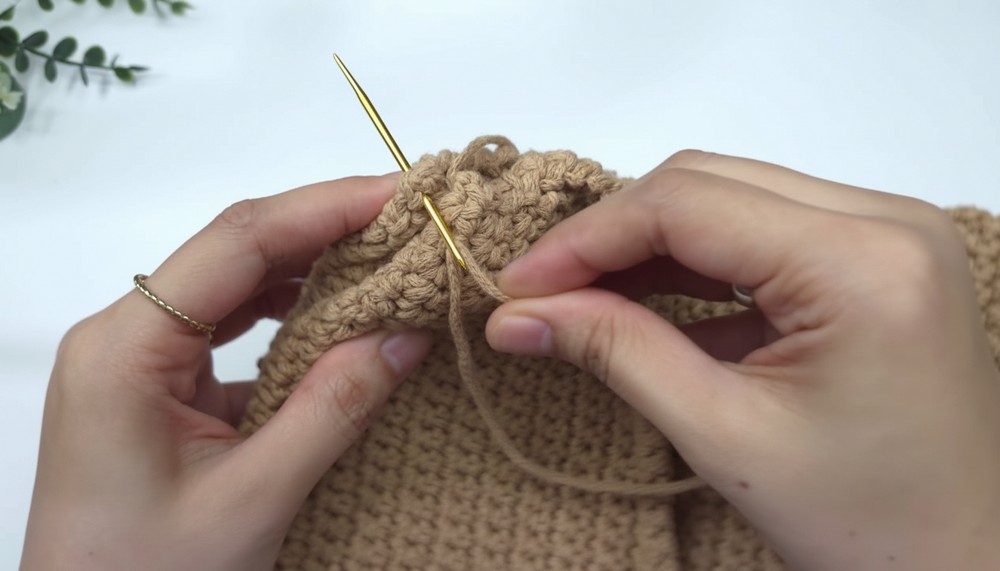
5: Magnetic Button and Tag Attachment
- Attach Tag:
- Find the center point of the bag.
- Attach the tag approximately 2.5 cm from the edge, using gentle pressure and pliers to secure it.
- Add the Magnetic Button:
- Align the magnetic button’s thinner front piece inside the bag, directly above the tag.
- Sew the button in place through its holes, ensuring it’s secure.

6: Romanian Cord Strap
- Create the Strap:
- Leave a 50 cm yarn tail at the start for sewing later. Begin with a slip knot and CH2.
- Skip the first chain and SC into the second chain.
- Work into the side loop of the SC stitch, yarn over, and pull through. Repeat until the strap reaches 60 cm, or your desired length.
- Finish the Strap:
- Secure the end with a slip stitch and leave a 50 cm tail. Cut the yarn and pull it through the loop.
- Attach the Strap:
- Sew each end of the strap to the left and right sides of the bag, going back and forth for a firm hold.
Finishing Touches
- Shape the Bag:
- New crochet projects may appear slightly misshapen. Gently stretch the sides to reshape the bag. Allow it to rest for a few hours to take its final form.
Conclusion
This basic bucket bag is a lightweight and versatile accessory, perfect for everyday use or as a gift. The simple construction makes it an ideal project for beginners looking to improve their crocheting skills.
Tutor’s Suggestions
- Use neutral colors to make the bag a staple accessory.
- Experiment with different yarn textures to customize the look (e.g., using jute for a rustic finish).
Tip
If your stitches feel uneven, try practicing tension control on a swatch before starting the project. Consistent tension makes the finished bag more polished.