Easy Crochet Cat Paw Fingerless Gloves Pattern for Everyday Use
Show your playful side with this Free Crochet Cat Paw Fingerless Gloves Pattern, a cozy design that adds cute feline flair to everyday style.
Turn your love for crochet into something both functional and fun with these adorable fingerless gloves featuring playful cat paw details. Designed to keep your hands warm while leaving your fingers free, these gloves are a perfect combination of comfort and charm. Whether you’re scrolling through your phone, working, or out on a chilly day, this accessory has you covered—literally. Featuring a soft base with intricate paw pad details, this pattern doesn’t just keep you cozy but also adds a touch of personality to your outfit.
Free Crochet Cat Paw Fingerless Gloves Pattern You’ll Fall in Love With
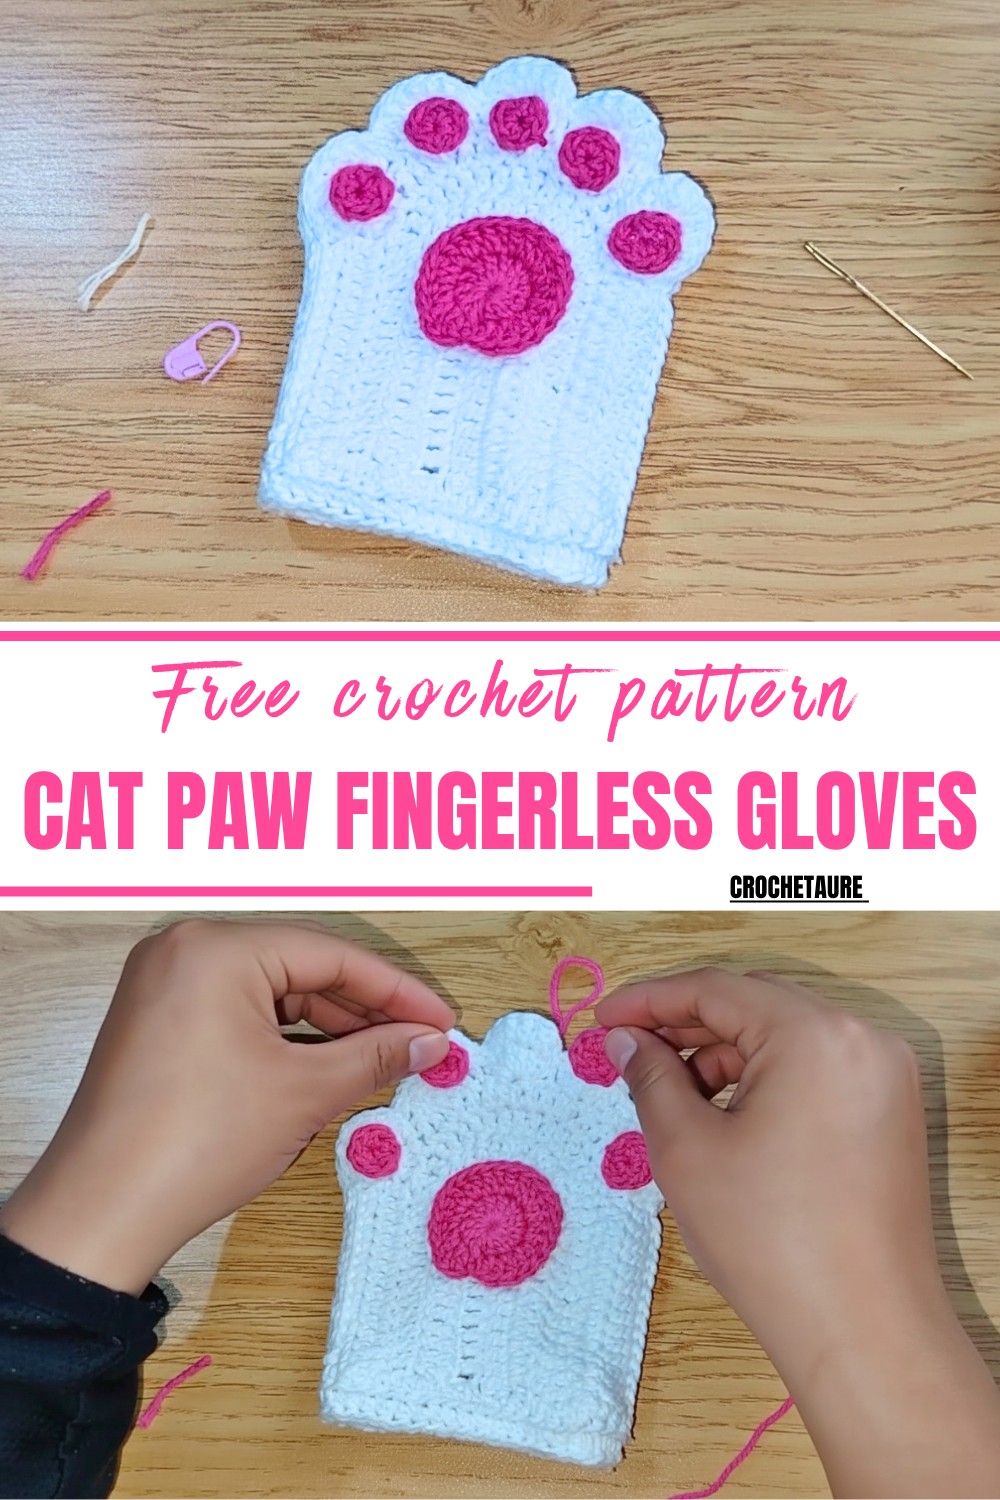
With this pattern, you can work on an easy yet satisfying project that is beginner-friendly but enjoyable enough for seasoned crochet enthusiasts. They make a fantastic gift for cat lovers or anyone who appreciates cute and functional pieces. Plus, it’s easy to customize the colors to match your personality or wardrobe. The addition of a ribbed wrist ensures a snug yet stretchy fit so that they’re as stylish as they are practical.
These fingerless gloves are also a smart choice for small businesses or personal sales. Handcrafted pieces like these are always in demand, especially with animal-themed designs. Bring out your inner crochet genius and turn some yarn into wearable cuteness.
Materials You’ll Need
- 2 colors of yarn (e.g., white for the base and pink for details).
- Crochet hook (2.0 mm recommended).
- Stitch markers.
- Scissors.
- Yarn needle.
- Hot glue gun or strong adhesive for embroidery-like paw application (optional).

Special Features
- Fun Cat Paw Design: Adds a creative touch to your gloves.
- Beginner-Friendly: Straightforward stitches and techniques.
- Customizable: Adjust colors and sizes to your preference.
- Practical yet Stylish: Keeps your hands warm while leaving fingers free for functionality.
Level of Difficulty
Beginner Level: With basic stitches and detailed instruction, this project is great for new crocheters or anyone looking for something simple yet fun.
Tutor’s Suggestions
- Use Two Colors: Select two contrasting yarn colors (e.g., pink and white for a classic paw design).
- Hook Size: A 2.0 mm crochet hook is recommended for tighter stitches. Adjust to a 3.0 mm if a looser texture is preferred.
- Loose Stitches: Ensure your tension is not too tight to maintain flexibility and comfort.
- Perfect for Gifts or Sales: These gloves are not just adorable but popular as handmade gifts or sellable items.
Step-by-Step Pattern
Part 1: Base of the Glove
- Slip Knot and Foundation Chain:
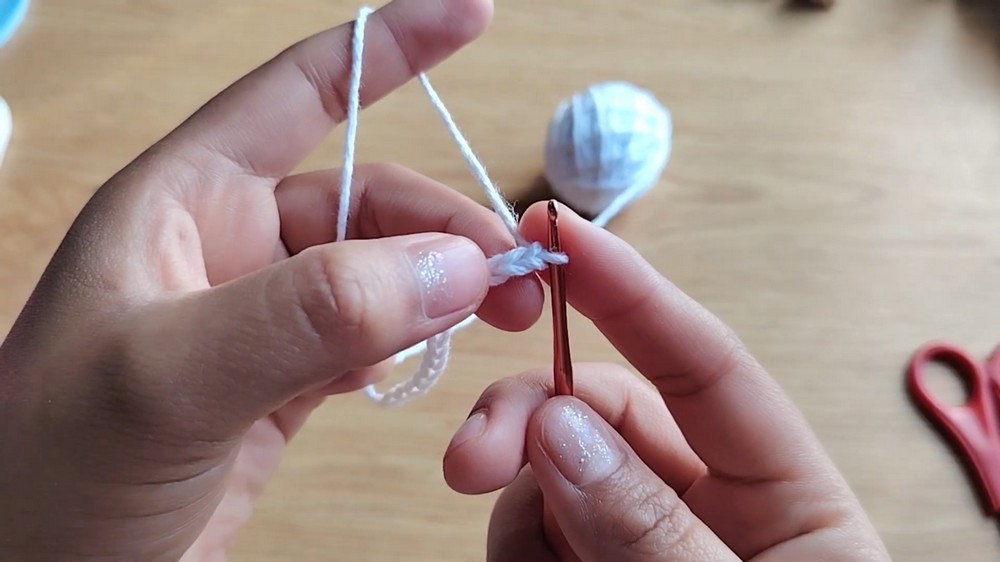
- Start with a slip knot and chain 16.
- First Row:
- Skip 2 chains, and in the 3rd chain, make 13 double crochets (dc).
- Work 6 dc into the last chain to create a curve for the base.
- Crochet 13 dc along the opposite side of the chain. Do not weave in the starting tail yet—it helps you identify the back later.
- Second Row:
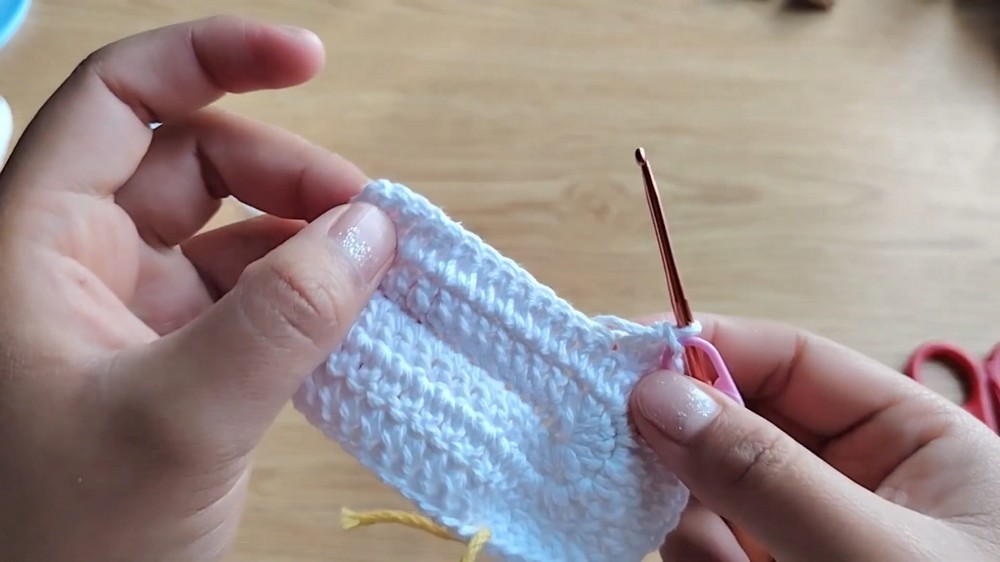
- Chain 2 (counts as height, not a stitch). Turn the work.
- Make 13 dc, then perform 6 increases in the curve (1 increase = 2 dc in the same stitch).
- Use a marker in the 13th stitch to separate the body from the curve.
- Continue with 13 dc back to the beginning.


Part 2: Adding Height and Shaping
- From Row 3 onwards, repeat the pattern with slight modifications:
- Work the 13 dc in the flat section, placing a stitch marker at the end of this section.
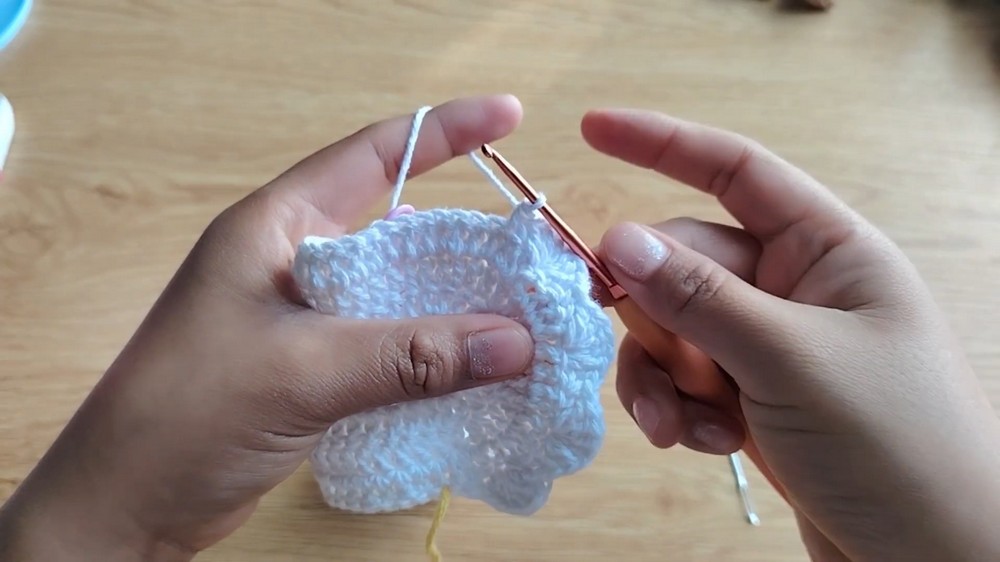
- In the curve, alternate between individual dc and increases (x2 dc in one stitch), adjusting for desired size and fullness.
- Continue until the glove wraps comfortably around your palm, measuring as you crochet.
3: Joining the Glove
- After finishing the main piece:
- Fold the glove with the wrong sides facing each other. The last row should align with the starting chain.
- Use slip stitches (sl st) to seam along the edges. Keep stitches loose to maintain elasticity.

4: Finger Holes
- Without fastening off, work along the top edge by crocheting medium height stitches (hdc) for a clean border.
- Create spaces by skipping stitches for finger holes:
- Work 2-3 hdc, skip a stitch, then continue with hdc.
Part 5: Paw Details
Small Paw Prints (Finger Pads)
- Create a magic circle and chain 2.
- Work 8 hdc into the circle. Pull the yarn tail to close the circle and fasten off.
- Make 10 identical small pads (5 for each glove).
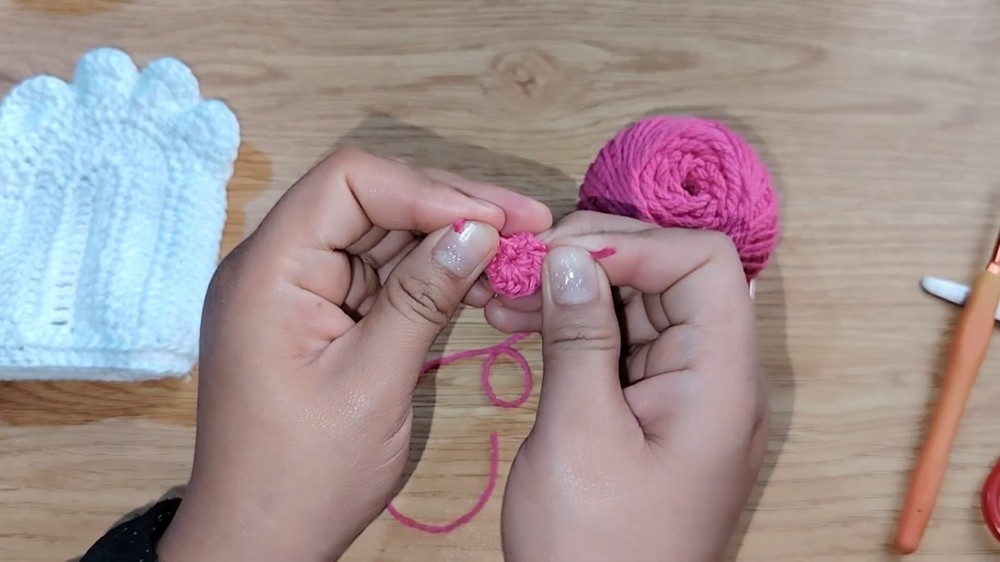
Large Paw Pad (Palm Pad)
- Create another magic circle and chain 2.
- Work 12 dc into the circle. Pull the loop to close.
- On the next round, perform increases in each stitch, ending with 24 stitches. Fasten off.
- Make 2 large paw pads.
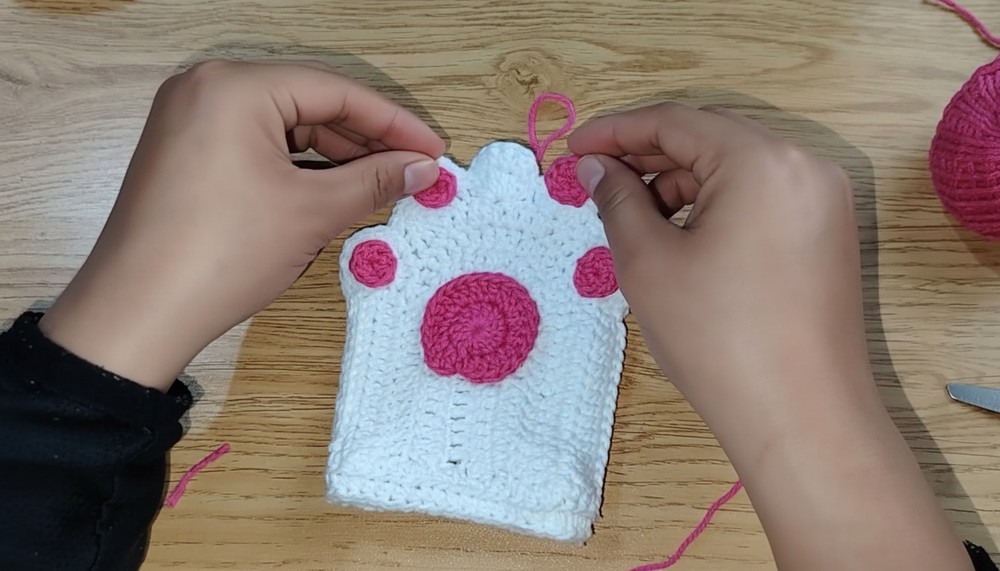
Attaching Paw Pads
- Position finger pads and palm pads in the desired paw shape on the glove.
- Use a hot glue gun (or needle and thread if you prefer stitching) to securely attach them.
Final Assembly
- Trim and weave in all loose ends using a yarn needle.
- Attach the paw pads if not already done and allow the adhesive to fully set.
- Repeat the process for the second glove.
Uses
- Practical Accessory: Keep your hands warm while maintaining finger mobility.
- Gifts for Cat Lovers: A cute and thoughtful present.
- Sell at Markets or Online: A quick and versatile project for handmade businesses.
Tip
Measure your glove as you crochet to ensure a perfect fit. Additionally, lighter yarns work best for a neat and defined paw design, making them even more charming!
Conclusion
These crochet cat paw fingerless gloves are an adorable, creative, and functional accessory! The simple pattern makes it an excellent choice for beginners, while its versatility in style and size makes it highly customizable. Beautiful as gifts or items for sale, these gloves are as fun to make as they are to wear.